Learn how to preserve fresh shelling peas by freezing with our easy step-by-step guide. Ensure your family enjoys garden-fresh peas all winter long. Perfect for soups, stews, and side dishes.
It is the first week in July here on the homestead, which means our spring peas are ready! In early April, we planted two 50-foot rows, 100 plants per row of shelling peas to preserve for the winter. This method ensures we have a steady supply of nutritious vegetables even when the garden is not producing fresh produce.
We had a bushel of peas at harvest to shell and preserve by freezing. As a large family of eight, not everyone loves this vegetable or has it as their favorite, but I preserve it for our winter soups, chicken pot pies, and chicken gnocchi stew—to name a few of our favorites.
Harvesting peas usually takes 2-4 people to complete. We harvest and pull plants simultaneously to clean the plot up for corn planting. All peas get picked, shelled, and vacuum-sealed for winter eating. I freeze the peas by blanching, flash freezing on trays, then sealing and dating the bags.
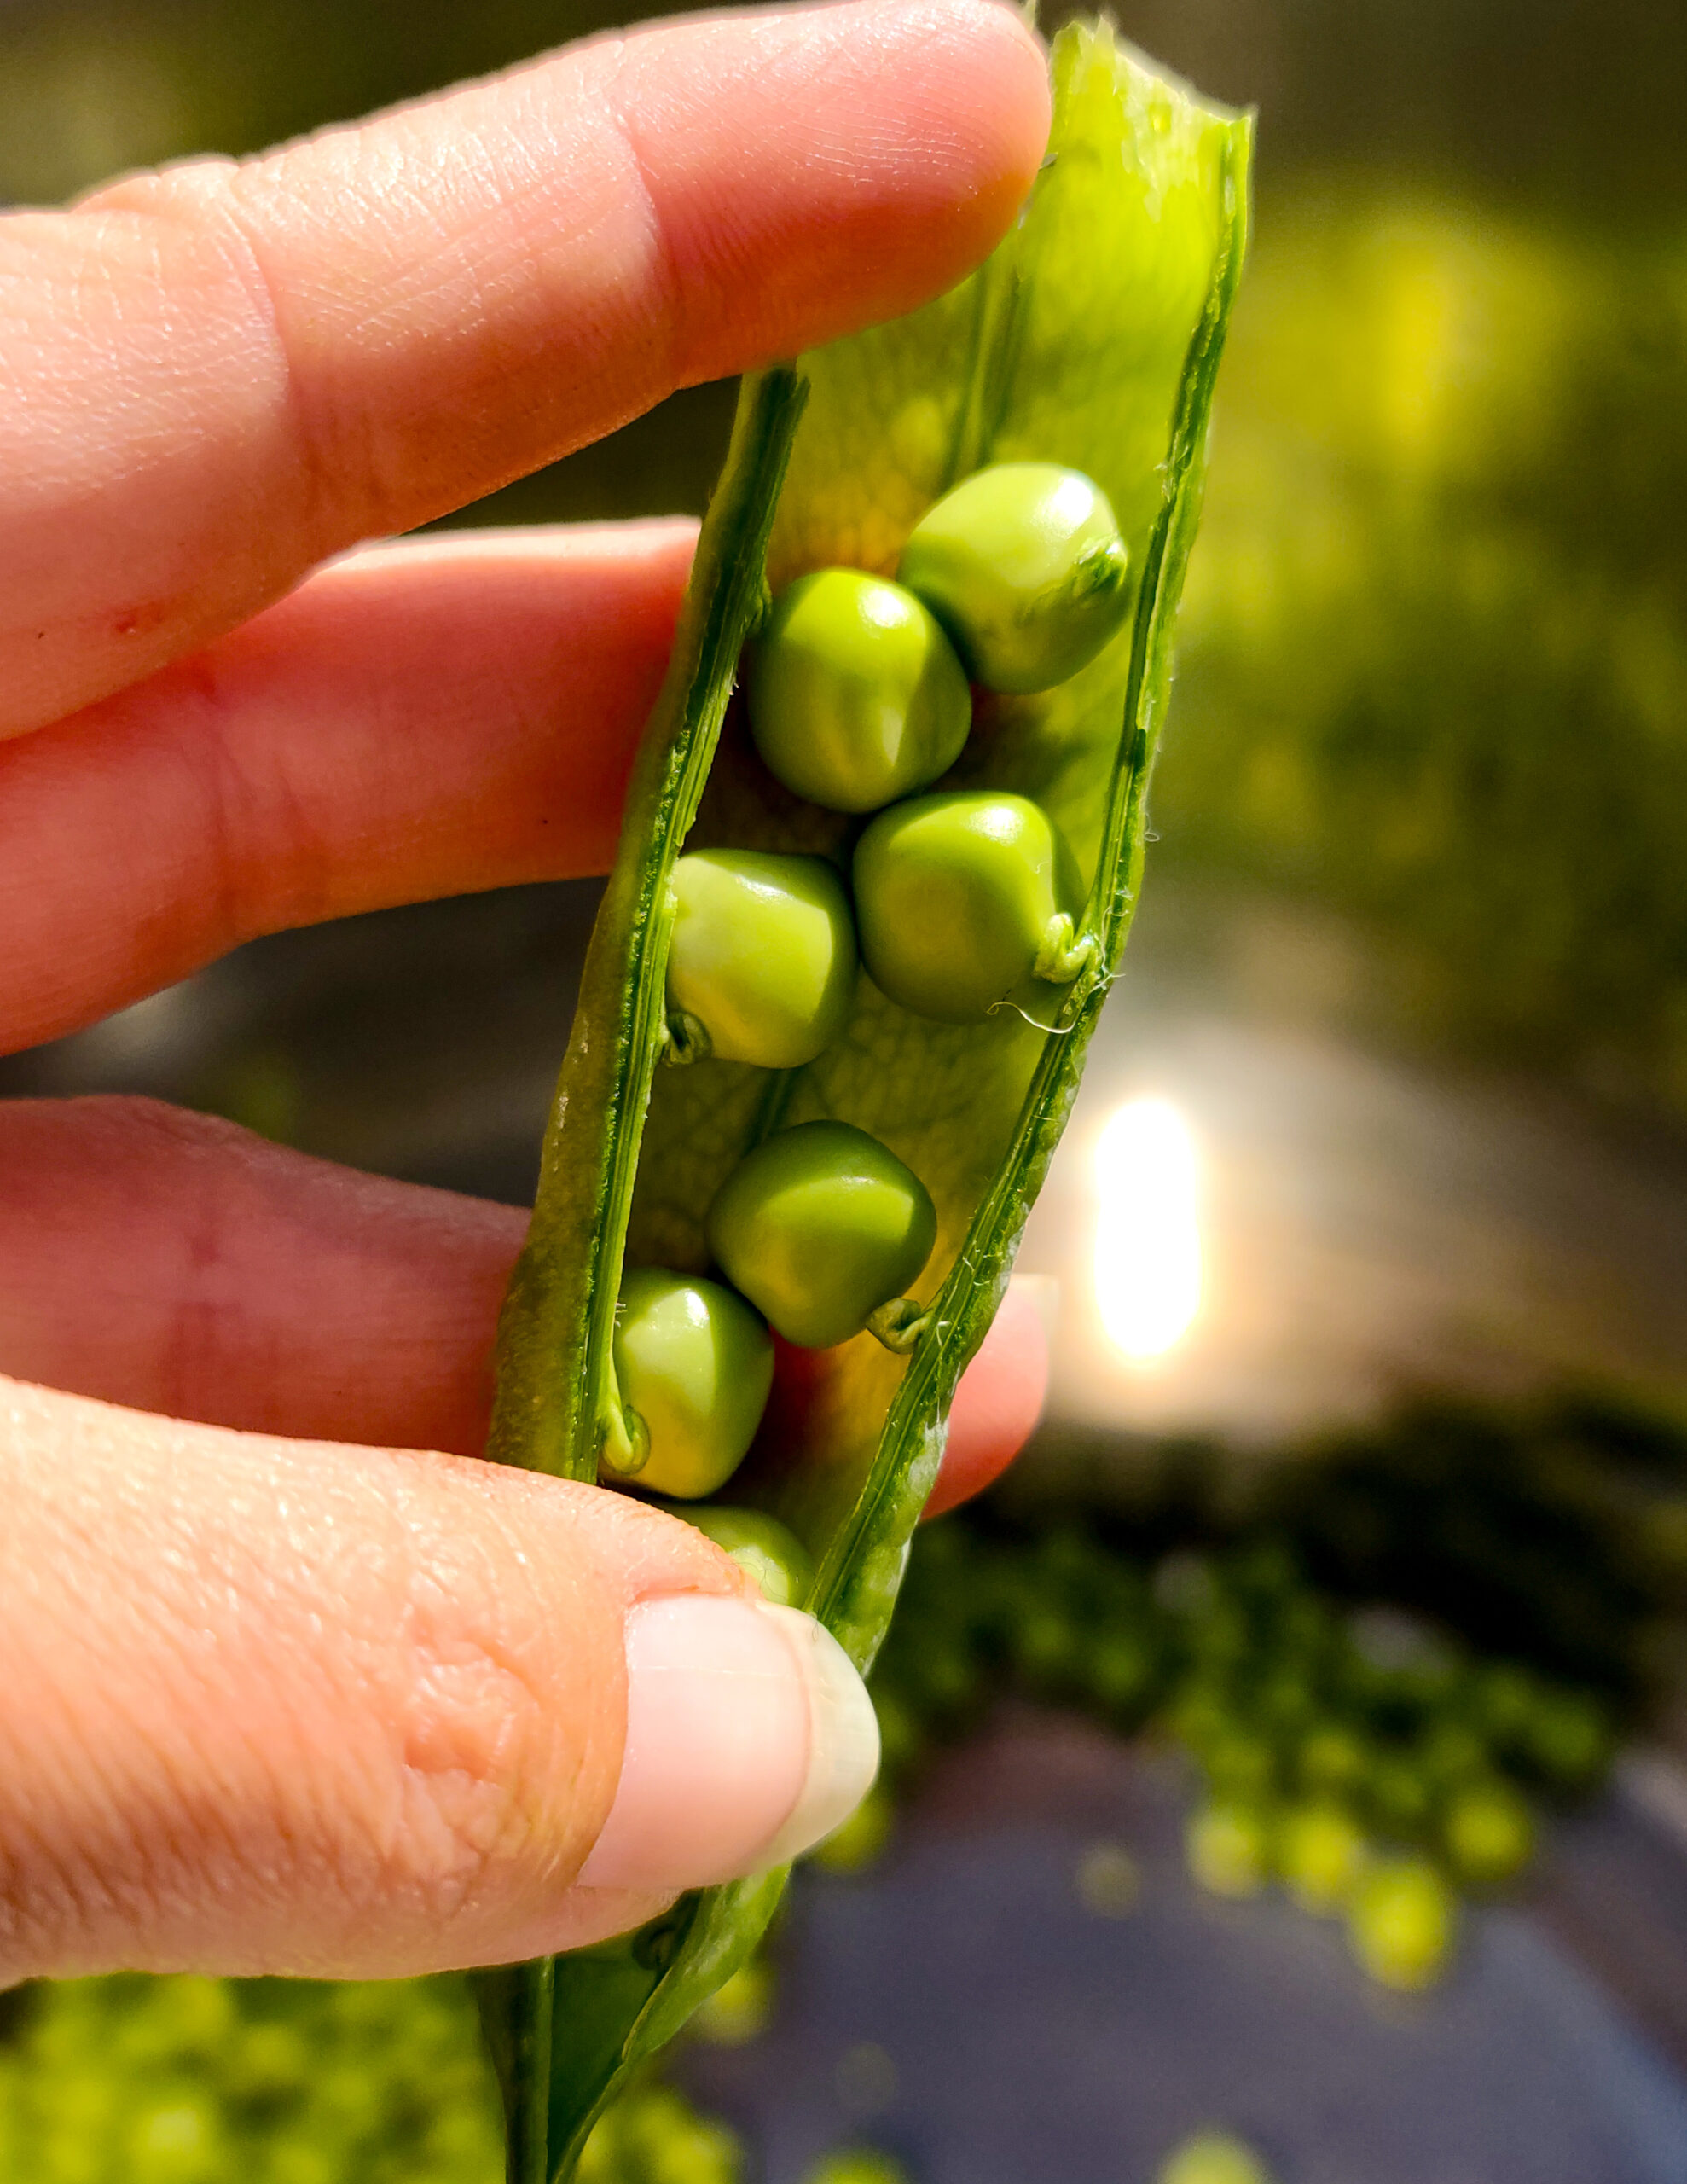
What Are Shelling Peas?
Shelling peas, also known as English peas or garden peas, are a staple in many home gardens. Unlike snap peas or snow peas, shelling peas have inedible pods that must be removed to enjoy the sweet, tender peas inside. These peas are rich in vitamins A, B, and C, fiber, and protein, making them a nutritious addition to any meal.
The Benefits of Growing and Freezing Shelling Peas:
Growing your shelling peas ensures you have a fresh supply of this versatile vegetable. Freezing them at their peak of freshness locks in nutrients and flavor to enjoy garden-fresh taste all year. Additionally, preserving your harvest reduces food waste and provides a sense of accomplishment, knowing you’ve grown and prepared your food.
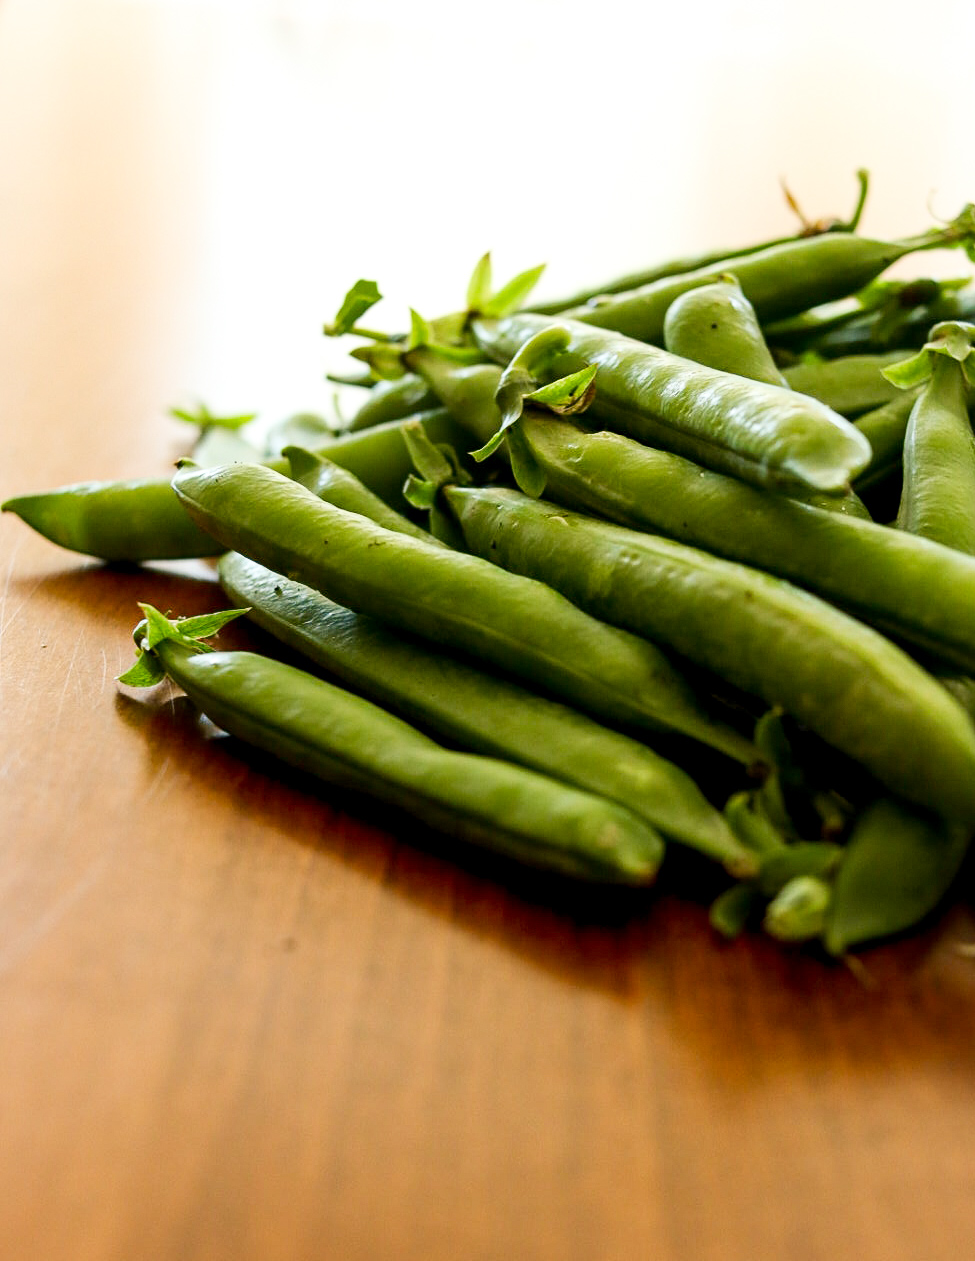
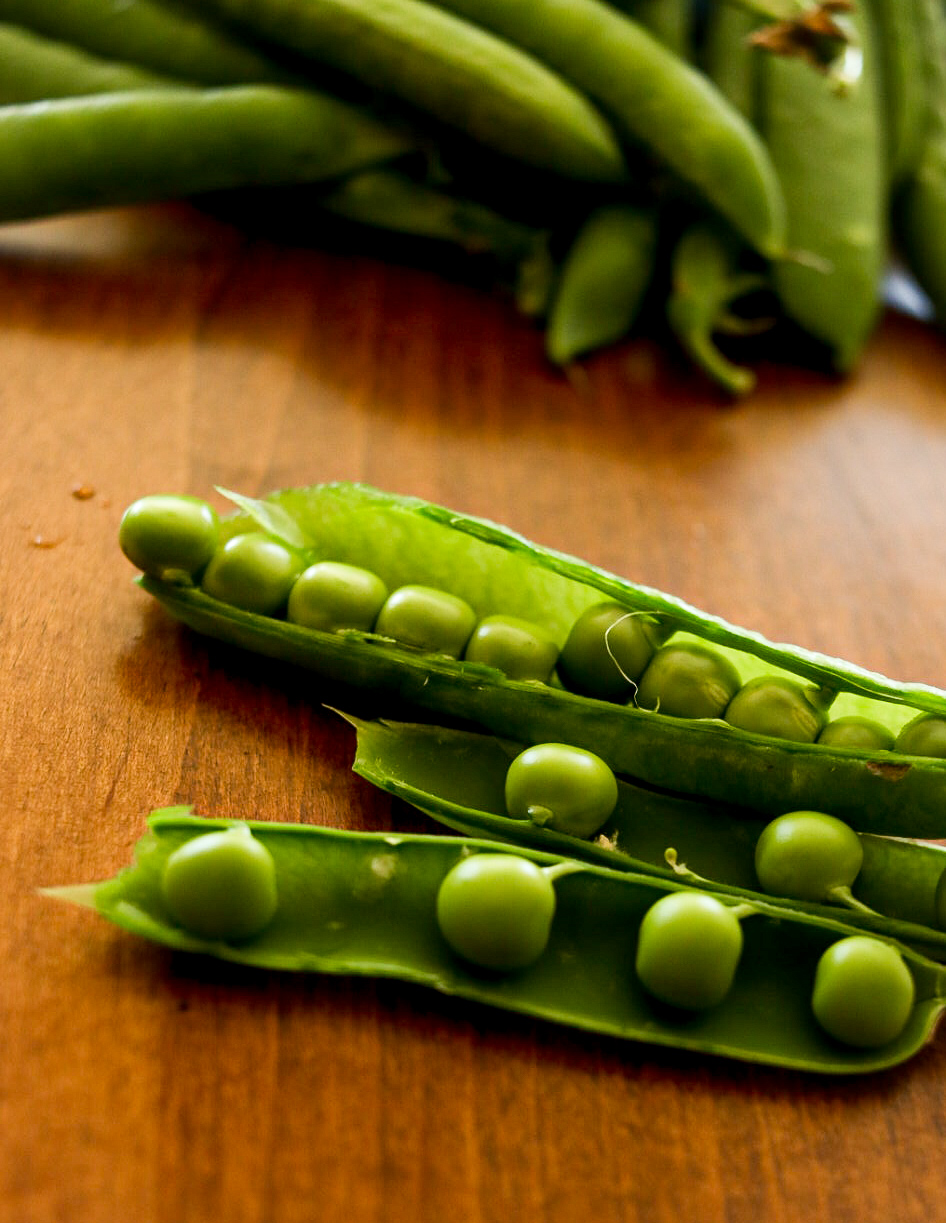
Harvesting Fresh Peas for Preserving for Winter:
Harvesting fresh shelling peas is a hands-on family activity that gets everyone involved and makes quick work of the homestead task.
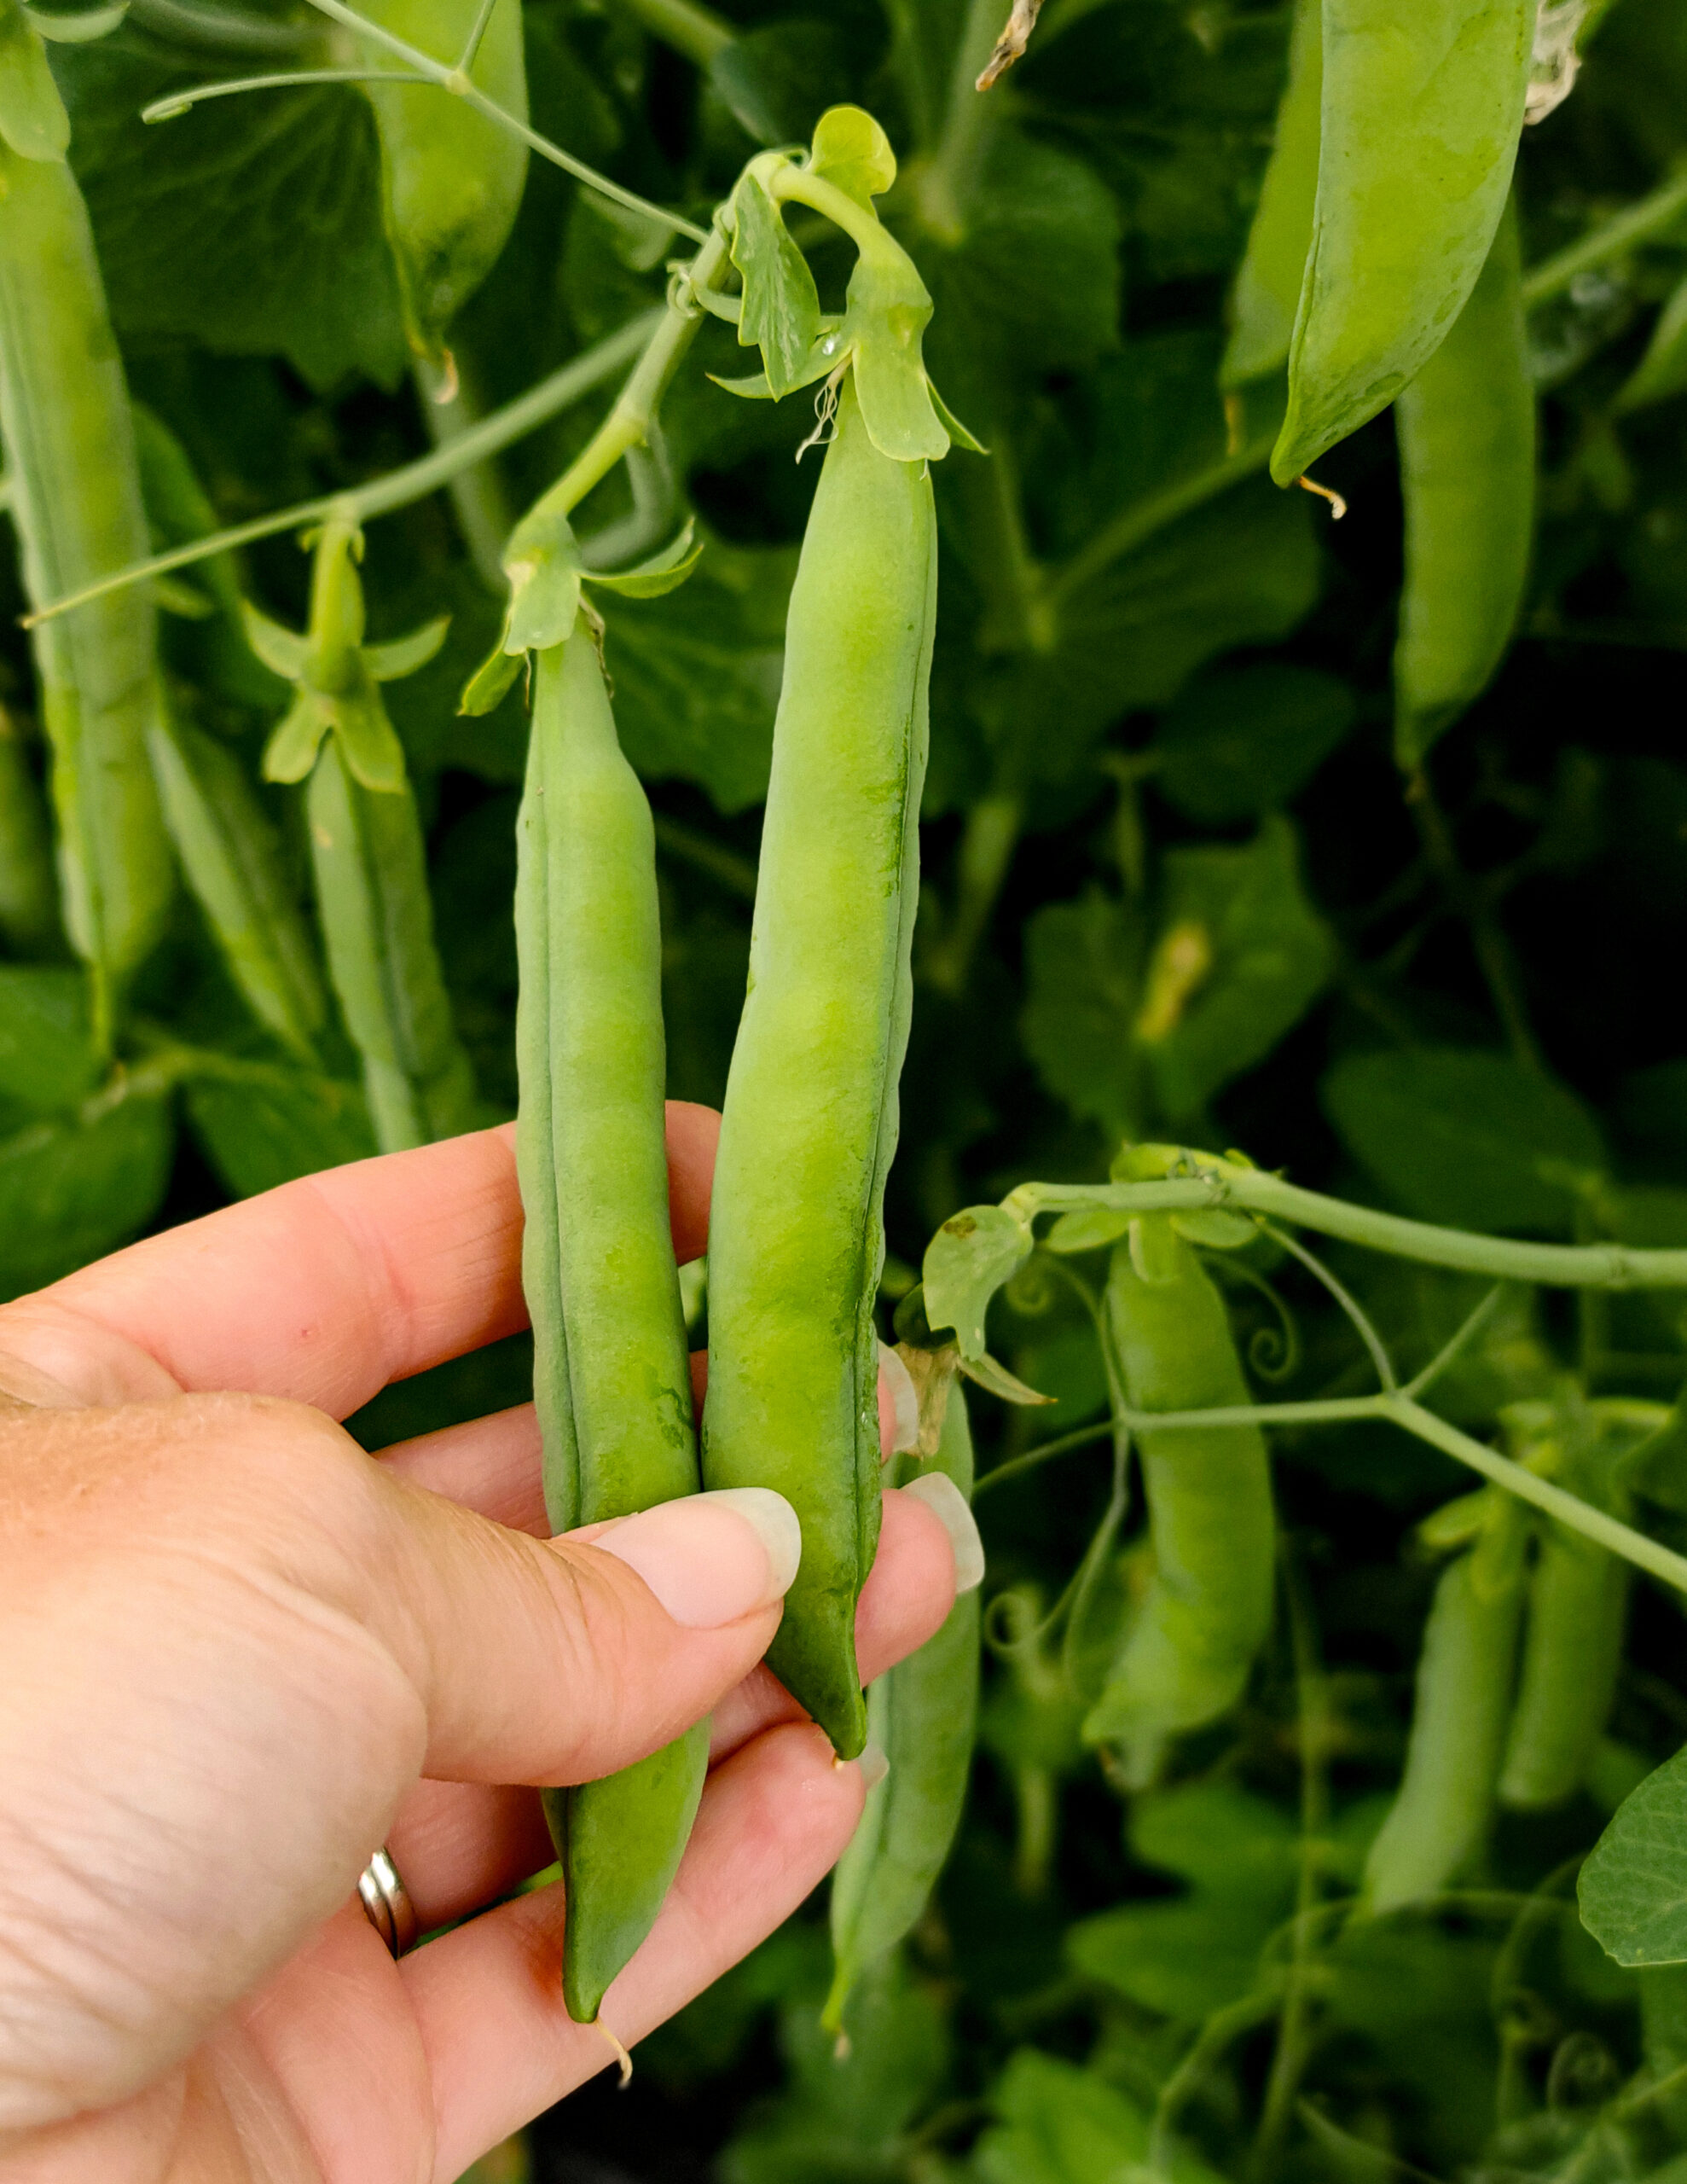
- Timing the Harvest: Shelling peas are ready to harvest when the pods are plump, bright green, and filled out. They should snap easily off the vine. Depending on the variety, this typically occurs 60-70 days after planting.
- Picking the Peas: Using two hands to avoid damaging the plant, we harvest the peas, placing them gently into buckets. It's a fun activity, especially with children, as they can easily spot the peas hidden among the leaves.
- Clearing the Plot: After harvesting, we pull the plants, including the roots. This clears the way for our next planting—corn, in this case—and helps maintain soil health by rotating crops.
- Shelling the Peas: This step involves removing the peas from their pods. It’s a task best done with family or friends to make it more enjoyable. We usually set up a shelling station on the porch with buckets and plenty of refreshments.
Blanching the Fresh Peas for Freezing:
Blanching is crucial in preserving peas as it stops the enzymes that cause flavor, color, and texture loss.
Here’s how to blanch your peas:
- Boil Water: Fill a large pot with water and bring it to a rolling boil.
- Prepare an Ice Bath: Fill a large bowl with ice water while boiling.
- Blanch the Peas: Once the water is boiling, add the shelled peas. Boil them for 1-2 minutes, depending on their size. They should turn bright green and tender but still firm.
- Cool the Peas: Using a slotted spoon, transfer the blanched peas to the ice water bath. This stops the cooking process. Please leave them in the ice water for about the same time they were boiled.
- Drain and Dry: Drain the peas thoroughly and pat them dry with a clean kitchen towel. Excess water can cause ice crystals to form during freezing, affecting the texture of the peas.
Flash Freezing the Peas:
Flash freezing ensures the peas don’t clump together in the freezer when preserving, making it easy to measure portions later.
Here’s the step-by-step process:
- Prepare Trays: Line baking trays with parchment paper. Spread the blanched and dried peas on the trays in a single layer.
- Freeze: Place the trays in the freezer for 1-2 hours or until the peas are frozen.
- Transfer to Bags: Once the peas are frozen, transfer them to vacuum-seal or freezer-safe bags if you don’t have a vacuum sealer. Label the bags with the date and contents.
Vacuum Sealing the Peas:
Vacuum sealing is a crucial step in preserving peas for a long winter. It removes the air from the bags, preventing freezer burn and extending the shelf life of the peas.
Here’s how to do it:
- Fill the Bags: Fill the vacuum-seal bags with the flash-frozen peas, leaving some space at the top to ensure proper sealing.
- Seal the Bags: Follow the instructions on your vacuum sealer to remove the air and seal the bags. If using freezer-safe bags, press out as much air as possible before sealing.
- Label and Store: Label the bags with the date and store them in the freezer. Adequately sealed and stored peas can last up to a year in the freezer.
How Much Do You Need to Preserve Per Person?
The amount of fresh peas you need to preserve depends on your family's consumption and the recipes you plan to use.
As a general guideline, this is what I use to plan our harvest and preserve quality:
For Soups and Stews: Plan on about 1 cup of peas per person per meal. If it isn't a favorite, you can easily cut this in half, as I do.
For Side Dishes, use About ½ cup of peas per person per meal. If you plan to use peas in soups, stews, and side dishes twice a week throughout the winter (approximately 20 weeks), you'd need about 20 pounds of shelled peas for a family of 8.
This estimation allows you to enjoy the peas while keeping your preserved supply sufficient until the next growing season.
Preserving fresh shelling peas by freezing is a rewarding process that ensures you have nutritious, home-grown vegetables available all year round. It's a great way to make the most of your garden's bounty and save a significant amount on grocery bills. With some planning and preparation, you can quickly freeze enough peas to last through the winter.
From harvesting to blanching, flash freezing, and vacuum sealing, each step is essential to maintain the quality and flavor of the peas. This efficient and effective method allows you to enjoy the taste of summer, even in the coldest months. Whether adding them to soups, stews, or side dishes, these preserved peas will be a delicious addition to your meals. And knowing that you've grown, harvested, and preserved them yourself adds a layer of satisfaction to every bite.

Leave a Reply