Discover how to make soft, buttery homemade dinner rolls with our detailed guide. Perfect for fall gatherings, family dinners, and holidays, these rolls are ideal for bakers, homemakers, and homesteaders.
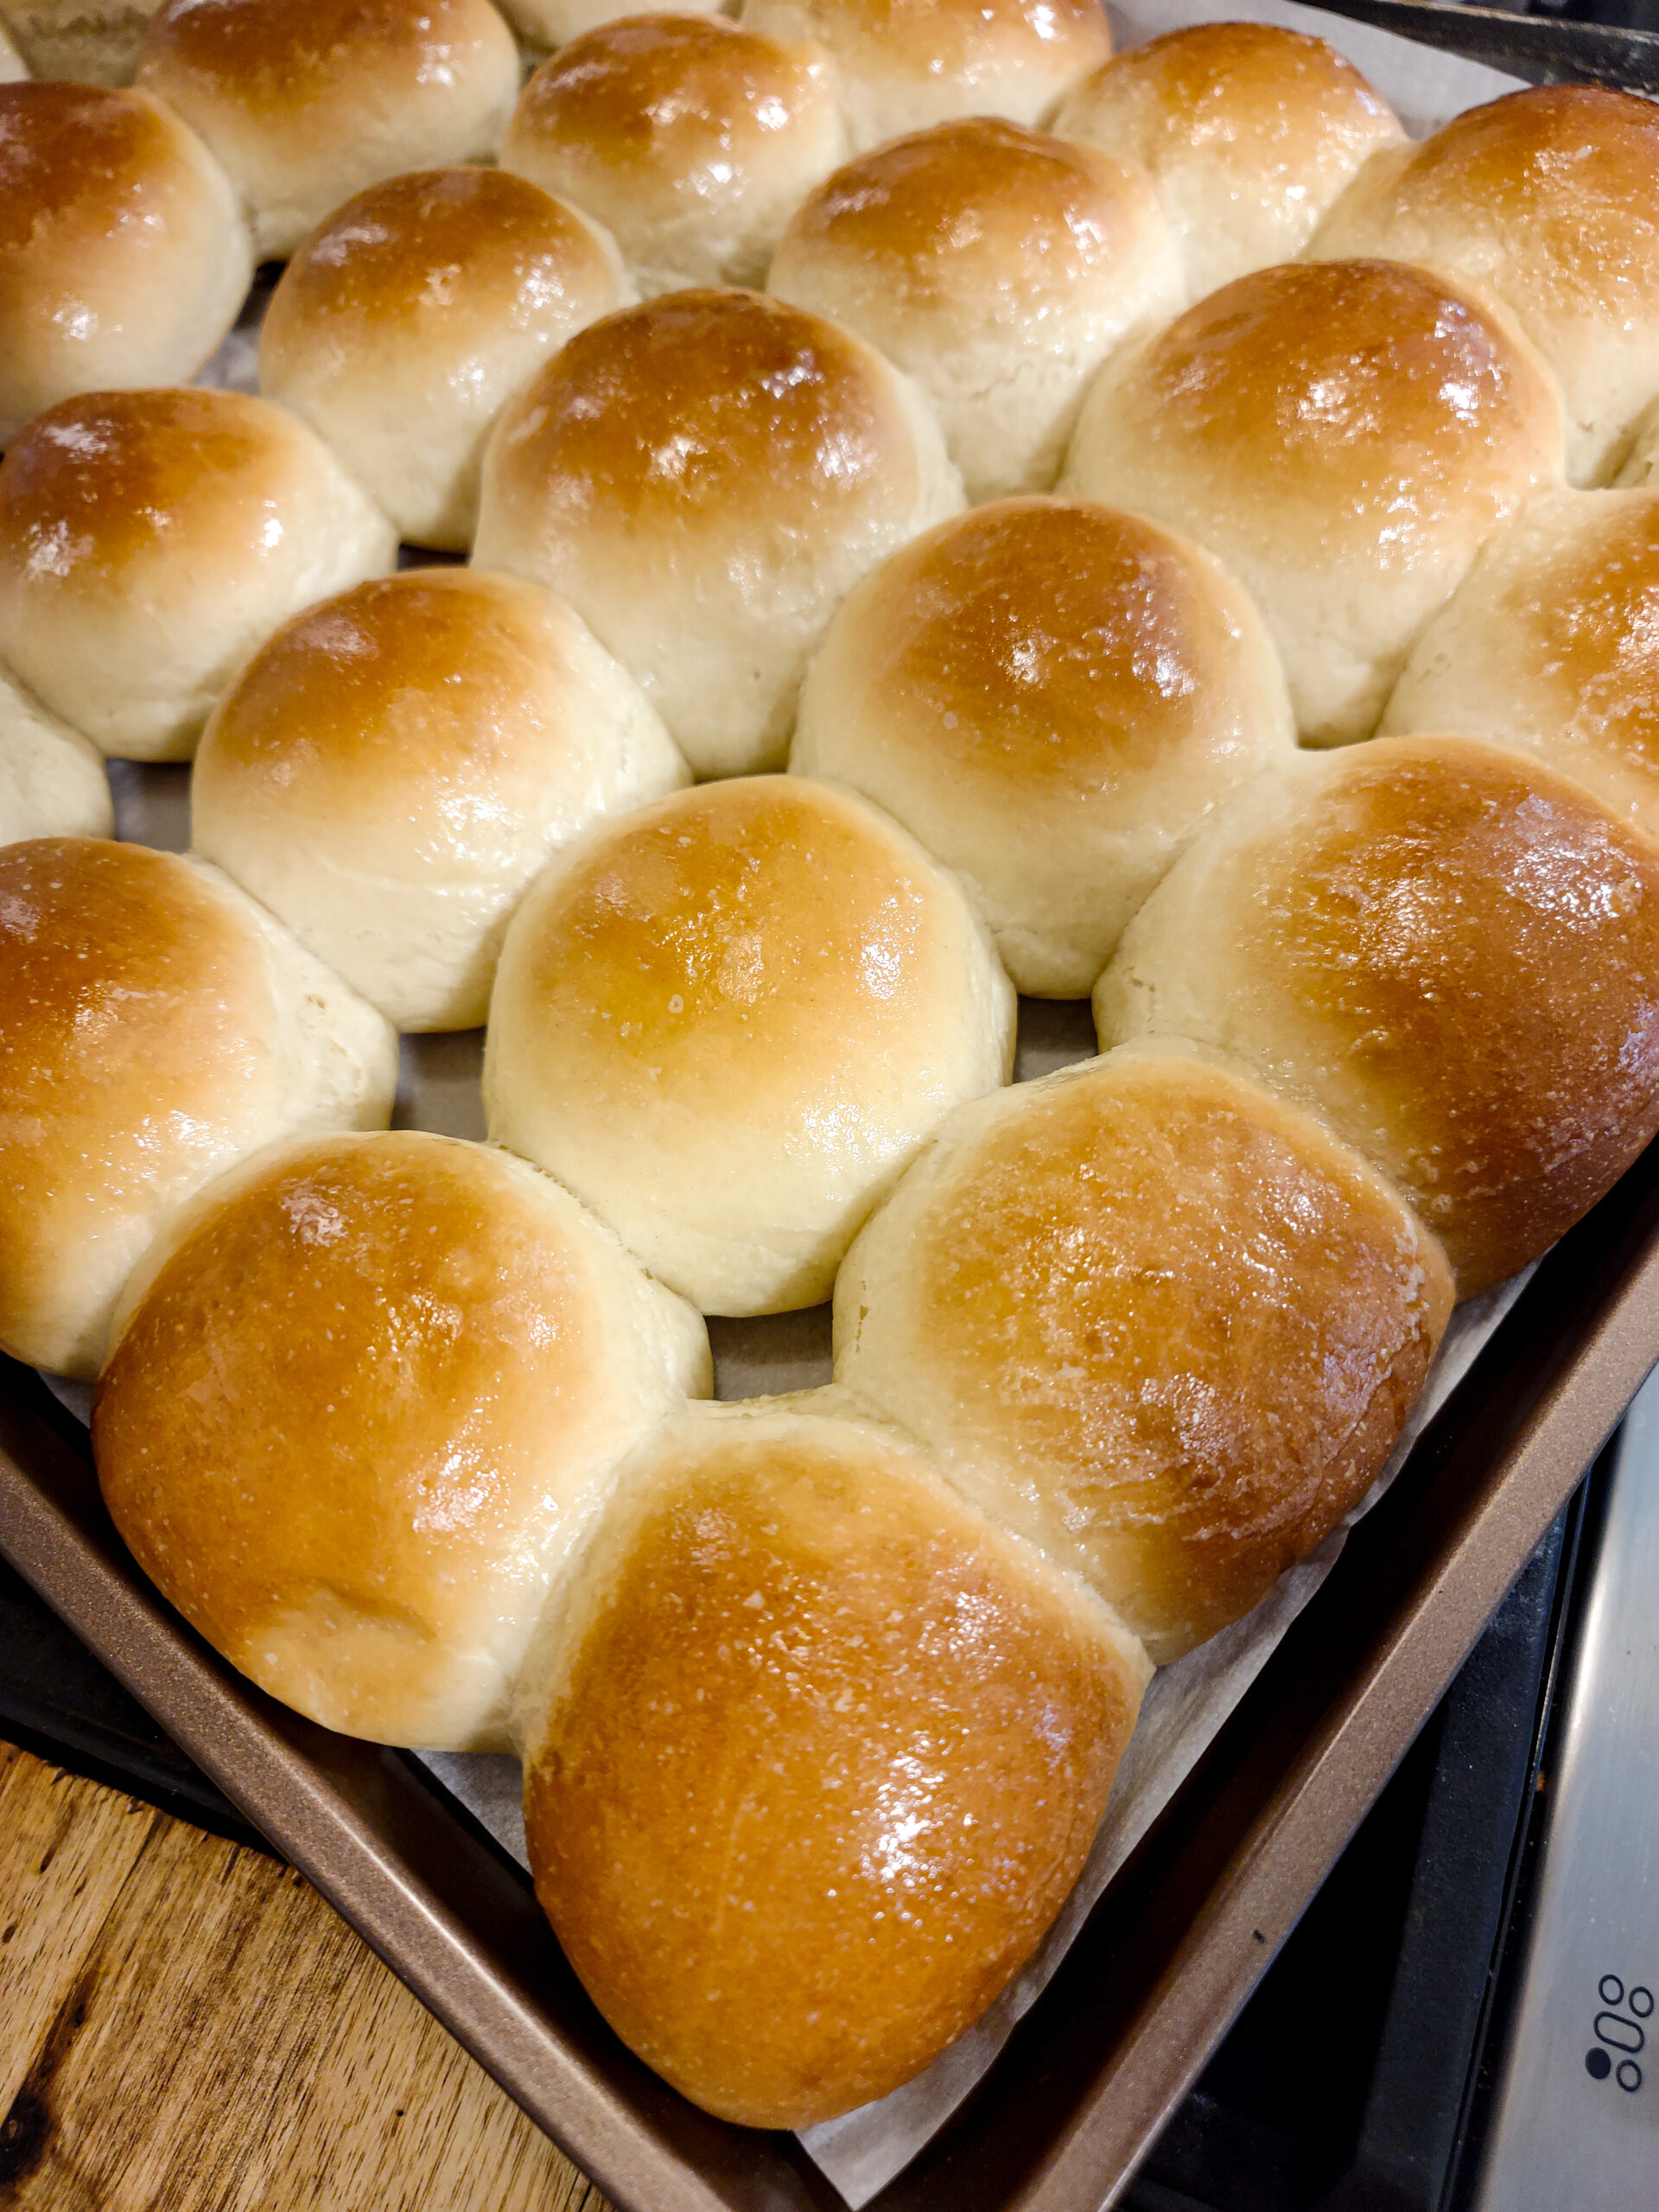
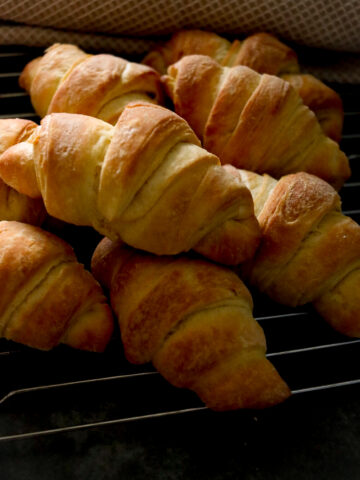
As we step into fall, with the air chilling and the leaves changing, it's time to start thinking about baking for family gatherings and upcoming holidays. Matt is here cheering for everything pumpkin spice while I lay out our Thanksgiving menu. One of the versatile recipes on the list is my homemade dinner rolls. These light, airy, buttery rolls are perfect for dinners, family gatherings, and Thanksgiving, and they can be enjoyed with a variety of dishes, adding a touch of homemade warmth to any meal.
Why Scalded Milk?
You might be wondering why many dinner roll recipes call for scalded milk. Scalded milk is milk that has been heated to just below the boiling point and then cooled. This step may seem unnecessary, but it serves a few important purposes:
- Scalding milk denatures the proteins in the milk, which can inhibit the gluten formation in the dough. By scalding the milk, you ensure a softer, more tender crumb in your dinner rolls. This process is what gives them that melt-in-your-mouth texture that everyone loves.
- Scalding milk enhances the flavor of the rolls. It brings out the natural sweetness of the milk, which adds a subtle richness to the dough.
- If you're using fresh milk, scalding can also kill any bacteria and deactivate enzymes that might interfere with the yeast's ability to leaven the dough.
Why Butter?
Butter is the secret to making dinner rolls that are rich, flavorful, and perfectly tender. Its fat content contributes to the soft texture of the rolls, while its flavor adds a delicious buttery taste. But why butter specifically? Butter has a lower melting point than other fats, which melt quickly in your mouth, giving the rolls a luscious, rich texture. It also contains water, which turns to steam during baking, creating little air pockets in the dough. The steam is what helps make the rolls light and fluffy. Using butter also imparts a beautiful golden color to the crust. Brushing on top before baking helps the rolls develop a gorgeous, shiny, and delicious finish. So, when making dinner rolls, don't skimp on the butter – it's what makes them truly special.
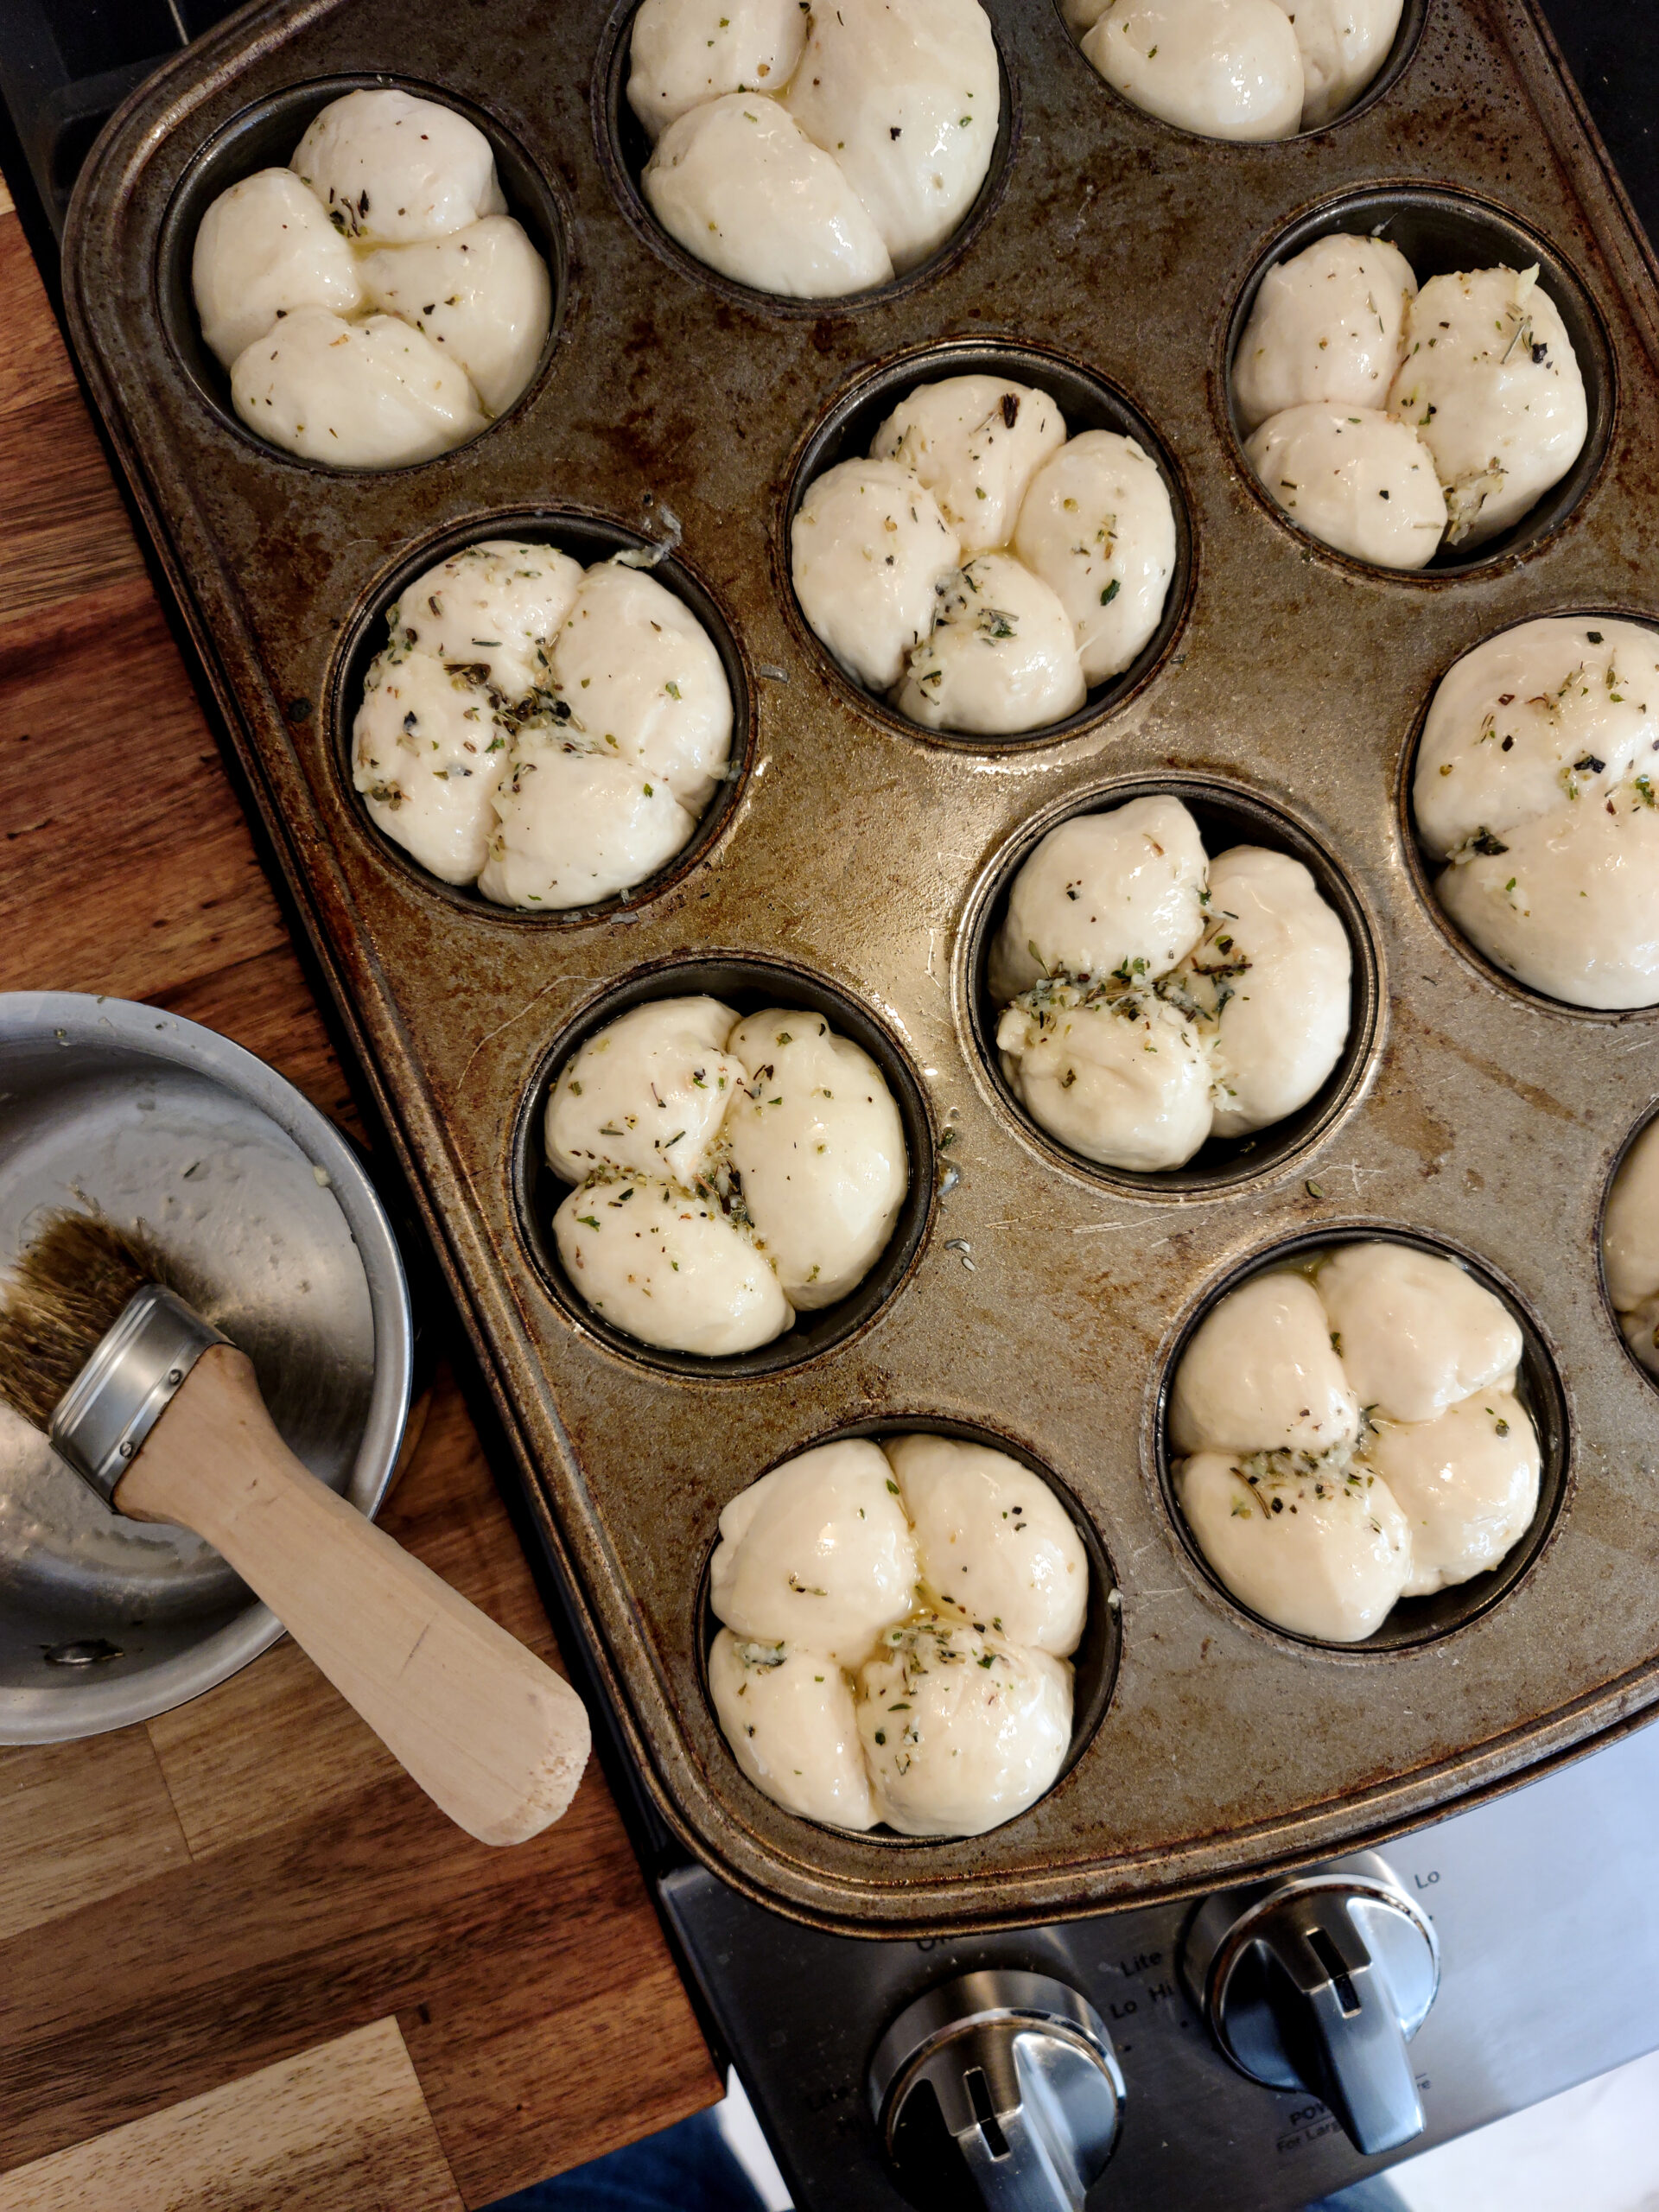
Shaping Dinner Rolls:
Shaping dinner rolls can be a fun and satisfying process. It’s also an opportunity to get creative with your baking. The classic round roll is always a winner, but you can try many other shapes.
- Classic Round Rolls: To shape classic round rolls, divide your dough into equal portions, about the size of a golf ball. Gently tuck the edges of each portion under to create a smooth top and a tight, round shape. Place them on a baking sheet or in a dish with a bit of space between each roll.
- Cloverleaf Rolls: For cloverleaf rolls, divide each portion of dough into three smaller balls. Place three balls into each cup of a muffin tin. As they bake, they’ll expand and form a beautiful cloverleaf shape.
- Knotted Rolls: To make knotted rolls, roll each portion of dough into a rope about 6 inches long. Tie each rope into a loose knot and tuck the ends under. These rolls look elegant and are perfect for special occasions.
- Parker House Rolls: To make Parker House rolls, roll out the dough into a rectangle and cut it into strips. Fold each strip in half and place them side by side in a baking dish. When baked, these rolls will have a lovely layered effect.
Can You Make Them Ahead of Time and Bake Later?
Yes, you can absolutely make dinner rolls ahead of time and bake them later. This is especially handy for busy holiday schedules. Here’s how you can do it:
- Refrigerate the Dough: Prepare the dough as usual and let it rise for the first time. After shaping the rolls, place them on a baking sheet or dish, cover them with plastic wrap, and refrigerate. The dough will continue to rise slowly in the fridge. You can refrigerate them for up to 24 hours.
- Bring to Room Temperature: When ready to bake, take the rolls out of the refrigerator and let them come to room temperature. This usually takes about 1 to 2 hours. Once they’ve warmed up and puffed a bit, bake as directed.
- Par-Bake Method: Another option is to par-bake the rolls. Bake them until they’re just starting to color, but not fully baked. Let them cool completely, then wrap tightly and freeze. When you’re ready to serve, finish baking them straight from the freezer until golden brown and warmed.
How to Freeze Dinner Rolls
Freezing dinner rolls is a fantastic way to ensure you always have fresh rolls for any meal. Here’s how to freeze them properly:
- Freeze Unbaked Rolls: After shaping the rolls, place them on a baking sheet lined with parchment paper. Freeze until solid, then transfer them to a freezer-safe bag or container. When you’re ready to bake, let them thaw and rise at room temperature before baking as usual.
- Freeze Baked Rolls: Bake the rolls as directed and let them cool completely. Once cooled, wrap them tightly in plastic wrap and place them in a freezer-safe bag or container. To reheat, thaw at room temperature or in the refrigerator, then warm in the oven at 350°F (175°C) for about 10-15 minutes.
- Flash Freeze: For both methods, you can flash freeze the rolls first by placing them on a baking sheet in the freezer for a couple of hours. Once they’re solid, transfer them to a freezer-safe bag. This prevents them from sticking together and allows you to take out as many rolls as you need.
Need a Simple Recipe?
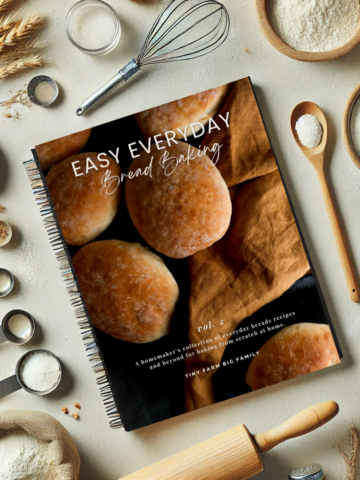
Need a simple recipe to start making homemade dinner rolls? My go-to and family-favorite recipe is included in my Everyday Bread Recipe ebook. It's perfect for beginners and seasoned bakers alike, and it’s sure to become a staple in your kitchen for dinner.
Homemade dinner rolls are a delightful addition to any meal, especially during the fall and holidays. They bring warmth and comfort to the table, and making them can be incredibly rewarding. Whether you’re a seasoned baker or just starting, making dinner rolls from scratch is a skill worth mastering. So, as the leaves change color and the air turns crisp, why not embrace the season and try making homemade dinner rolls? With some practice, you’ll turn out batches of fluffy, buttery rolls that your family and friends will adore.

Leave a Reply