Learn how to make homemade ravioli with a step-by-step blog, including tips for fillings, storage, and using a KitchenAid pasta attachment. Perfect for meal prep and freezer-friendly!

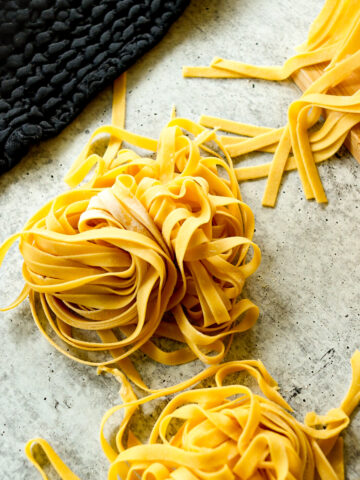
There’s something special about homemade pasta. Maybe it’s the fresh, rich flavor, the perfect texture, or just the satisfaction of making it from scratch—but whatever it is, ravioli has a permanent spot on our family’s dinner table. Pair it with homemade marinara sauce, and you have a meal that makes everyone happy!
If you’ve never made ravioli, you might think it’s not easy, but I promise—it’s simple and worth it. It’s freezer-friendly, making it a fantastic meal prep option. Because we have a large family, I like to turn ravioli-making into a fun kitchen project with one of my older kids. We divide the tasks, from rolling out the homemade pasta sheets using my favorite KitchenAid pasta attachment to piping and cutting each ravioli.
This was inspired by my homemade pasta recipe for using and preserving eggs on the homestead.
Jump to:
- Ingredients: The Heart of the Ravioli Recipe
- Instructions: How to Make Homemade Ravioli from Scratch
- Substitutions: Customizing Your Ravioli
- Variations: Different Filling Options
- Equipment: Using My Favorite KitchenAid Pasta Attachment
- Storage: Keeping Your Ravioli Fresh
- Meal Prep: Making Ravioli in Bulk
- Homemade Ravioli: A Labor of Love
- Homemade Ravioli
Ingredients: The Heart of the Ravioli Recipe
The beauty of homemade ravioli is that it uses simple, wholesome ingredients you likely already have. The base ingredients for a traditional ricotta-filled ravioli include:
- Egg Pasta Dough – Made with just flour, eggs, and a pinch of salt for that perfect texture. Recipe
- Ricotta Cheese – The star of the filling is creamy and smooth.
- Parmesan Cheese – Adds a nutty, salty depth of flavor.
- Egg Yolk – Helps bind the cheese filling together for a rich texture.
- Salt, Pepper, and Nutmeg – Simple seasonings that elevate the flavor.
Want to switch things up? Check out the variations below for different filling ideas! See the recipe card for quantities.
Instructions: How to Make Homemade Ravioli from Scratch
Making ravioli has a few steps, but it's easy once you get the rhythm. The key steps are:
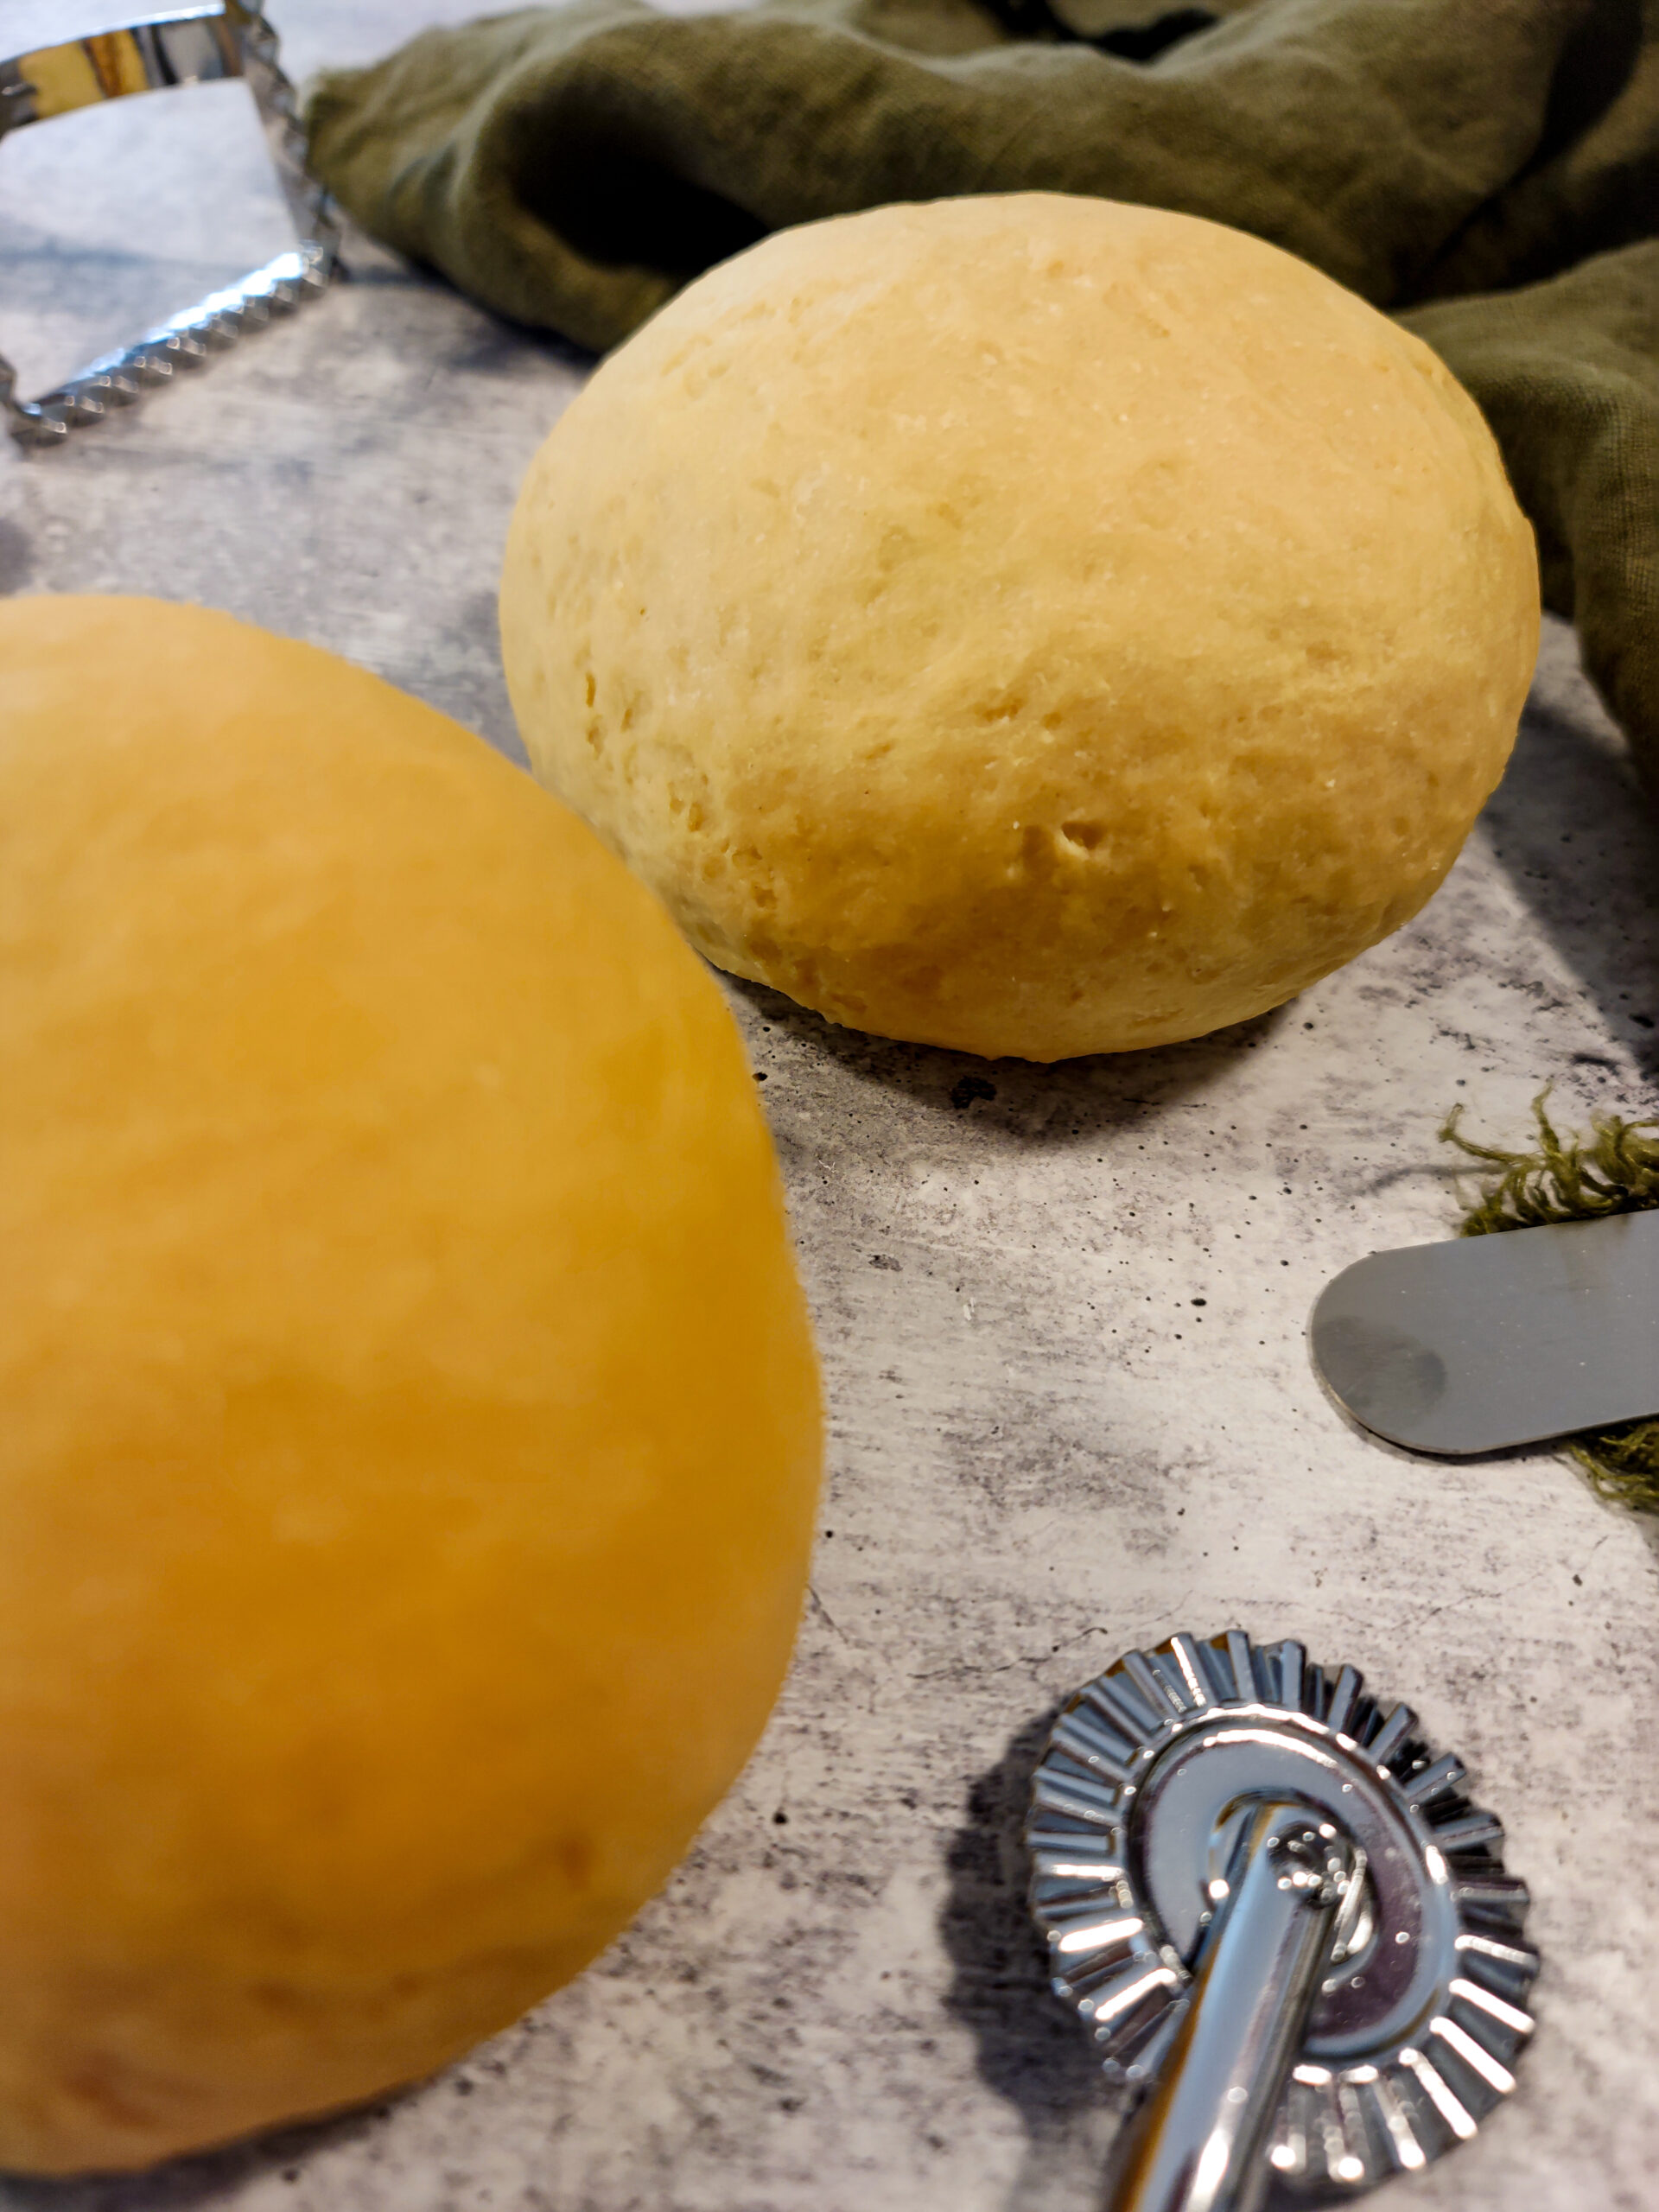
- Prepare the Pasta Dough – This is the base for your ravioli, so making a good dough is essential. (See my homemade pasta recipe for details!)
- Roll Out the Pasta – I use my KitchenAid pasta attachment to get those skinny, even sheets.
- Make the Filling – Mix ricotta, Parmesan, egg yolk, and seasonings until smooth.
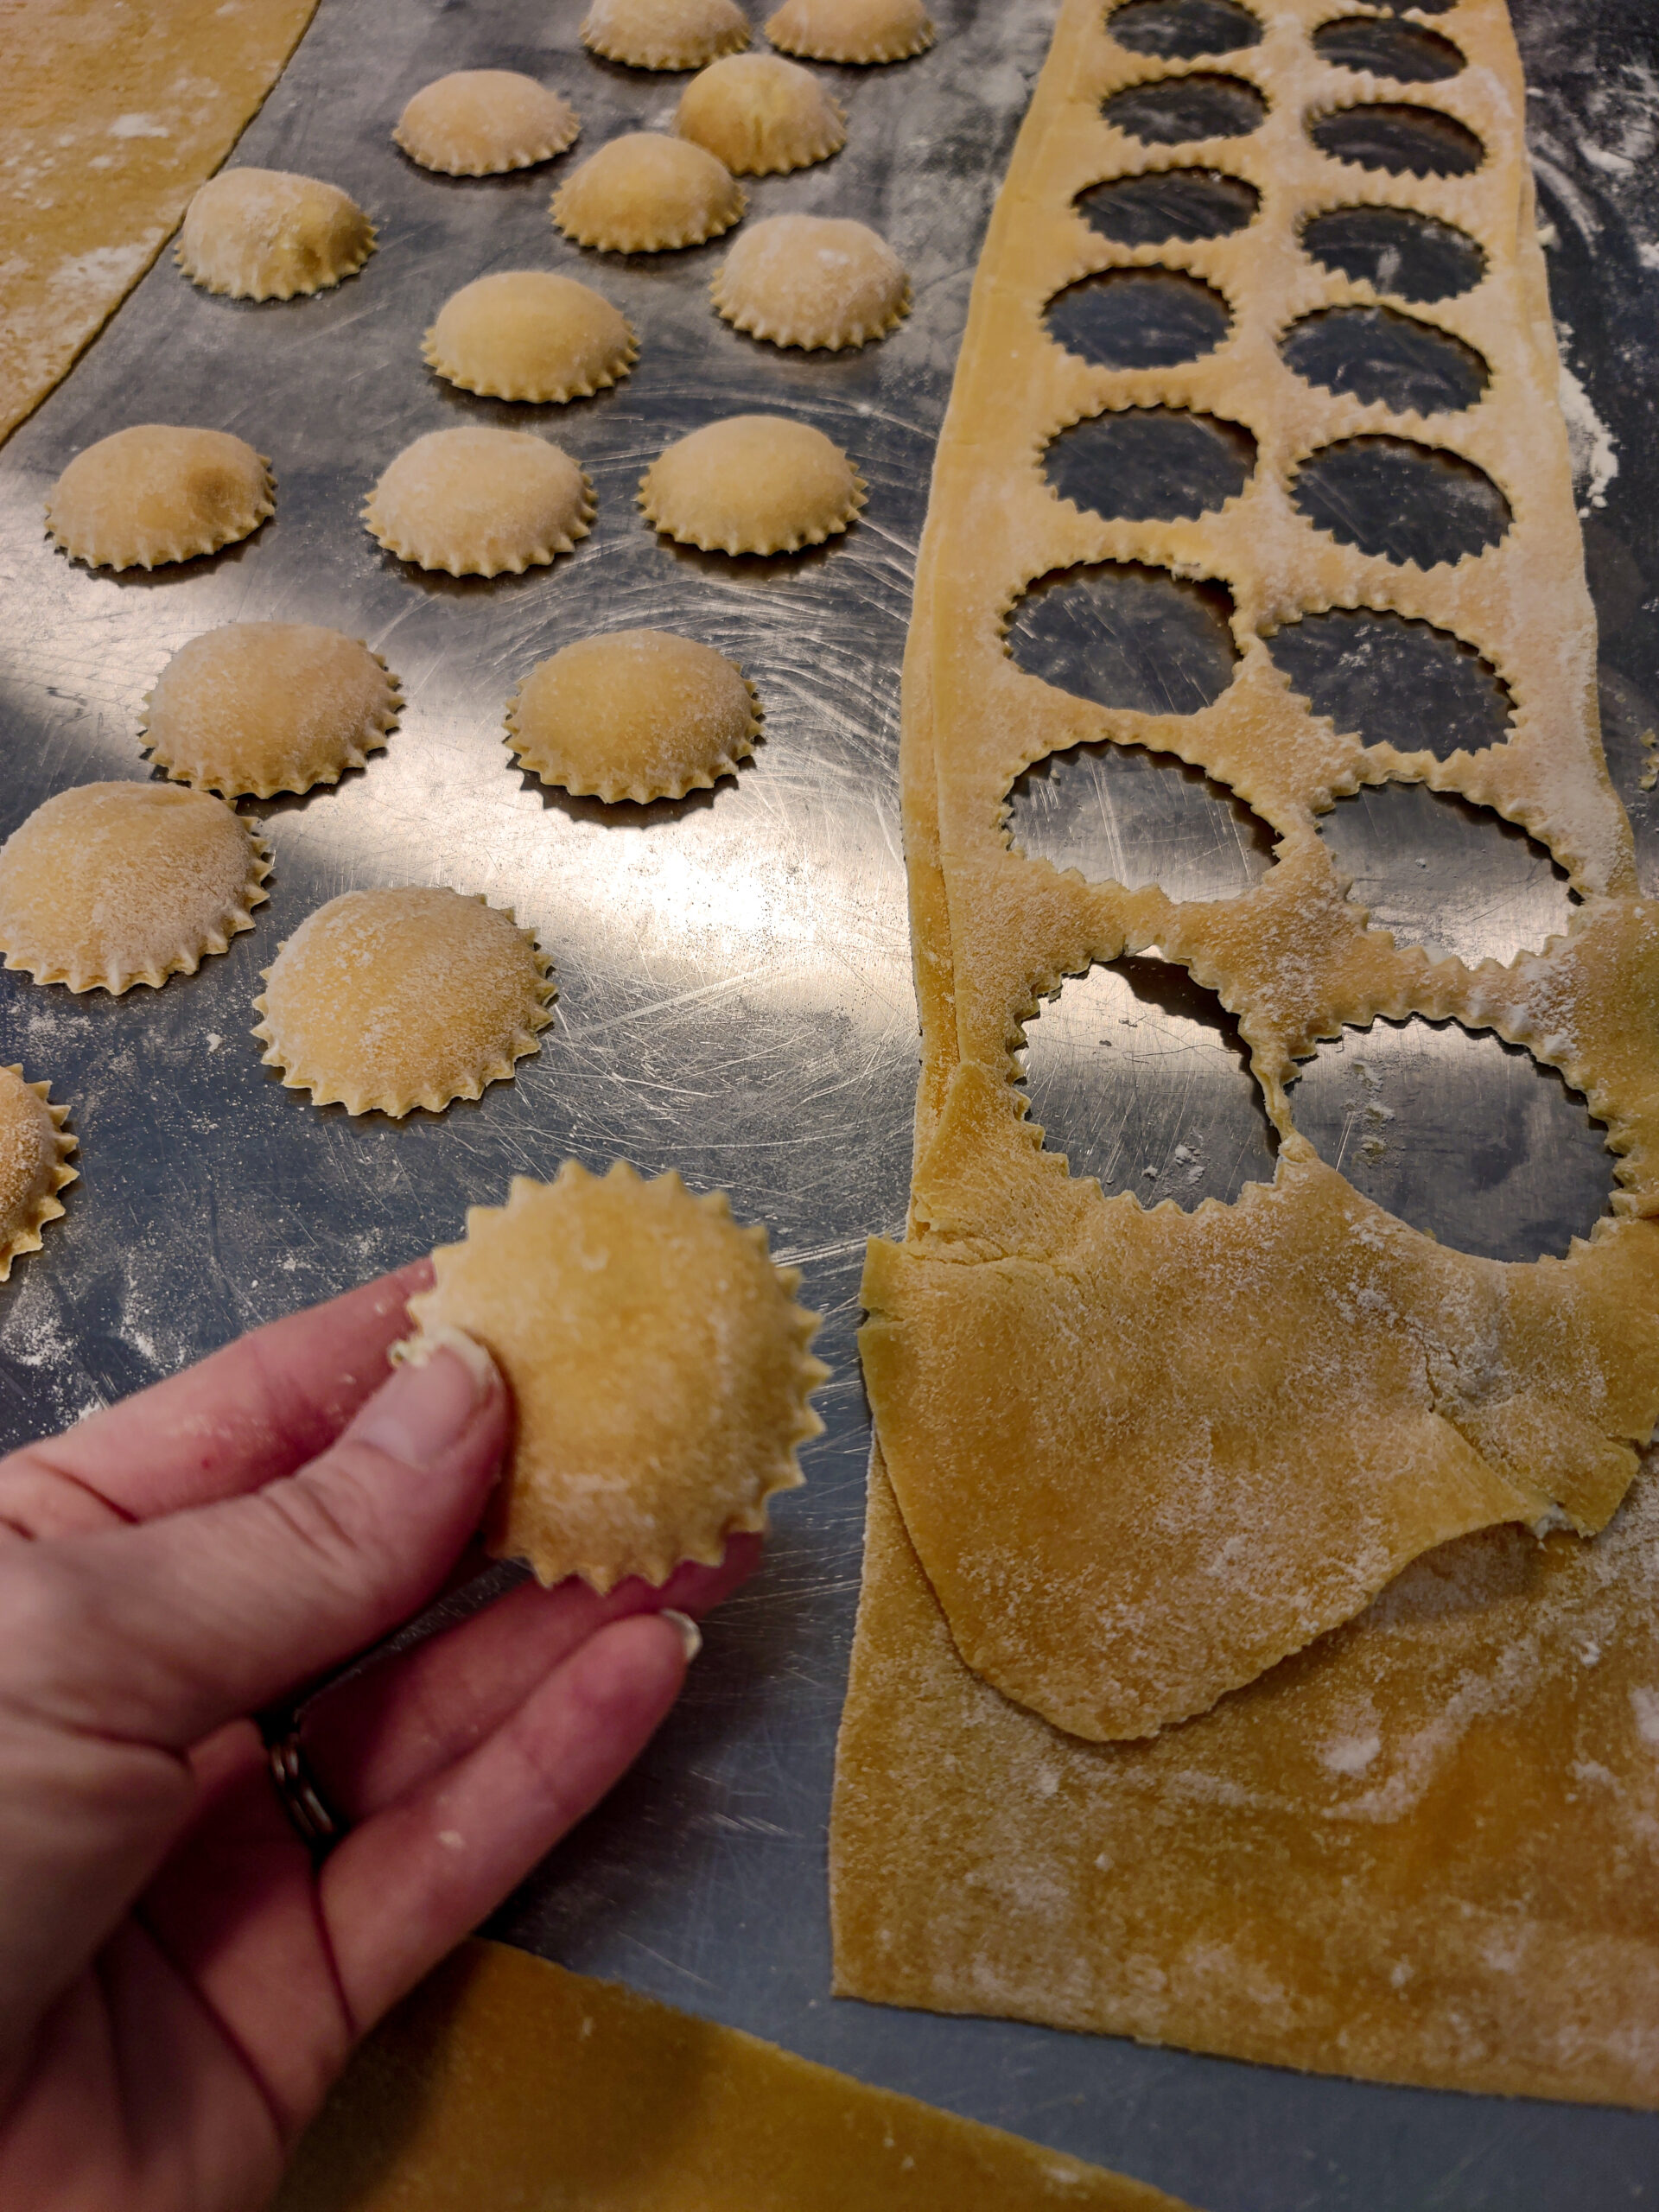
- Assemble the Ravioli – Pipe or spoon the filling onto the pasta sheet, top with another sheet, and cut into ravioli shapes.
- Seal the Edges – Press the edges firmly to keep the filling inside while cooking.
- Cook or Freeze – Drop fresh ravioli into boiling water or freeze for later!
Once you get the hang of it, making ravioli becomes second nature. I love using these ravioli cutters or this rolling pin to roll them out.
Substitutions: Customizing Your Ravioli
One of the best things about making ravioli from scratch is the flexibility. Here are some easy swaps:
- Dairy-Free: Use dairy-free ricotta or mashed tofu for the filling.
- Gluten-Free: Swap out the regular pasta dough for a gluten-free version.
- Egg-Free Pasta: Use a pasta dough made with semolina flour and water instead of eggs.
Small tweaks can make homemade ravioli fit any dietary needs without sacrificing flavor!
Variations: Different Filling Options
While ricotta and Parmesan is a classic combo, there are so many ways to get creative with ravioli fillings:
- Meat Lovers: Add cooked ground beef, sausage, or shredded chicken to the ricotta filling.
- Spinach & Ricotta: A classic vegetarian option that adds extra nutrients.
- Butternut Squash & Sage: A creamy, slightly sweet filling that pairs well with a brown butter sauce.
- Mushroom & Goat Cheese: Earthy, tangy, and perfect for a gourmet twist.
- Four Cheese: A decadent mix of ricotta, Parmesan, mozzarella, and provolone.
Whether you keep it traditional or get creative, homemade ravioli is always a winner!
Equipment: Using My Favorite KitchenAid Pasta Attachment
I can’t talk about homemade ravioli without mentioning how much I love my KitchenAid pasta roller attachment. It makes rolling out pasta sheets a breeze—especially when making large batches!
Instead of struggling with a rolling pin, I let the machine do the work, feeding the dough through progressively thinner settings until it’s just right. The result? Evenly rolled pasta sheets that are the perfect thickness for ravioli.
Roll the dough out with this tabletop pasta machine if you don't have a KitchenAid attachment.
Storage: Keeping Your Ravioli Fresh
Refrigerating Fresh Ravioli: If you plan to eat them within a day or two, place them on a parchment-lined tray, cover them, and refrigerate.
Freezing Ravioli:
- Lay ravioli in a single layer on a baking sheet.
- Freeze for about 1-2 hours until solid.
- Transfer to a freezer-safe bag or container.
Cooking from Frozen: No need to thaw! Drop them into boiling water and cook for 3-5 minutes until they float to the top.
Meal Prep: Making Ravioli in Bulk
Since ravioli freezes beautifully, I love making big batches on meal prep days. If I dedicate a few hours to making them, I can prepare several family-sized portions for weeks.
A general guide for meal-prepping ravioli:
- For a family of 4: Make about 40 ravioli.
- For a large family (like ours!): I aim for 100-120 ravioli per prep session.
- For easy dinners: Freeze in portions to grab just what you need.
A little extra effort upfront means homemade ravioli on demand—perfect for busy nights!
Homemade Ravioli: A Labor of Love
There’s something deeply satisfying about making ravioli from scratch. It’s a little time-consuming, but the reward is beyond worth it. Whether you’re making a small batch for tonight’s dinner or prepping a freezer stash for future meals, homemade ravioli is a meal that brings joy to the table.
So, grab some flour, eggs, and cheese, and get rolling—your family (and your taste buds) will thank you!
Print
Homemade Ravioli
Description
There's nothing quite like the satisfaction of biting into a pillowy homemade ravioli—freshly made egg pasta enveloping a creamy, cheesy filling, all smothered in a vibrant, homemade marinara sauce. This is comfort food at its finest—a dish that brings family together at the table and makes everyone go, “Yummy!” Whether you’re planning a special family dinner or meal-prepping for busy weekdays, this ravioli recipe is a labor of love that’s both fun to make and utterly delicious.
Ingredients
For the Cheese Filling:
- 1 cup whole milk ricotta cheese
- ½ cup grated Parmesan cheese
- 1 egg yolk (helps bind the filling)
- Salt and pepper, to taste
- A pinch of ground nutmeg (optional, for warmth)
- Chopped fresh herbs (basil or parsley), optional
Instructions
- Make the homemade egg pasta dough recipe.
- After the dough has rested, divide it into 2 or 3 equal pieces to make it easier to work with. Keep the pieces you aren't using covered to prevent them from drying out.
- If you have a KitchenAid pasta attachment, set it up according to the manufacturer's instructions. Dust your pasta roller with flour to prevent sticking, then feed one piece of dough through the machine at the widest setting. Fold the dough in half, dust lightly with flour, and feed it through again. Repeat this process 3-4 times to develop the dough's smooth texture, gradually reducing the thickness until you achieve a thin sheet (about 1/16 inch thick). Aim for a uniform thickness across the entire sheet if you're rolling by hand.
- Place the rolled-out pasta sheets on a lightly floured surface or large sheets of parchment paper. Cover them with a clean kitchen towel while you work on the filling to prevent them from drying out.
3. Preparing the Cheese Filling
- Combine the whole milk ricotta, grated Parmesan, and egg yolk in a mixing bowl—season with salt, pepper, and a pinch of nutmeg. If using, fold in chopped fresh herbs such as basil or parsley. The filling should be smooth, creamy, and well-blended. Taste a bit (if you dare!) to ensure proper seasoning.
- Transfer the cheese mixture into a piping bag fitted with a small round tip for ease of filling your ravioli. This will allow you to deposit neat, controlled dollops of filling onto your pasta sheet. If you don't have a piping bag, you can spoon the mixture carefully, but a piping bag makes the process much faster and cleaner.
4. Assembling the Ravioli
- Please lay one of your pasta sheets flat on a lightly floured surface. Using the piping bag, place small dollops (about one teaspoon each) of cheese filling onto the pasta sheet, spacing them about 2 inches apart. Be careful not to overfill, or your ravioli may burst open during cooking!
- Gently lay a second pasta sheet over the top of the first one, taking care not to press out the filling. Using your fingers or a small rolling pin, lightly press around each dollop of filling to ensure there are no air pockets and that the two sheets are sealed together.
- Cut out individual ravioli squares or rounds using a sharp knife, pizza cutter, or ravioli cutter. If you have a ravioli stamp or mold, now is the time to use it! Press the edges firmly with your fingers or a fork to secure the filling inside.
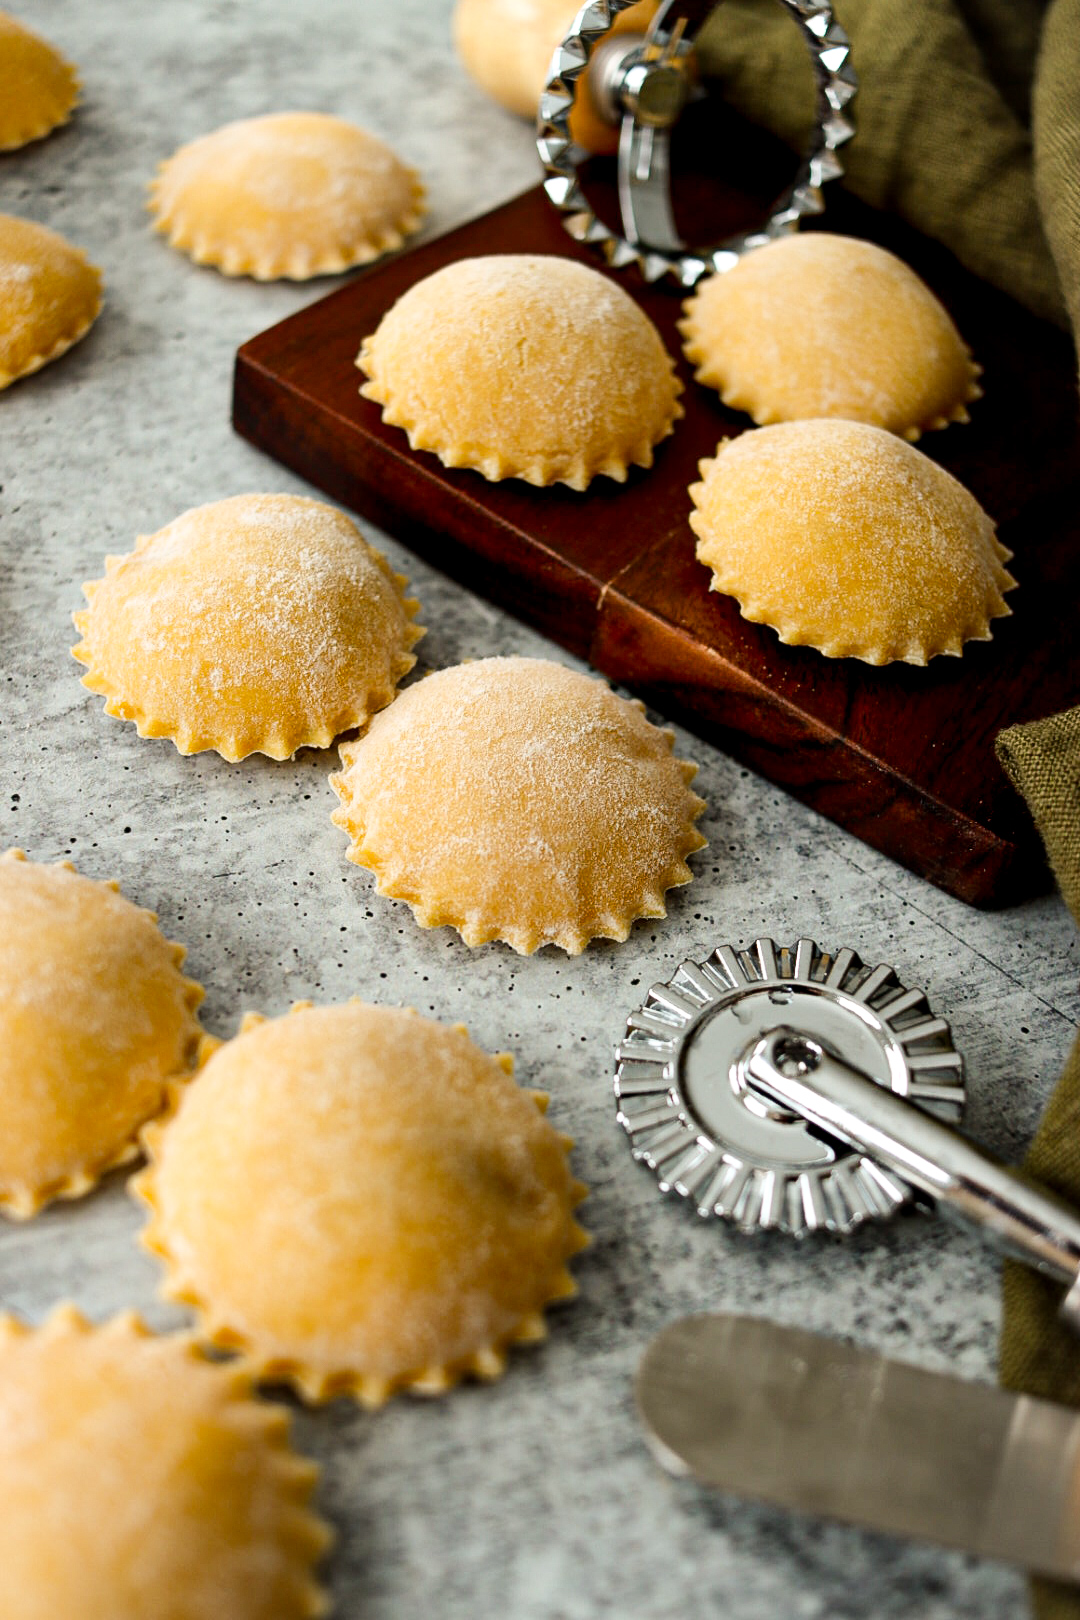
- Once all your ravioli are cut, arrange them on a parchment-lined baking sheet. If you're cooking them immediately, you're ready for the next step. Otherwise, if you're freezing them for later, let them freeze individually for 1-2 hours before transferring them to a freezer-safe bag or container. Properly frozen ravioli can last for up to three months.
5. Cooking Your Ravioli
- Fill a large pot with salted water and bring it to a boil. The salt is crucial—it helps season the pasta as it cooks and prevents sticking.
- Gently drop a few ravioli into the boiling water. They should float to the surface within 3-5 minutes, indicating that they are cooked through. Be careful not to overcrowd the pot—cook in batches if necessary. Use a slotted spoon to remove the ravioli, letting any excess water drain off.
- Serve your freshly cooked ravioli with a generous ladle of homemade marinara sauce, a sprinkle of extra Parmesan, and a few fresh basil leaves for garnish. Enjoy the soft, pillowy texture and the rich, cheesy filling that delights every bite.
Notes
This is my favorite rolling pin for shaping raviolis and my favorite ravioli cutters.
Leave a Reply