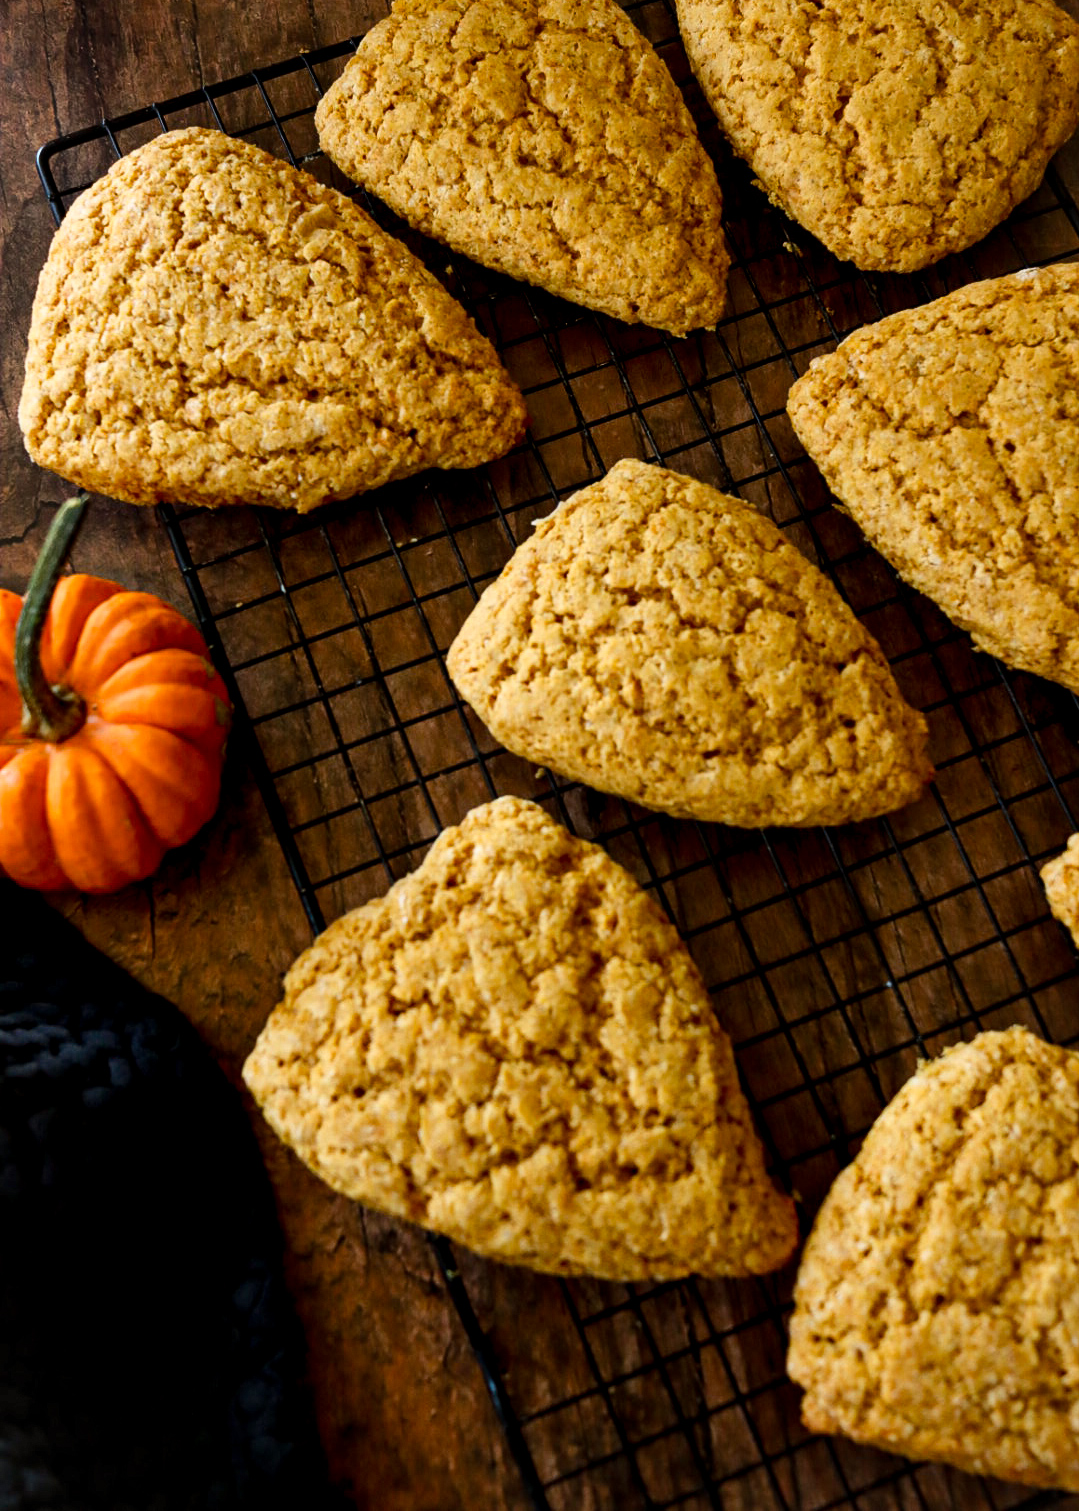
Enjoy the fall flavors with these homemade pumpkin scones with a rich maple glaze. Perfect for breakfast or dessert, these easy-to-make scones are a cozy seasonal treat the whole family will love!
Pumpkin season is in full swing here on the homestead, and I couldn't be happier! With the cooler weather and my new baby finally settling into a good routine, I've been able to get back into the kitchen and whip up some of my favorite seasonal treats. One of the best things about this time of year is all the delicious pumpkin goodies, and I have to say, these Homemade Pumpkin Scones with Maple Glaze are at the top of my list.
These pumpkin scones are perfect for breakfast or dessert. They have just the right spice and a soft, tender crumb and are topped with a luscious maple glaze made from our homestead maple syrup. Trust me, if you're looking for a cozy fall treat that’s simple and delicious, these scones are where it’s at.
Why Fresh Pumpkin Puree?
Let’s talk about one of the main ingredients in these pumpkin scones: fresh pumpkin puree. Sure, you could grab a can of pumpkin puree from the store, and there’s nothing wrong with that. But there’s something special about using fresh pumpkin, especially when it comes straight from the garden. Fresh puree has a richer, more vibrant flavor, and it’s so easy to make if you have pie pumpkins on hand. Plus, making your puree means you know exactly what’s going into your scones—no preservatives or additives here!
When you use fresh pumpkin puree in your baking, you'll notice a deeper, more authentic flavor. The texture is also smoother, blending perfectly into your scone batter. If you’ve never made your pumpkin puree, don’t worry—it’s super simple! Just roast your pumpkin, scoop out the flesh, and blend it. You can even make extra to freeze for future baking adventures.
Here’s why fresh pumpkin puree takes these scones to the next level:
- Flavor: Fresh puree has a much more robust pumpkin flavor than the canned variety. It’s subtle yet earthy and adds a delicious depth to your baked goods.
- Texture: The texture is smoother and less watery than canned pumpkin, which helps give your scones that perfect tender crumb.
- Homemade Goodness: Making your puree allows you to control the quality of your ingredients, and it’s a great way to use up those pie pumpkins from your garden.
Why Heavy Cream in Scones?
The secret to a perfect scone is the texture; heavy cream is the key to achieving that melt-in-your-mouth tenderness. While some scone recipes use milk or even buttermilk, I use heavy cream. It adds richness and a little bit of extra fat, which helps keep the scones soft and moist on the inside while still giving you that crisp, golden exterior.
Heavy cream also helps the scones rise beautifully, creating those signature flaky layers that make scones so irresistible. The result is a tender, buttery scone with just the right amount of richness. Heavy cream is non-negotiable if you want to treat yourself to the best homemade scones!
Here’s why heavy cream is the magic ingredient in these pumpkin scones:
- Richness: The fat in heavy cream adds an extra layer of richness that makes the scones soft and luxurious without being too dense.
- Moisture: Scones can sometimes be dry, but heavy cream ensures that these pumpkin scones stay perfectly moist with every bite.
- Flakiness: Heavy cream helps the dough hold its shape and rise properly, creating that lovely flaky texture that we all love in a good scone.
The Maple Glaze: A Sweet Finishing Touch
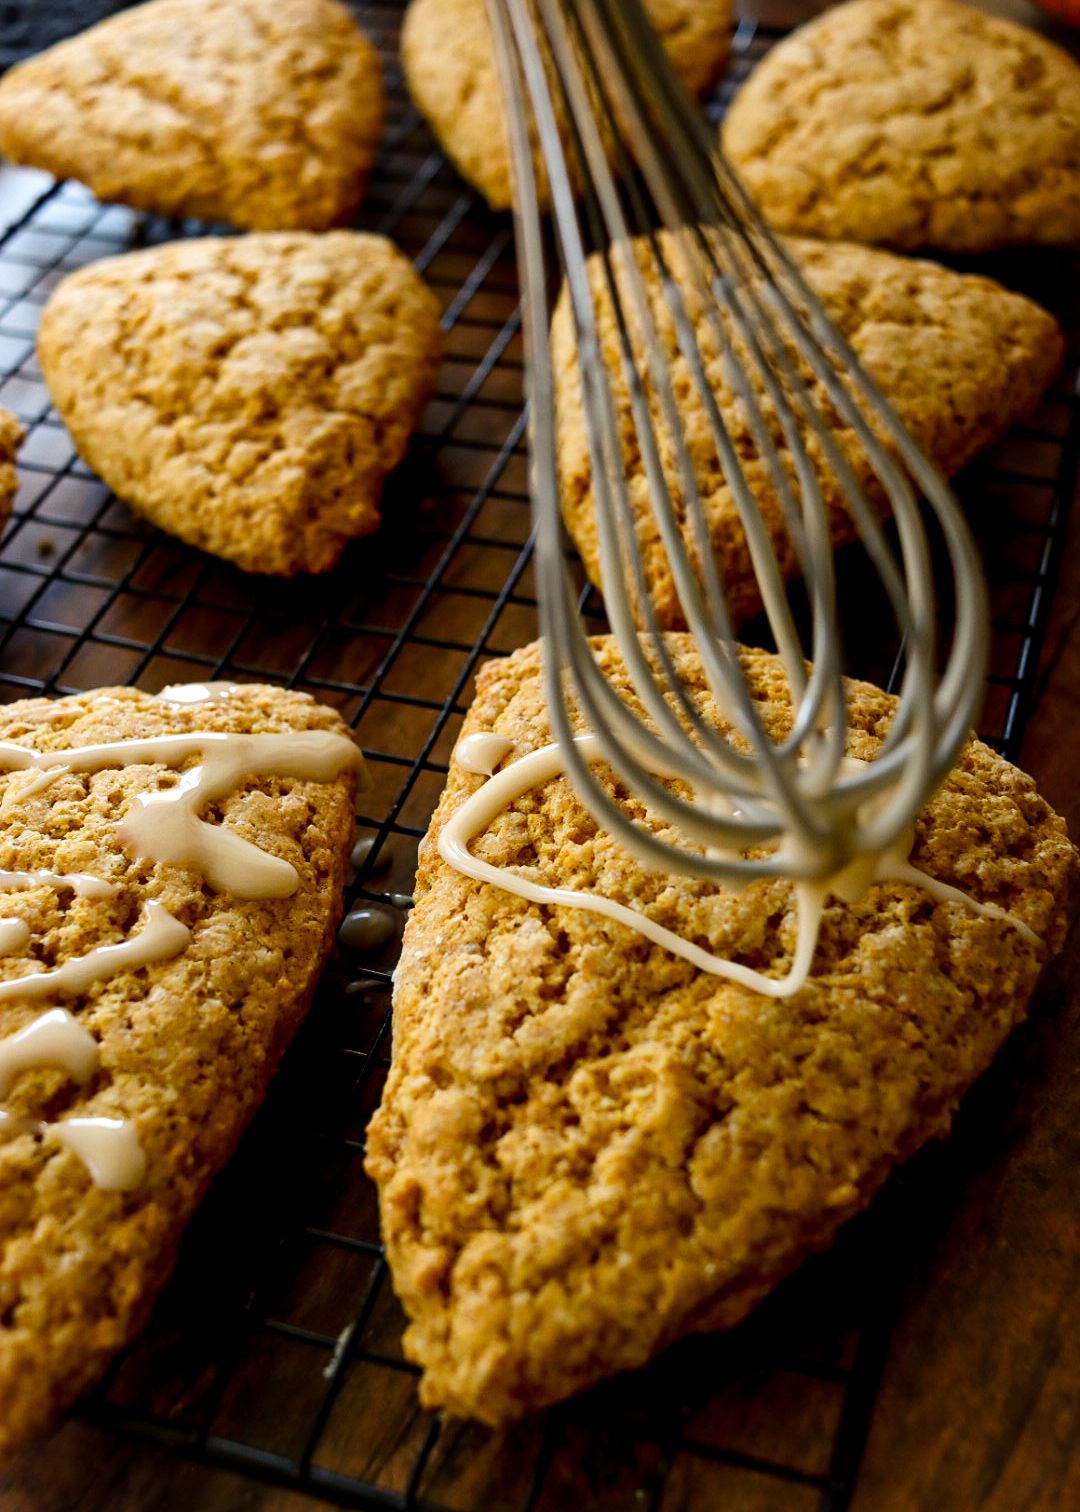
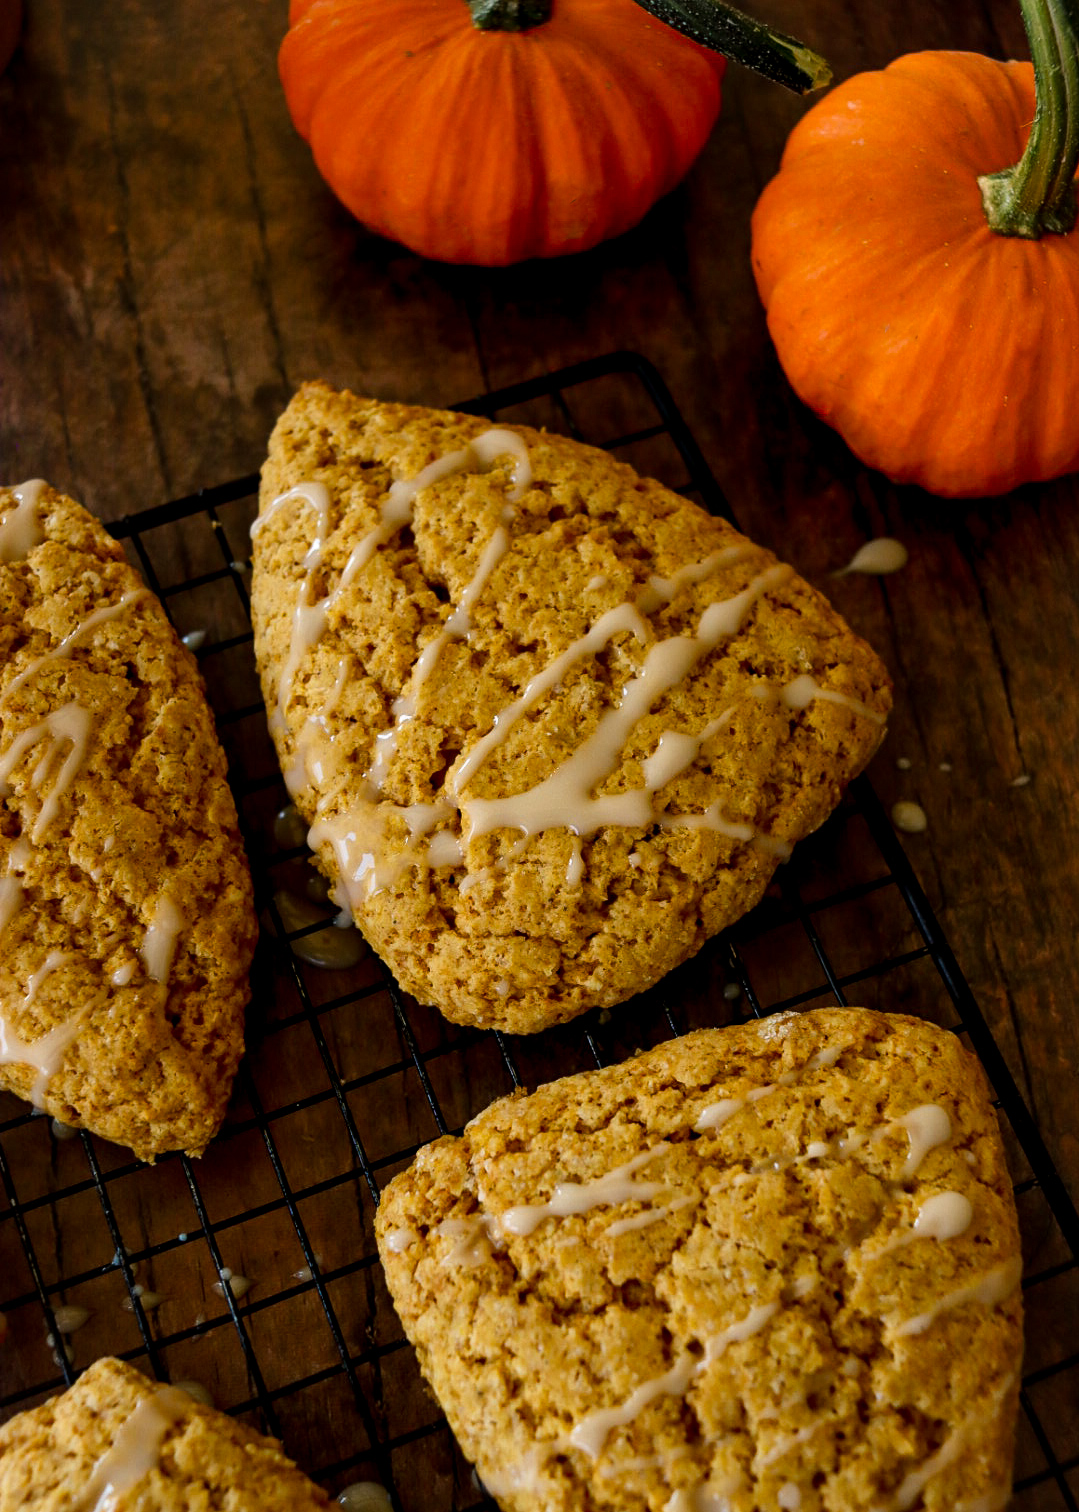
No pumpkin scone would be complete without a glaze, and let me tell you, this maple glaze is to die for! Made with real maple syrup (we use our own from the homestead), the glaze adds a sweet, slightly caramelized flavor that pairs perfectly with the spiced pumpkin scone. It’s rich and smooth, with just the right amount of sweetness to complement the warm, earthy flavors of the scone itself.
What I love about this glaze is that it's easy to make—mix up a few simple ingredients, drizzle it over your scones, and let it set. As it hardens, the glaze adds a delightful, sweet crunch to the top of the scones while still keeping them soft and tender inside. And if you’re anything like me, you’ll want to make a little extra glaze just for dipping!
Here’s why the maple glaze is the ultimate finishing touch:
- Sweet and Rich: The natural sweetness of maple syrup shines through in this glaze, adding a rich, caramel-like flavor that pairs perfectly with the pumpkin spice.
- Simple to Make: The glaze comes together in minutes and adds that bakery-style finish to your scones. It’s the easiest way to elevate your homemade baked goods.
- Versatile: If you’re not a huge maple fan, you can easily switch up the glaze by adding a little vanilla or cinnamon for a different twist. But honestly, the maple version is hard to beat!
Freezing Pumpkin Scones for Later
One of the great things about scones is how well they freeze. If you’re anything like me, you probably want to keep some on hand for those busy mornings when you don’t have time to bake but still want something homemade. These pumpkin scones freeze beautifully, and you can easily double or even triple the recipe to stock up for later.
To freeze your scones, bake them as usual and let them cool completely. Once cooled, place them on a baking sheet and freeze them for about an hour. This allows the scones to freeze individually and prevents them from sticking together. Once frozen, transfer them to a freezer bag or airtight container and store them for up to three months.
When you’re ready to enjoy your frozen scones, just let them thaw at room temperature for a few hours or pop them in the microwave for a quick defrost. You can even warm them up in the oven for a few minutes to recreate that fresh-from-the-oven experience!
Enjoy the Perfect Fall Treat
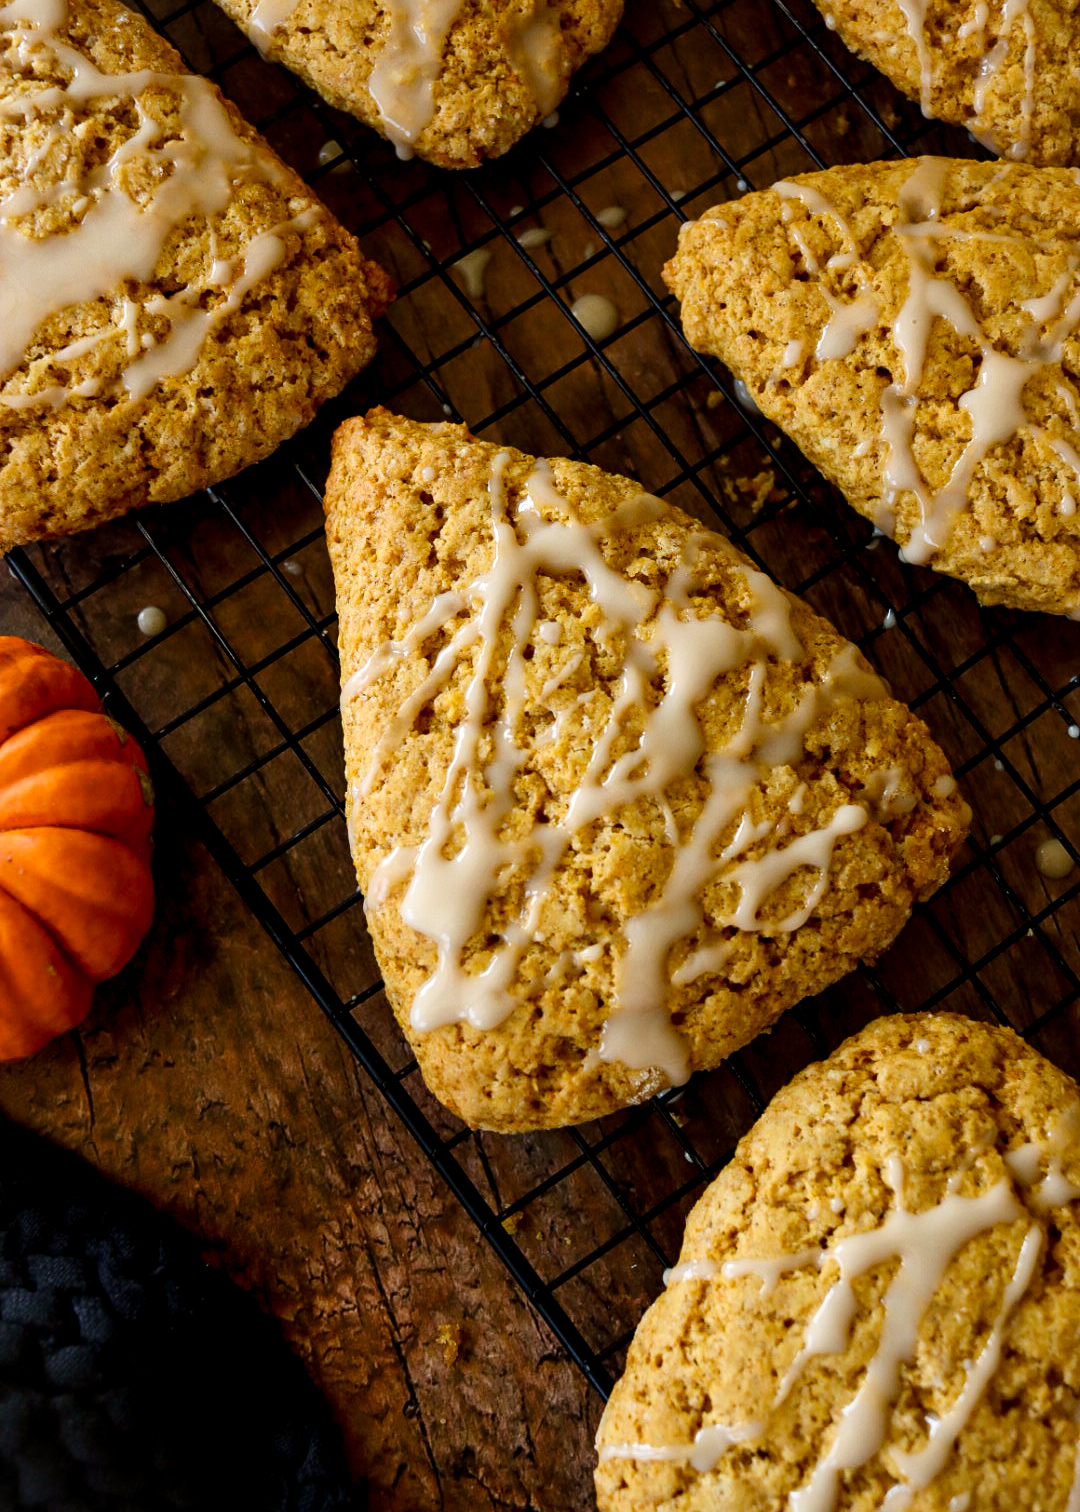
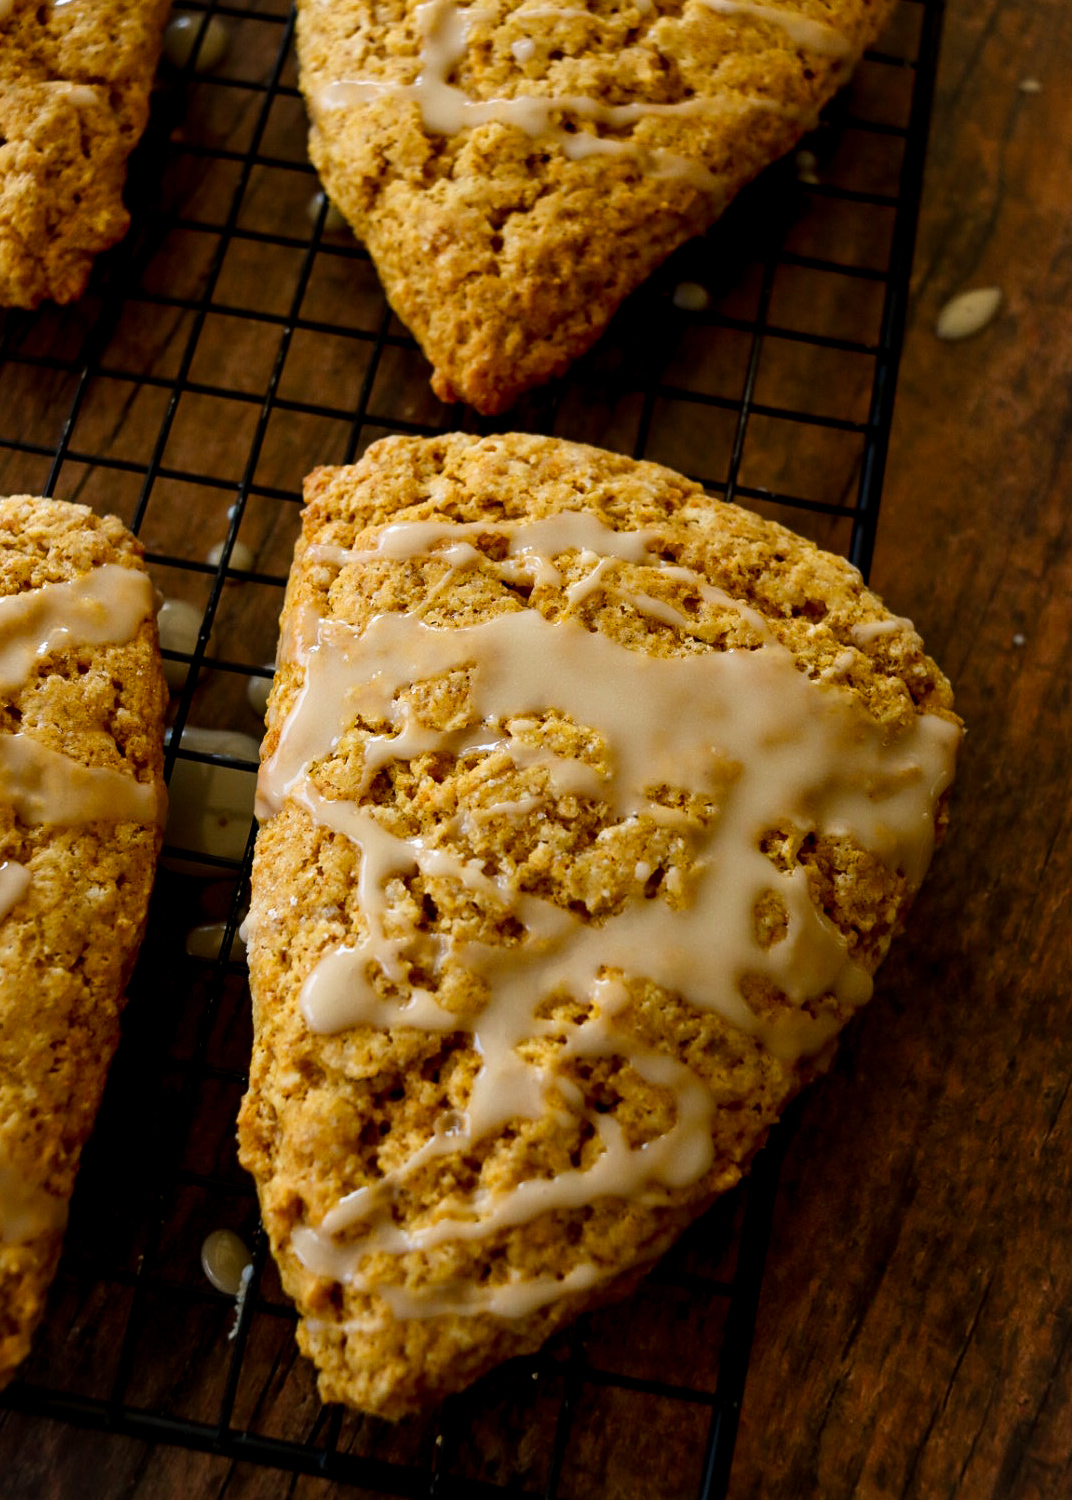
These Homemade Pumpkin Scones with Maple Glaze are the perfect fall treat, whether you’re enjoying them for breakfast, dessert, or a snack with your afternoon coffee. The combination of warm spices, rich pumpkin, and sweet maple glaze is pure autumn bliss. And the best part? They’re super simple to make and freeze beautifully so you can enjoy them all season long!
Whether you’re new to scone-making or a seasoned pro, you'll love this recipe. It’s a great way to bring the cozy flavors of fall into your kitchen and share them with family and friends. Plus, if you’re a fan of all things pumpkin like I am, this is one recipe you’ll want to keep in your rotation.
I hope you enjoy these pumpkin scones as much as my family does! They’re a simple yet delicious way to celebrate pumpkin season, and the maple glaze is just the icing on the cake—or, in this case, the scone! If you try this recipe, please leave a review and let me know what you think. Your feedback helps the blog grow and motivates me to create and share delicious recipes.
Print
Pumpkin Scones with Maple Glaze
- Total Time: 0 hours
- Yield: 8 scones 1x
Description
These pumpkin scones are tender and lightly spiced with a rich maple glaze. Perfect for fall mornings with a cup of coffee or tea.
Ingredients
For the Scones:
- 2 cups all-purpose flour
- ½ cup brown sugar
- 1 tablespoon baking powder
- ½ teaspoon salt
- ½ teaspoon ground cinnamon
- ½ teaspoon ground ginger
- ¼ teaspoon ground nutmeg
- ¼ teaspoon ground cloves
- 6 tablespoons cold unsalted butter, cubed
- ½ cup pumpkin puree
- ¼ cup heavy cream
- 1 large egg
- 1 teaspoon vanilla extract
For the Maple Glaze:
- 1 cup powdered sugar
- 2 tablespoons maple syrup
- 1 tablespoon milk (or more to reach desired consistency)
- ½ teaspoon vanilla extract
Instructions
- Preheat your oven to 400°F (200°C) and line a baking sheet with parchment paper.
- Whisk together the flour, brown sugar, baking powder, salt, cinnamon, ginger, nutmeg, and cloves in a large bowl.
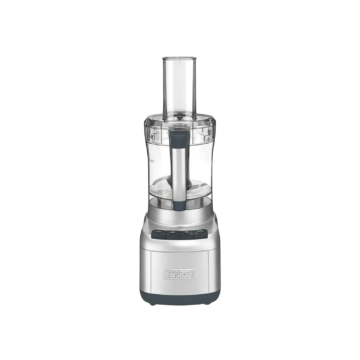
- Using a pastry cutter or food processor to cut the cold butter into the flour mixture until it resembles coarse crumbs.
- Whisk together the pumpkin puree, heavy cream, egg, and vanilla extract in a separate bowl.
- Pour the wet ingredients into the dry mixture and stir until just combined. The dough will be slightly sticky.
- Turn the dough onto a lightly floured surface and gently form it into a circle about 1 inch thick. Cut the circle into eight wedges and place them on the baking sheet.
- Bake for 12-15 minutes or until the scones are golden brown and cooked. Let them cool on the baking sheet.
- Whisk together the powdered sugar, maple syrup, milk, and vanilla extract in a small bowl until smooth. Drizzle the maple glaze over the cooled scones.
Equipment
 Buy Now →
 Notes
For a gluten-free option, use a 1-to-1 gluten-free baking flour instead of regular flour in both scone recipes.
- Prep Time: 15 mins
- Cook Time: 12-15 mins
- Category: breakfast

Leave a Reply