Learn how to make light and fluffy homemade pita bread with our easy recipe. Perfect for summer meals, these pitas are ideal for stuffing with pulled pork, cucumber chickpea salad, or farm-fresh chicken gyros.
In my homestead kitchen, I like to bake lighter types of bread, such as pita bread, flatbread, and naan, in the summer. Summers can be hot and busy; the kids want simple lunches and dinners. Pita pockets are a delicious and versatile option for stuffing with various fillings, from pulled pork and cucumber chickpea salad to farm-fresh chicken gyros.
A Light, Flavorful Bread for Summer Meals
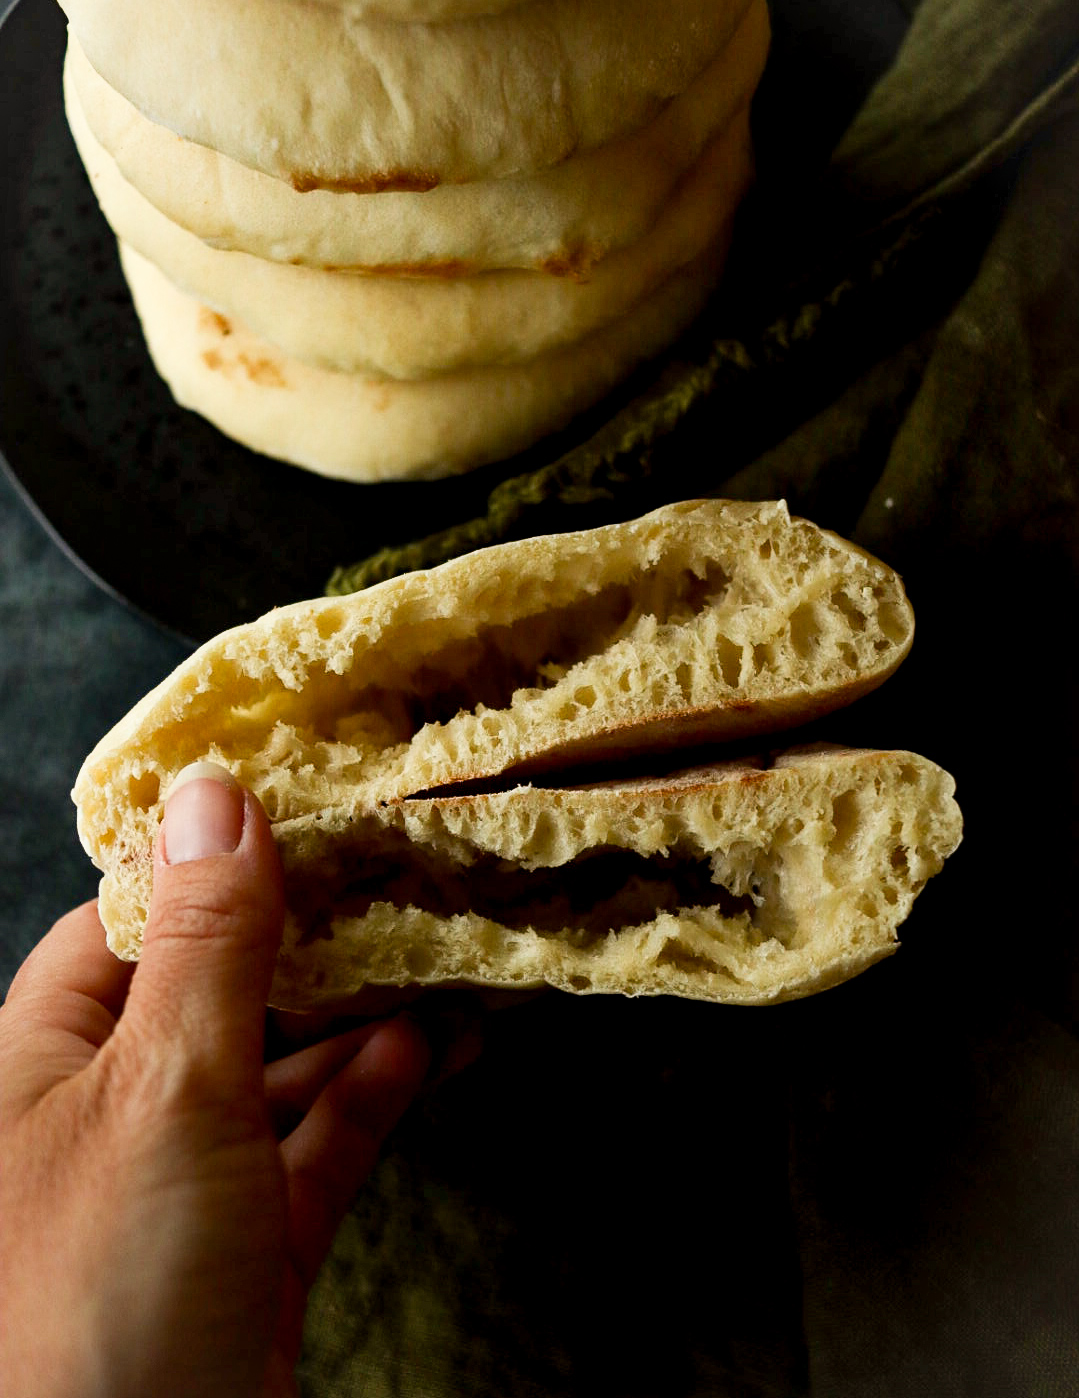
Homemade pita bread is light and fluffy, perfect for hot summer days when you need something less heavy. The unique pocket in the bread is ideal for stuffing with all kinds of delicious fillings, making it a versatile addition to your meal repertoire. The taste of homemade pita is far superior to store-bought, offering a fresh, slightly chewy texture with a delightful hint of yeast.
Why These Ingredients?
- Activated Dry Yeast: Activated dry yeast is essential for making pita bread. It helps the dough rise, creating a light and airy texture. The yeast contributes to the bread's softness and adds a subtle, pleasant flavor. Ensuring your yeast is activated correctly (by dissolving it in warm water and a bit of sugar) guarantees a perfect rise and fluffy pita every time.
- Avocado Oil: Avocado oil is a good choice for making pita bread. It has a high smoke point, which is excellent for baking and imparts a mild, buttery flavor to the bread. Additionally, avocado oil is rich in healthy fats, making it a nutritious choice for your homemade bread. It helps keep the dough soft and pliable, ensuring your pitas are tender and delicious.
- Hot Baking Stone or Pan: Baking your pita bread on a hot baking stone or pan is crucial for achieving that classic pocket in the middle. The intense heat causes the moisture in the dough to rapidly turn to steam, puffing up the bread and creating a pocket. This method also gives the pita a wonderful texture, with a slightly crisp exterior and a soft, pillowy interior. A hot surface ensures even cooking and helps the bread maintain its shape and fluffiness.
Versatility for Simple, Delicious Meals
One of the most significant advantages of homemade pita bread is its versatility. Pita pockets can be filled with various ingredients, making them perfect for quick lunches and dinners. Here are a few of our favorite fillings:
- Pulled Pork: Slow-cooked, tender pulled pork stuffed into a warm pita pocket is a family favorite. Add some coleslaw or pickled onions for extra flavor.
- Cucumber and Chickpea Salad: This refreshing and healthy salad combines crunchy cucumbers, protein-packed chickpeas, and a tangy vinaigrette. It's perfect for a light, vegetarian meal.
- Farm-Fresh Chicken Gyros: Picture this: Marinate and grill some farm-fresh chicken, then slice it thin and stuff it into pita pockets with tzatziki sauce, tomatoes, and onions. It's a delicious homemade gyro that's not just tasty but also a healthier option.
Easy to Make, Perfect for Busy Families
Making pita bread from scratch might seem daunting, but with my easy recipe, it’s a breeze. The ingredients are simple and likely already in your pantry, and the process is straightforward.
The Simple Process of Making Pita Bread
One of the most satisfying things about homemade pita bread is how wonderfully simple it is to make. Here’s a step-by-step guide to the process:
- Activate the Yeast: Dissolve active dry yeast in warm water at around 110°F (43 °C) with a pinch of sugar. Let it sit for about 10 minutes until it becomes frothy.
- Mix the Dough: In a large bowl, combine the activated yeast mixture with [all-purpose or bread] flour, salt, and avocado oil. Mix until the dough starts to come together.
- Knead the Dough: Turn the dough onto a floured surface and knead it for about 10 minutes until it’s smooth and elastic. This is a fun part that you can involve the kids in!
- Let the dough Rise: Place it in a lightly oiled bowl, cover it with a damp cloth, and let it rise in a warm place for about an hour or until it has doubled.
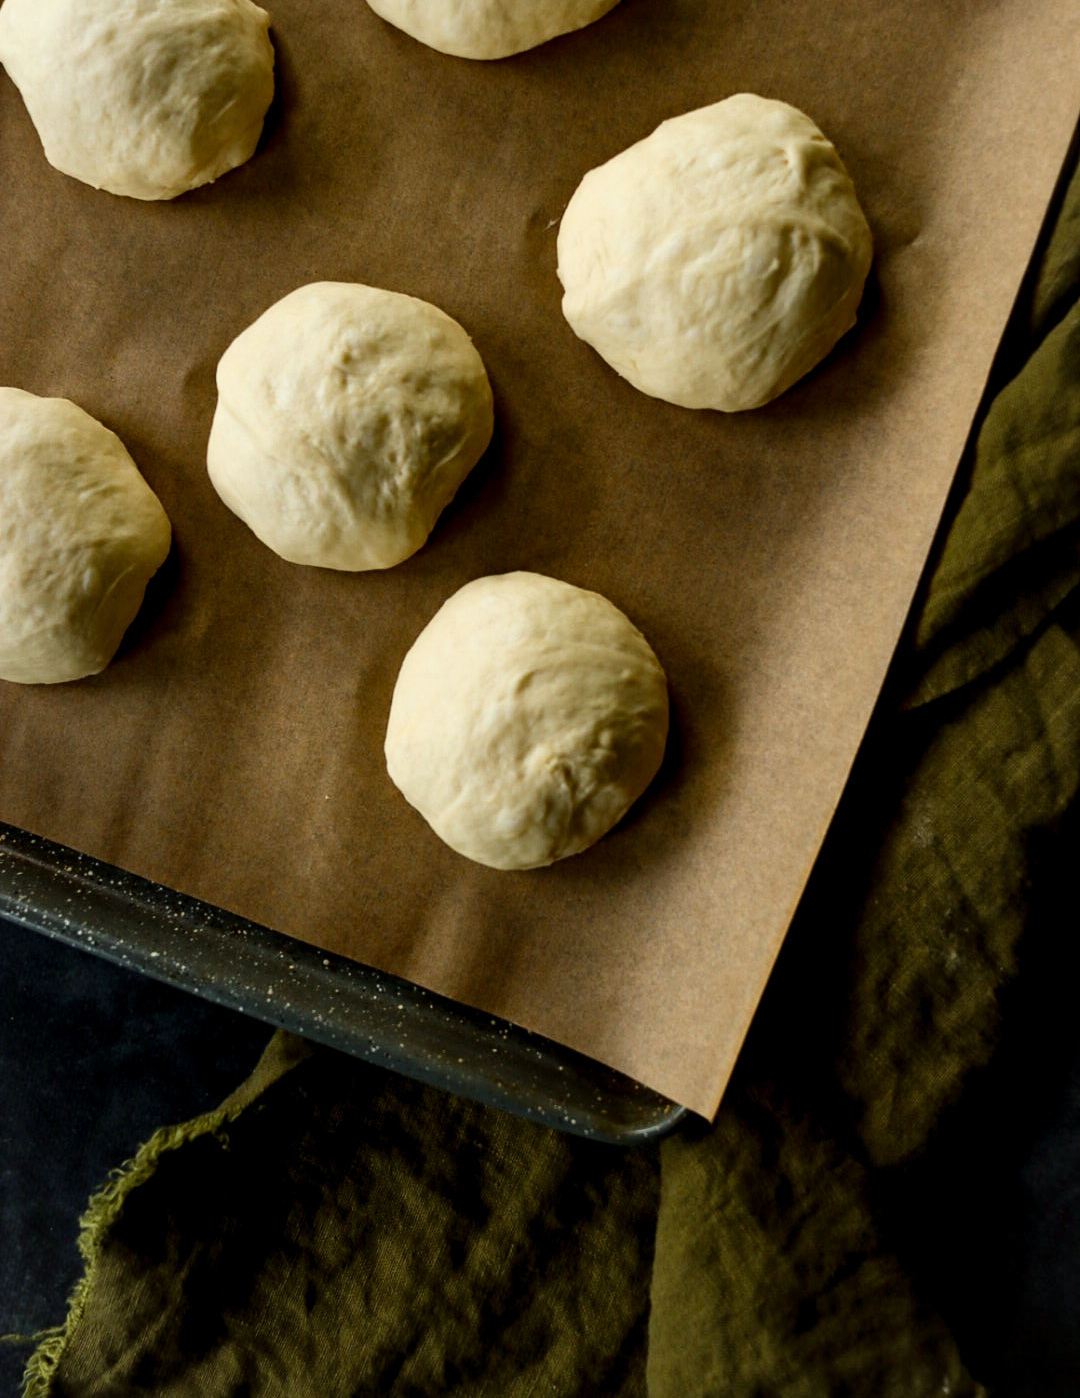
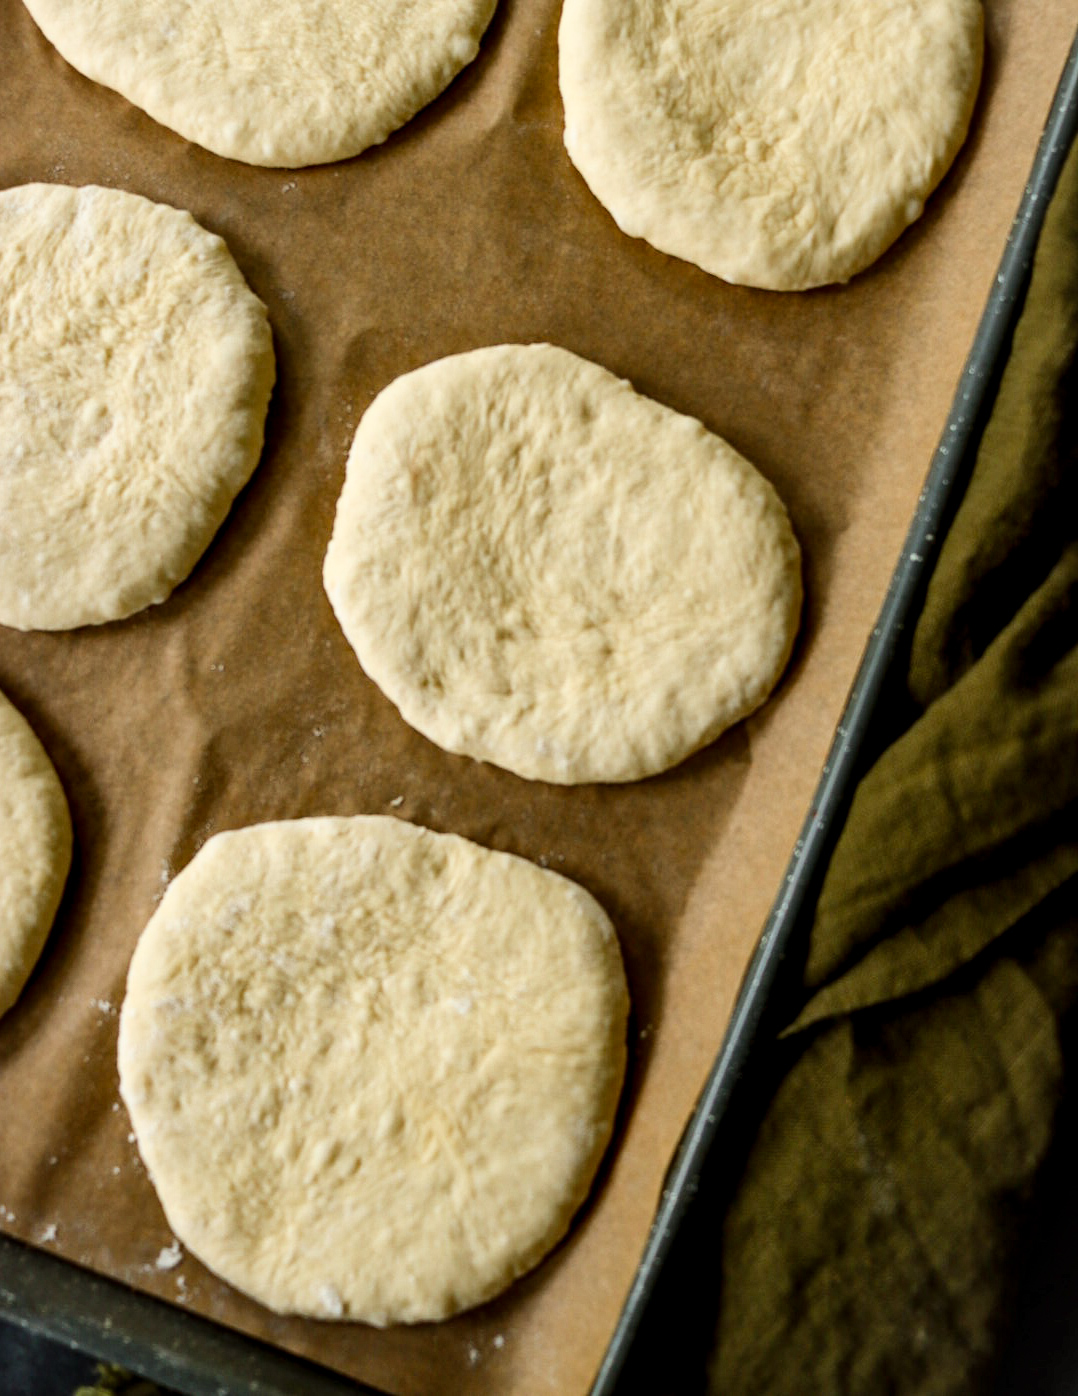
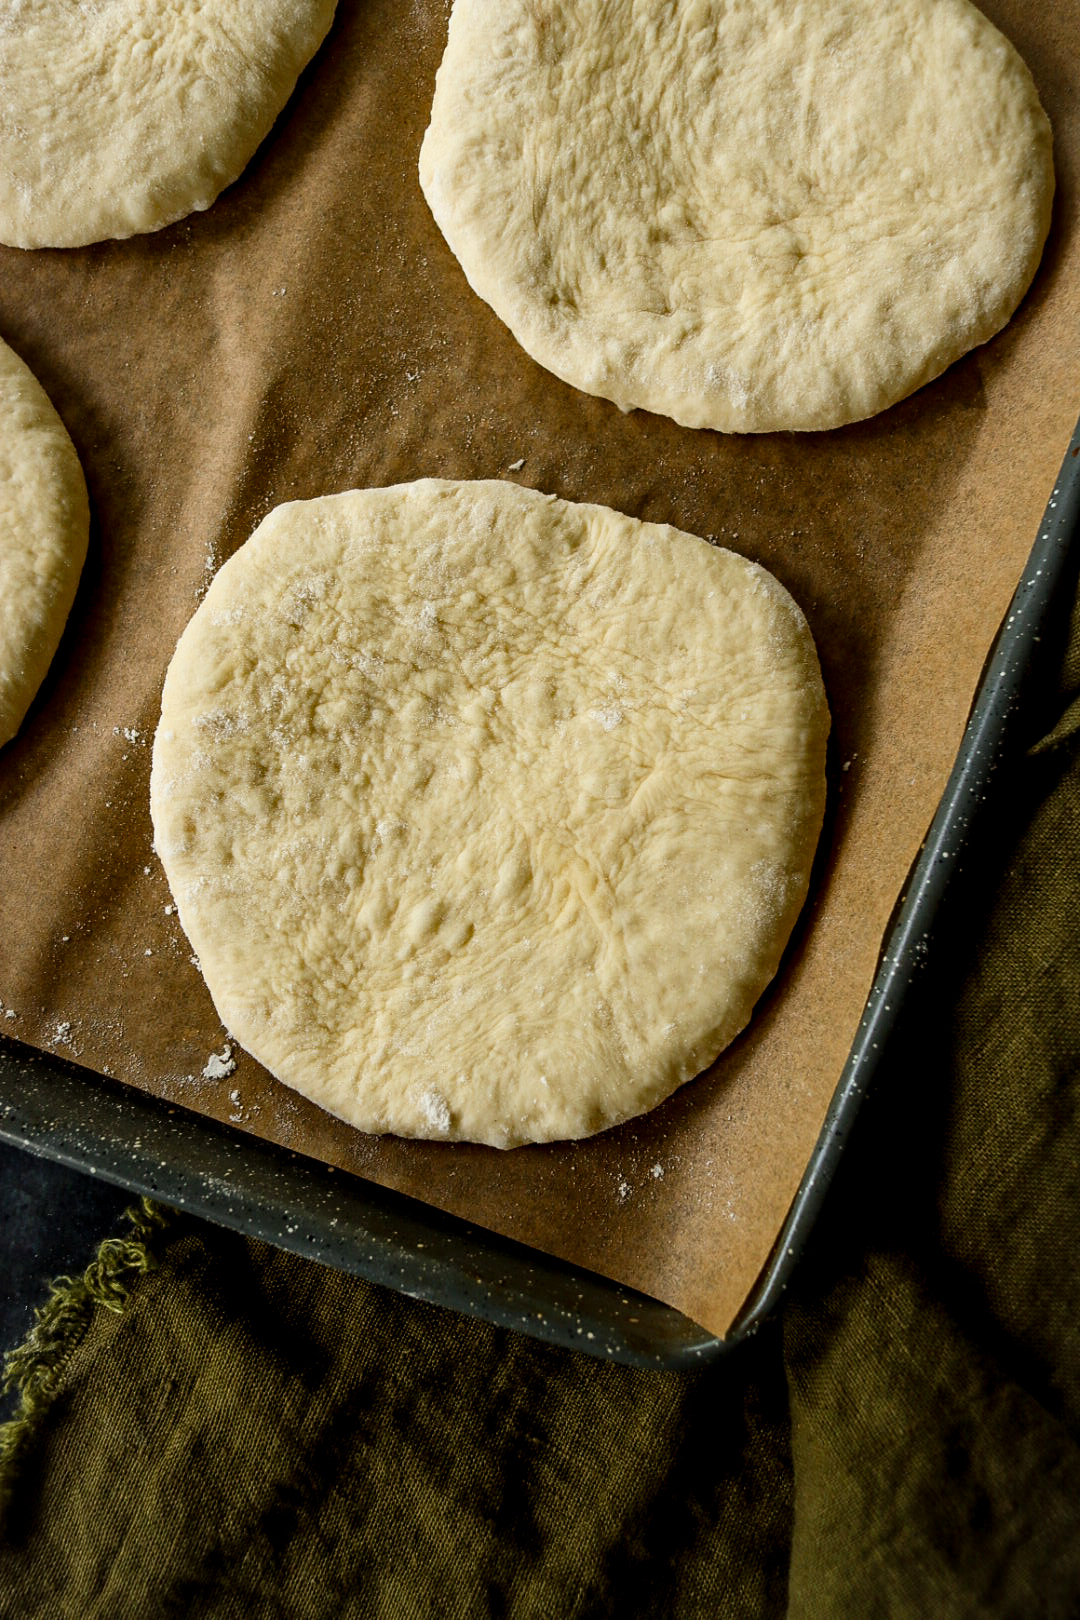
- Shape the Pitas: Punch down the risen dough and divide it into small, equal-sized balls. Roll each ball into a flat, about 6-inch round disc about ¼ inch thick.
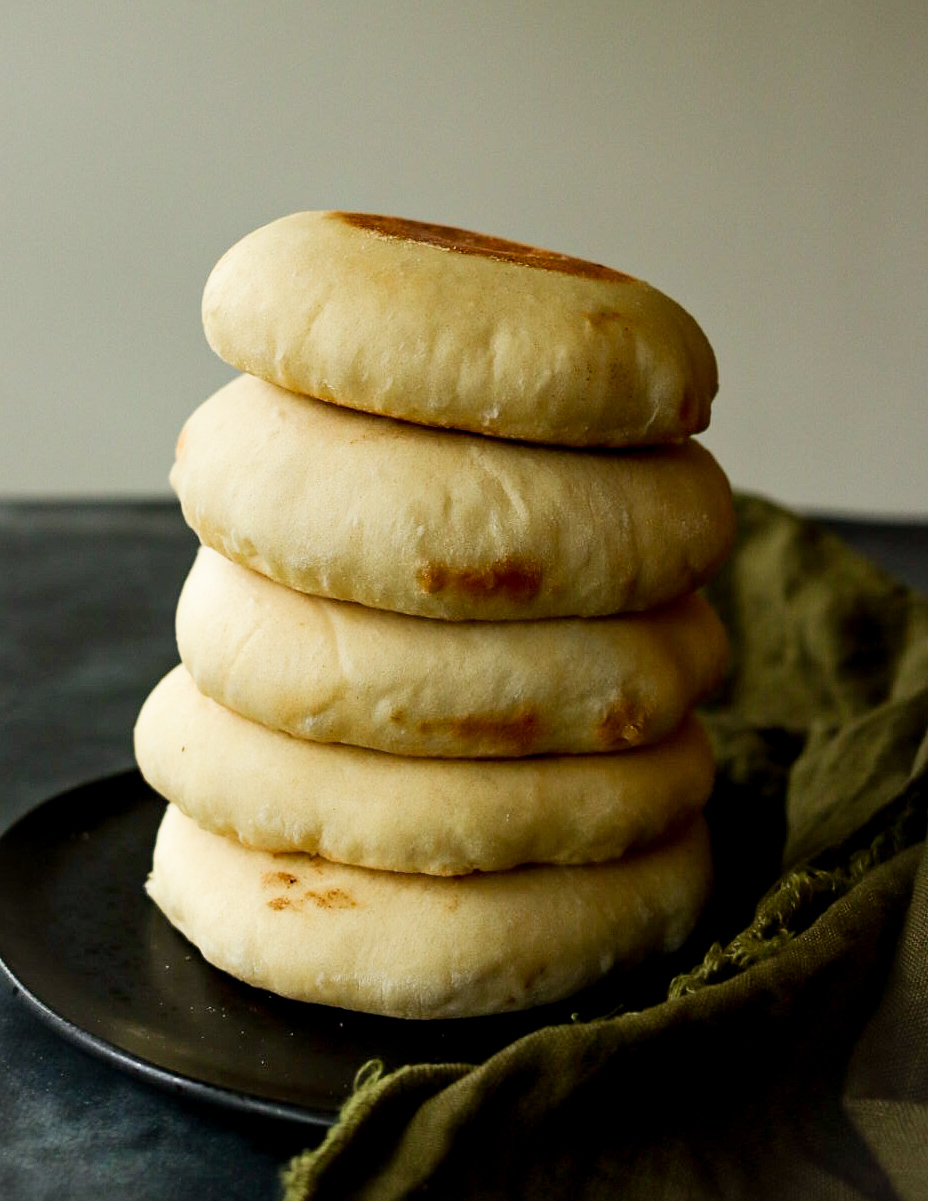
- Bake, Cool, and Serve: Remove the pitas from the oven and let them cool slightly before serving. They will deflate a bit, forming the perfect pockets for stuffing. For a delicious meal, try filling them with (hummus, falafel, or your favorite sandwich ingredients)!
If you've never made pita bread, now is the perfect time to start. The fresh, homemade flavor and texture are well worth the effort.
The next time you need a quick and versatile meal option, consider making homemade pita bread. With its light, fluffy texture and endless filling possibilities, it's sure to become a staple in your summer kitchen.
Thank You and Inspire Your Fellow Bakers!
Thank you so much for trying out my recipes! I hope you enjoyed making them as much as I enjoyed sharing them with you. Your feedback means the world to me, and I would love to hear about your baking adventures. If you try any of my recipes, please share your comments and experiences. Remember to tag me on Instagram. Seeing your creations and hearing your feedback is so rewarding.
Print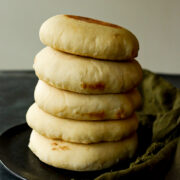
Homemade Pita Bread Recipe
- Total Time: 25 minutes
- Yield: 8 pitas 1x
Description
A light and fluffy homemade pita bread with our easy recipe. Perfect for summer meals, these pitas are ideal for stuffing with pulled pork, cucumber chickpea salad, or farm-fresh chicken gyros.
Ingredients
- 3 ½ cups all purpose flour
- 1 ½ cups warm water (110℉/45℃)
- 2 ¼ tsp active dry yeast
- 1 tsp granulated sugar
- 1 tsp salt
- 1 tbsp avocado oil (olive oil)
Instructions
- In a small bowl dissolve the sugar in the warm water. Sprinkle the yeast over the top and mix in to dissolve the yeast in the water. Let is sit for 10 mins until frothy.
- In the mixing bowl of the stand mixer combine the flour and salt. Add the yeast mixture and avacado oil. Stir until a dough ball forms and pulls away from the sides of the mixing bowl.
- Turn the dough onto a lighly floured surface and knead for about 5-7 mins until the dough is smooth and elastic.
- Place the dough in a lightly oiled bowl, cover wtih a clean towel or plastic wrap, and let is rise in a warm place for 1-2 hours, or until it has doubled in size.
- Once the dough has doubled in size, punch down the dough and divide into 8 equal size dough balls, about 65 grams each. Roll each piece into a ball. On a lightly floured surface, roll each ball into a circle and ¼ of and inch thick.
- Preheat you oven to 475℉ (245℃) and place a baking stone, baking steel or a inverted baking sheet on the middle rack in the oven. Once the oven has preheated carefully place the rolled out dough onto the preheated ston or baking sheet. Bake for 5-7 minutes, or until the pitas puff up and are lightly browned.
- Remove them from the oven and cover with a clean towel to keep them soft and warm. Best served warm.
Notes
Pita Bread can be brushed with butter and herb seasoning, warmed in the oven, and dipped in hummus for a quick snack.
- Prep Time: 20 minutes
- Cook Time: 5 minutes
- Cuisine: American



Leave a Reply