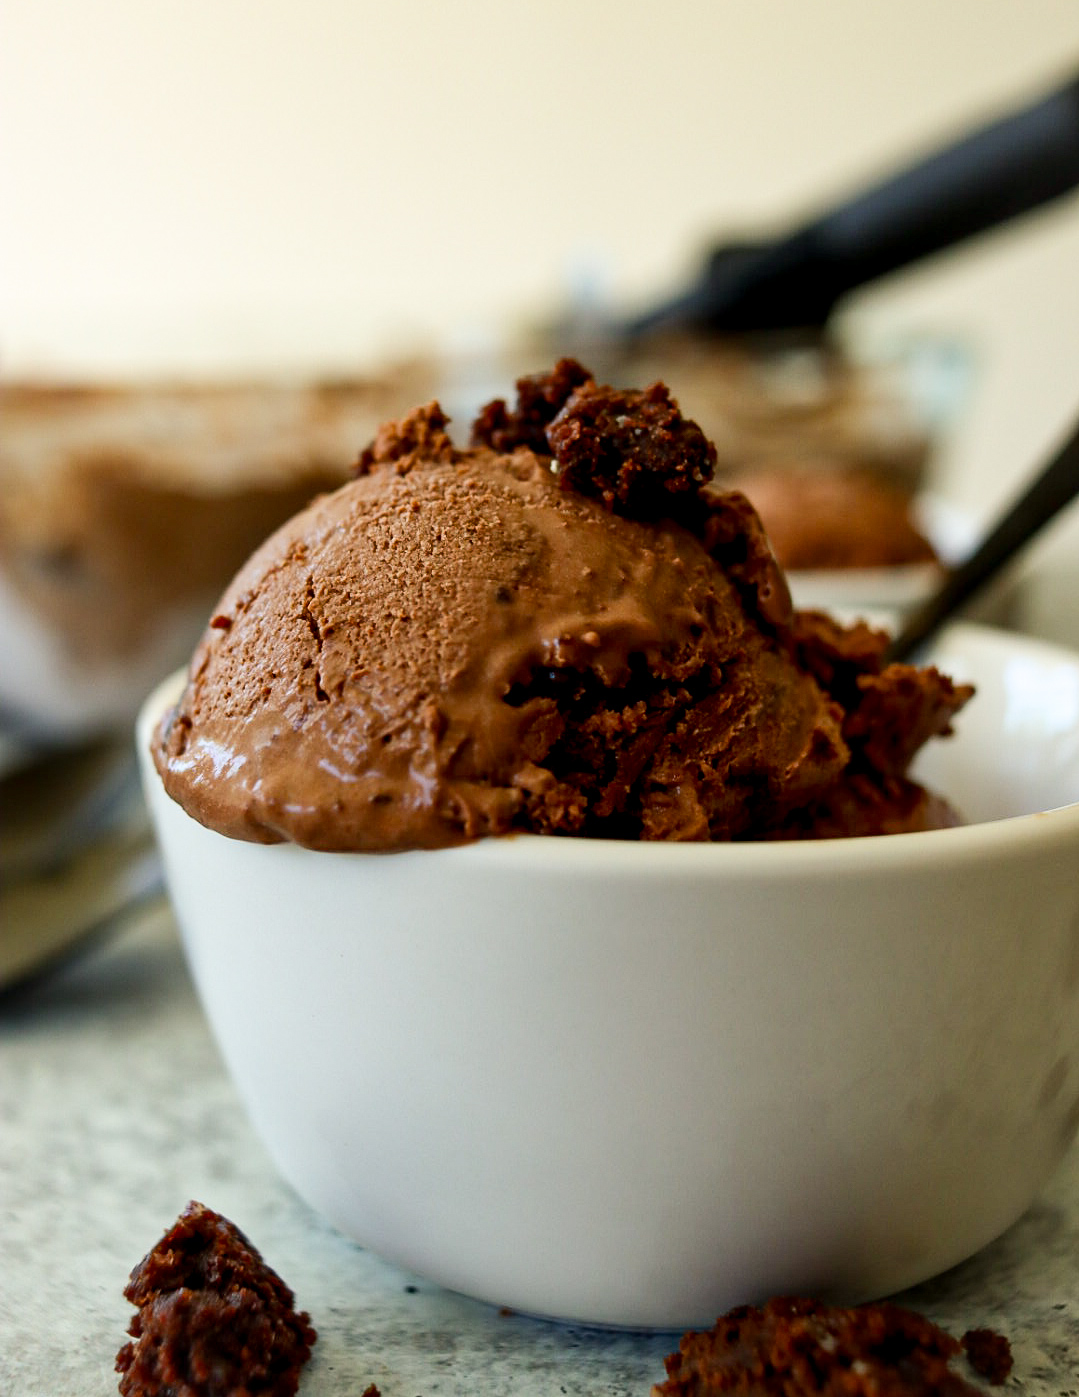
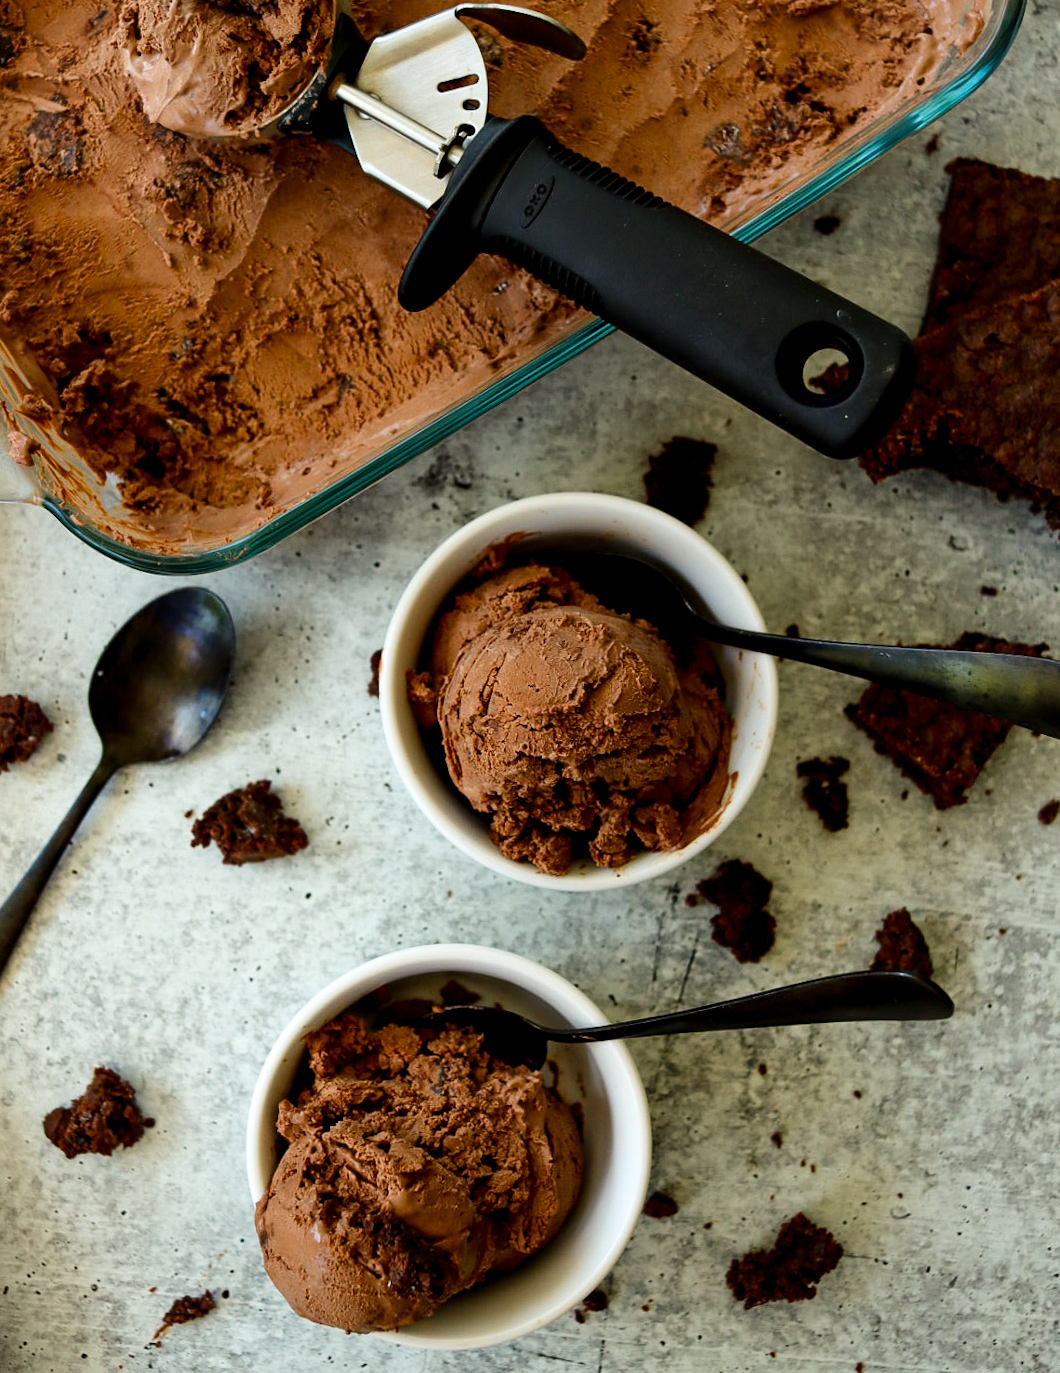
With this easy recipe, you can make homemade chocolate brownie no-churn ice cream. No ice cream maker is needed. It's perfect for hot summer days and loved by kids. A must-try recipe for any ice cream lover!
Summer is here, and there's nothing quite like beating the heat with a delicious scoop of ice cream. As a large family mom, I know how hectic life can get, and making everyone's favorite ice cream can sometimes feel daunting. That's why I love my no-churn ice cream recipes – they are quick, easy, and a sure hit with the kids.
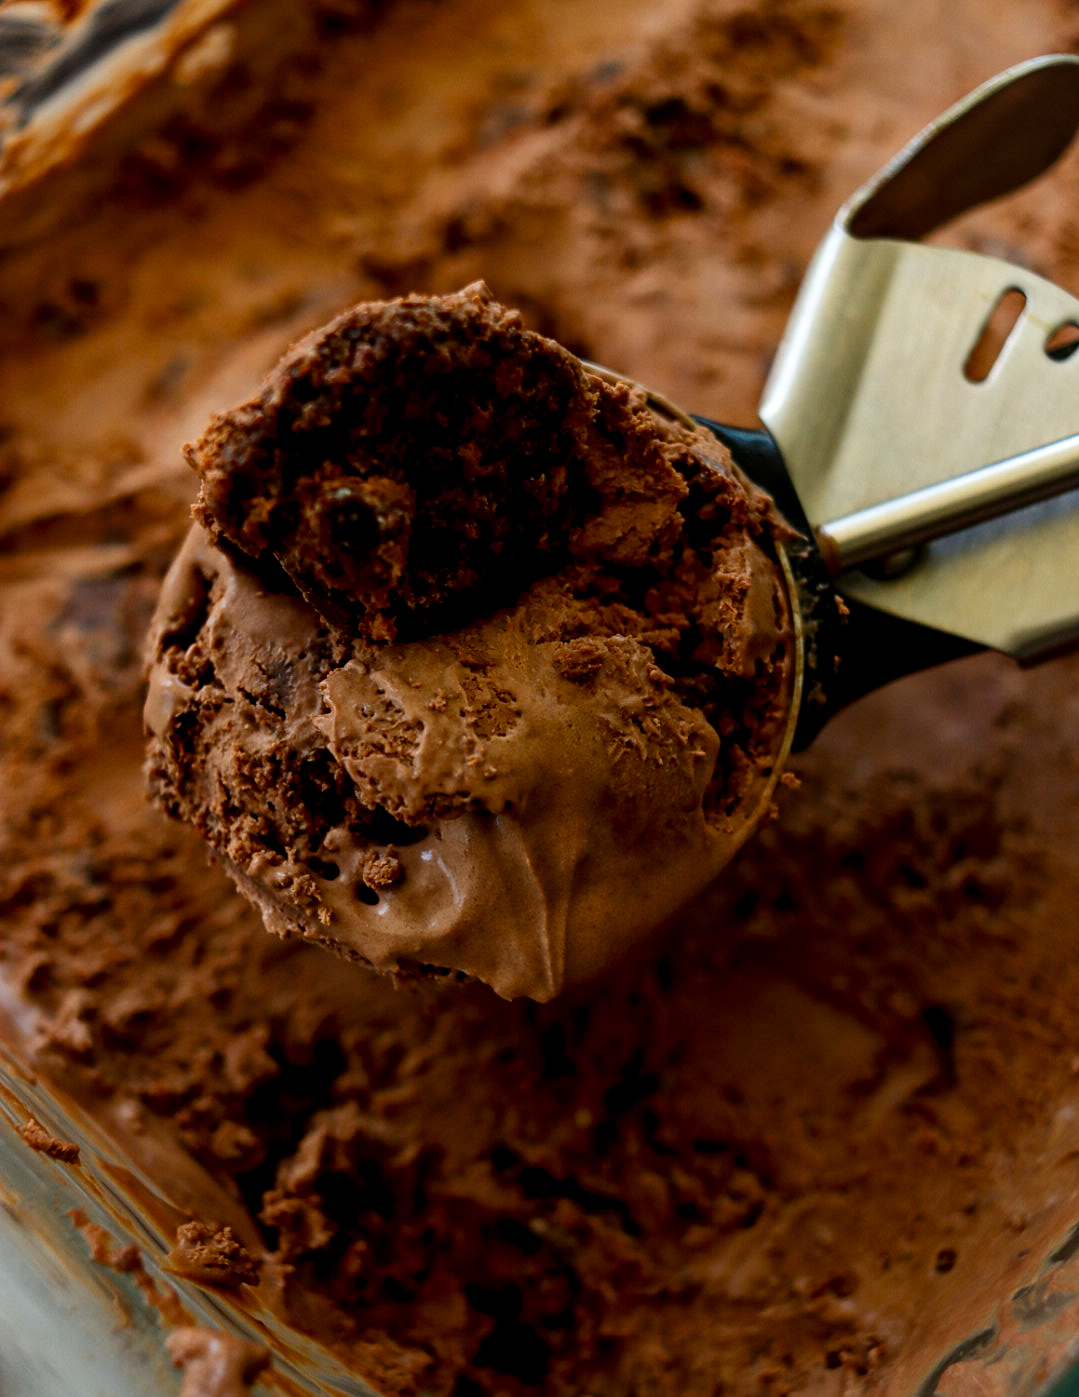
One of our all-time favorites is the Chocolate Brownie No Churn Ice Cream. It combines the rich, creamy goodness of chocolate ice cream with chunks of fudgy brownies, creating a treat that everyone in the family can agree on. You don't need an ice cream maker to whip up this delightful dessert. Just a few simple ingredients and some essential kitchen equipment, and you'll have a batch of this delicious ice cream ready in no time.
The Ease of No-Churn Ice Cream for Busy Families:
Before we dive into the recipe, let's discuss no-churn ice cream and why it's a fantastic option for busy families. Traditional ice cream recipes often require an ice cream maker, which can be time-consuming and require extra equipment. On the other hand, no-churn ice cream is effortless to make and doesn't require any special appliances.
The secret to no-churn ice cream lies in its base ingredients. Heavy whipping cream and sweetened condensed milk create a smooth texture without churning the mixture. You can make various delicious ice cream flavors in your kitchen by folding in other flavorful ingredients, like cocoa powder and brownie chunks.
Key Ingredients for Chocolate Brownie No Churn Ice Cream:
Whipping Cream:
Whipping cream is the cornerstone of no-churn ice cream. When beaten to stiff peaks, it provides a light, airy texture miming the churned ice cream from a traditional ice cream maker. The fat content in whipping cream also helps create a rich and creamy consistency.
Benefits of Using Whipping Cream:
- Texture: Whipping cream adds a luxurious, creamy texture to the ice cream.
- Volume: When whipped, it increases in volume, creating a light and airy mixture.
- Flavor: The rich flavor of whipping cream enhances the overall taste of the ice cream.
Powdered Sugar:
Powdered sugar is used to sweeten and stabilize the whipped cream. It dissolves quickly and evenly, ensuring the ice cream has a smooth, consistent sweetness.
Benefits of Using Powdered Sugar:
- Smoothness: Powdered sugar dissolves easily, preventing any graininess in the ice cream.
- Sweetness: It provides the right sweetness without overpowering the other flavors.
- Stabilization: It helps stabilize the whipped cream, maintaining its light and airy texture.
Cocoa Powder:
Cocoa powder is essential for adding rich chocolate flavor to ice cream. High-quality cocoa powder gives your ice cream a deep, intense chocolate taste.
Benefits of Using Cocoa Powder:
- Flavor: Cocoa powder provides a rich, chocolaty flavor essential for this ice cream.
- Color: It gives the ice cream a beautiful dark chocolate color.
- Versatility: Cocoa powder can be easily mixed into the whipped cream without affecting the texture.
Sweetened Condensed Milk:
Sweetened condensed milk is the other key ingredient in no-churn ice cream. It adds sweetness and creaminess, ensuring the ice cream stays smooth and scoopable even after freezing.
Benefits of Using Sweetened Condensed Milk:
- Creaminess: It adds a creamy texture to the ice cream, making it rich and smooth.
- Sweetness: The added sweetness balances the cocoa powder's bitterness.
- Consistency: It helps achieve the perfect consistency for no-churn ice cream.
Brownie Chunks:
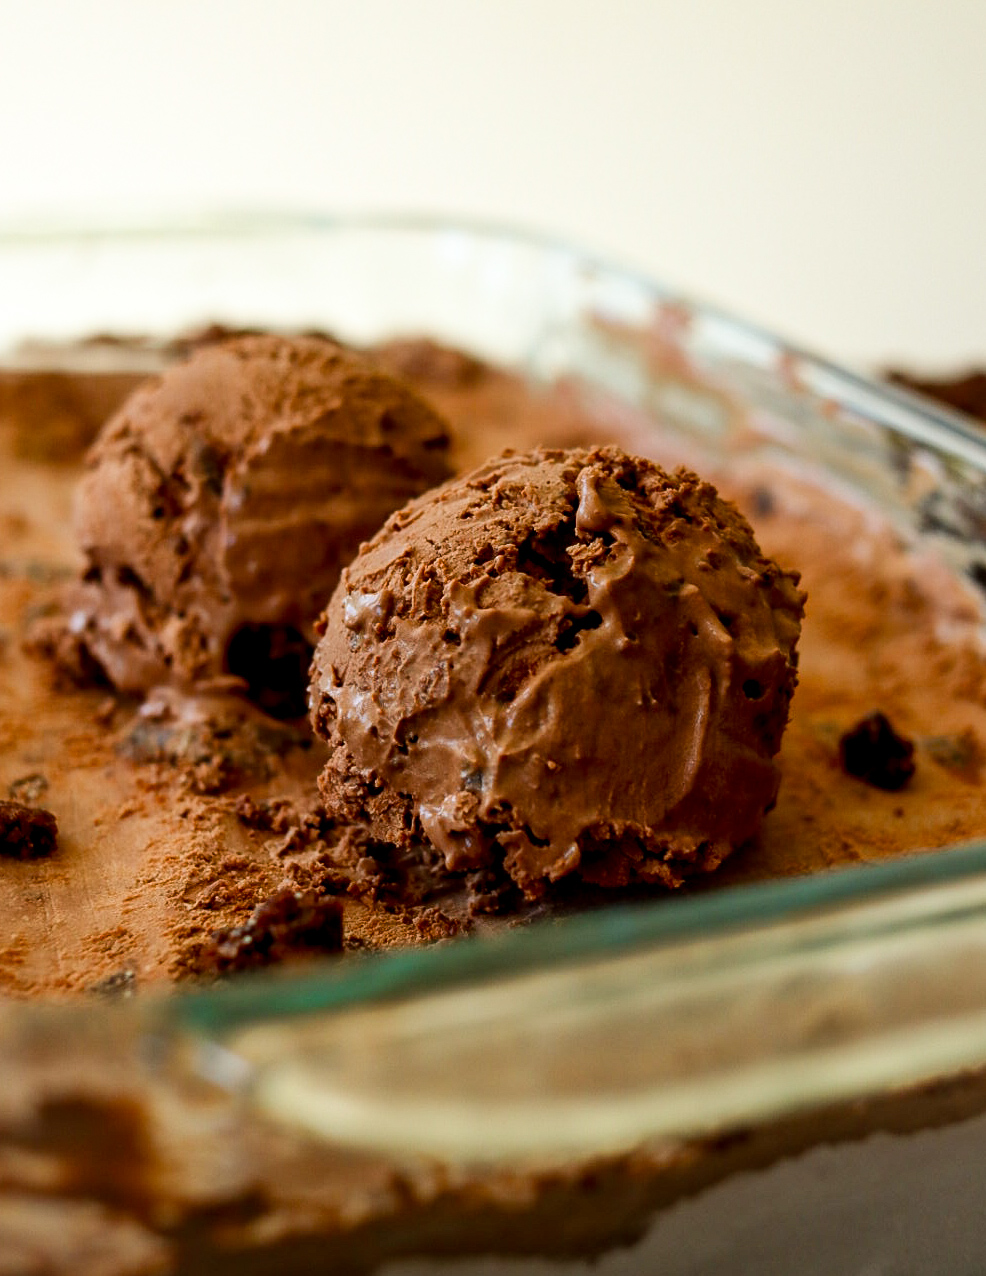
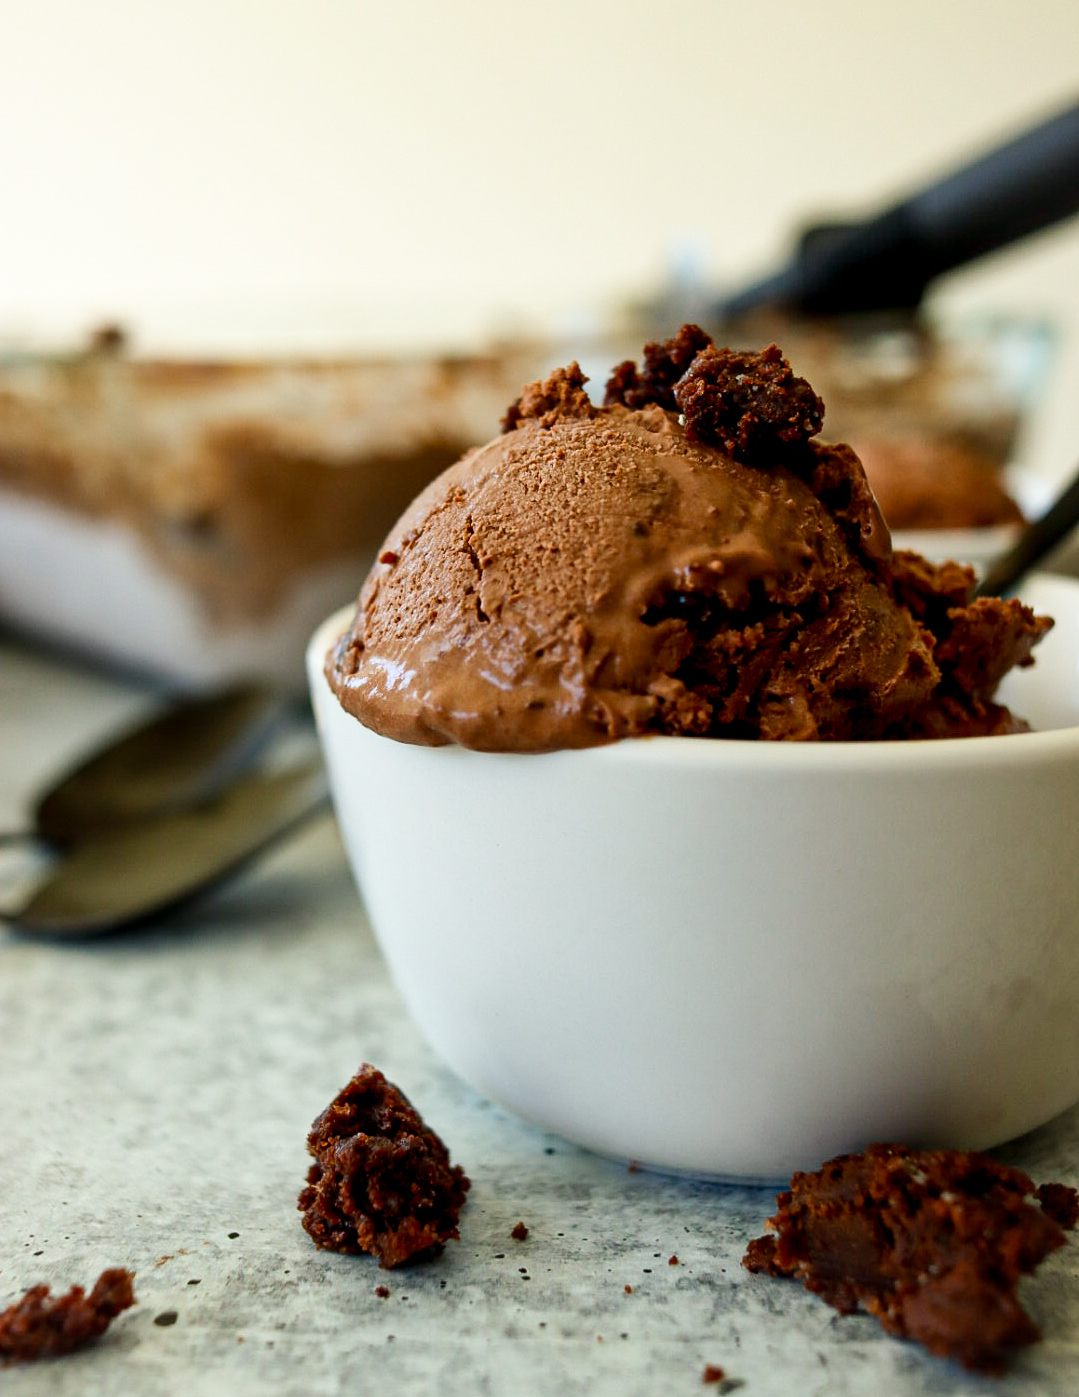
The brownie chunks make this ice cream truly special. Depending on what you have on hand, you can use homemade brownies or store-bought ones. The fudgy chunks add a delightful texture and extra chocolate flavor to every bite.
Benefits of Using Brownie Chunks:
- Texture: The brownie chunks add a chewy, fudge texture that contrasts with the creamy ice cream.
- Flavor: Brownie chunks provide an extra layer of chocolate flavor, making the ice cream even more indulgent.
- Customization: You can use your favorite brownie recipe or store-bought brownies, making customization easy.
Step-by-Step Directions for Making Chocolate Brownie No Churn Ice Cream:
Now that you have all your ingredients and equipment, let's walk through the step-by-step process of making this delicious chocolate brownie with no-churn ice cream.
- Prepare the Brownie Chunks- If you're using homemade brownies, start baking a batch and letting them cool completely. Once cooled, cut the brownies into small chunks. If you're using store-bought brownies, cut them into bite-sized pieces. Set the brownie chunks aside.
- Whip the Cream—Pour the heavy whipping cream and cocoa powder into a large mixing bowl. Whip the cream on high speed using a hand or stand mixer until stiff peaks form. This step usually takes about 3-4 minutes. Be careful not to over-whip the cream, which can turn into butter. This step ensures that the cocoa powder is evenly distributed throughout the ice cream.
- Blend the Vanilla and Condensed Milk- Combine the sweetened condensed milk and vanilla extract by whisking it together.
- Combine the Mixtures- Using a spatula, gently fold the condensed milk mixture into the whipped cream. Be careful not to deflate the whipped cream. Fold until the mixtures are thoroughly combined and no streaks remain. This step creates the creamy chocolate base for the ice cream.
- Add the Brownie Chunks- Gently fold the brownie chunks, ensuring they are evenly distributed throughout the mixture. The brownie chunks will add a delightful texture and extra chocolatey flavor to the ice cream.
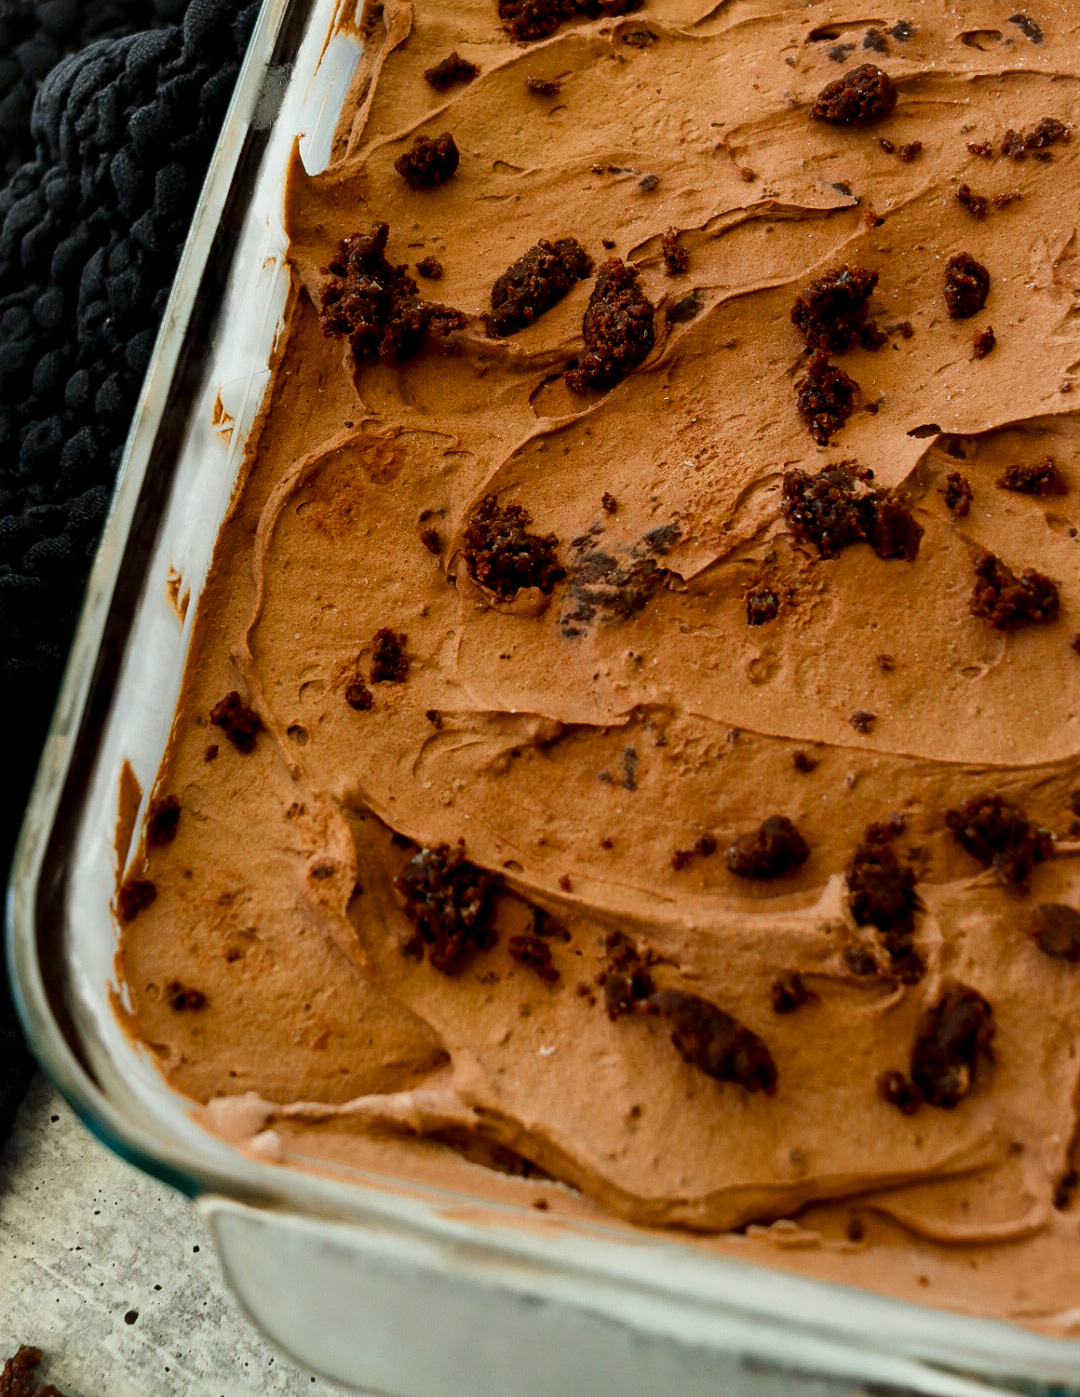
- Transfer to the Pan- Pour the mixture into a 9x13 pan, spreading it evenly. Smooth the top with a spatula. Cover the pan tightly with plastic wrap or aluminum foil to prevent ice crystals from forming on the surface.
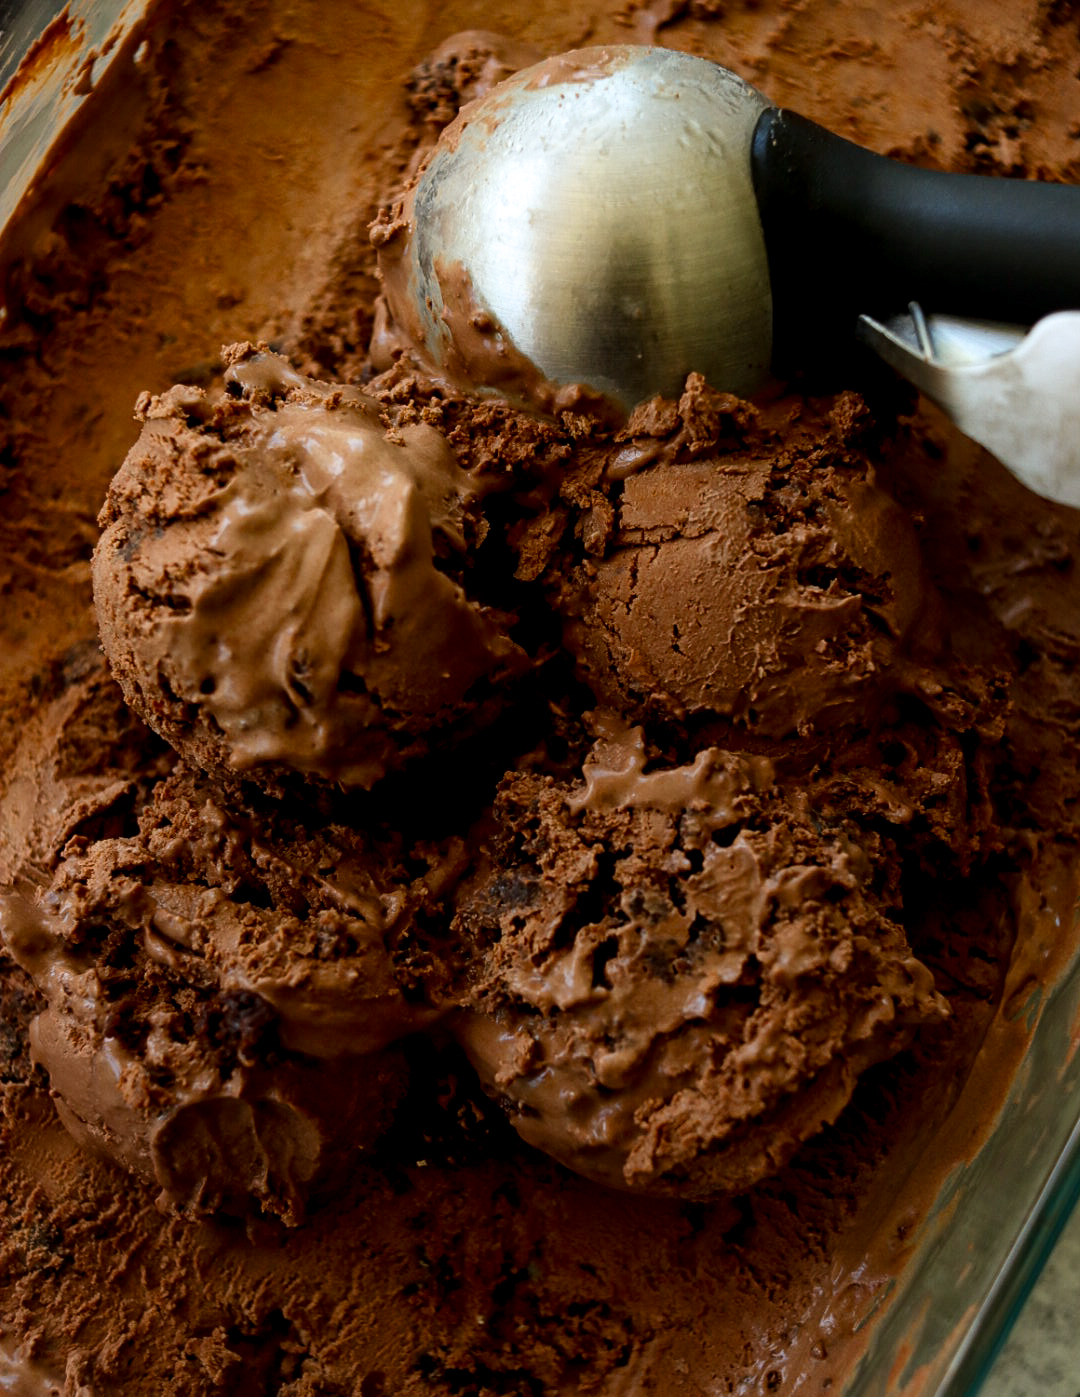
- Freeze the Ice Cream- Place the pan in the freezer and let the ice cream freeze for at least 12 hours or until firm. For best results, let it freeze overnight.
Tips for Perfect No-Churn Ice Cream:
- Chill Your Equipment: For best results, chill your mixing bowl and beaters in the freezer for 15-20 minutes before whipping the cream. This helps the cream whip up faster and more efficiently.
- Don’t Overwhip the Cream: Don't overwhip the cream, as it can turn into butter. Stop whipping as soon as stiff peaks form.
- Fold Gently: When combining the whipped cream with the condensed milk mixture, fold gently to avoid deflating the cream. Use a spatula and a light hand to incorporate the mixtures together gently.
Storage Tips:
To keep it at its best, no-churn ice cream can be stored in the freezer for up to two weeks.
- Cover Tightly: Cover the pan tightly with plastic wrap or aluminum foil to prevent freezer burn and keep the ice cream fresh.
- Use Airtight Containers: Transfer the ice cream to airtight containers for extended storage. This will help maintain its creamy texture and prevent ice crystals from forming.
- Label and Date: Label your containers with the date you made the ice cream. This way, you can track how long it’s been in the freezer.
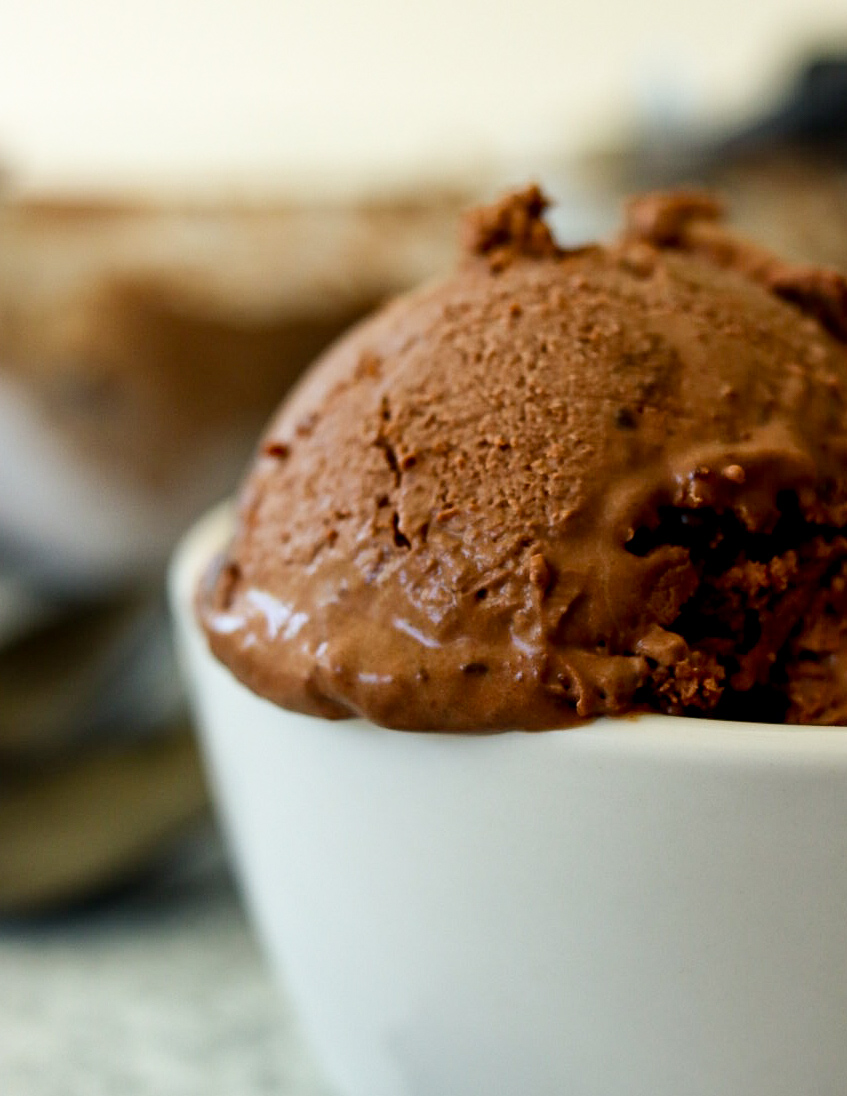
Making homemade Chocolate Brownie No-Churn Ice Cream is a fun and rewarding activity that brings joy to the whole family. It’s a perfect way to cool down on a hot summer day, and the best part is that you don’t need an ice cream maker. With simple ingredients and easy steps, you can create a delicious, creamy treat that will have everyone returning for more.
So, gather your ingredients, grab your mixing bowls, and prepare to make the best no-churn ice cream you’ve ever tasted. Trust me, once you try this recipe, you’ll never want to return to store-bought ice cream again.
Print
Homemade Chocolate Brownie No Churn Ice Cream Recipe
- Total Time: 12 hours 15 minutes
- Yield: 1 quart 1x
Description
Rich and creamy chocolate ice cream with chunks of fudge brownie, made without an ice cream maker.
Ingredients
- 3 cups heavy whipping cream
- ½ cup (7-ounce) sweetened condensed milk
- ½ cup unsweetened cocoa powder
- ¼ cup powdered sugar
- 1 teaspoon vanilla extract
- 1 cup fudge brownie chunks (store-bought or homemade)
Instructions
- In a large bowl, whip the heavy cream, cocoa powder and powdered sugar with an electric mixer until stiff peaks form.
- In a separate bowl, whisk together the sweetened condensed milk and vanilla extract until smooth.
- Gently fold the whipped cream into the condensed milk mixture until well combined.
- Fold in the fudge brownie chunks.
- Transfer the mixture to a loaf pan or a freezer-safe container. Cover with plastic wrap or a lid. Freeze for at least 12 hours or until firm. 24 hours for best results.
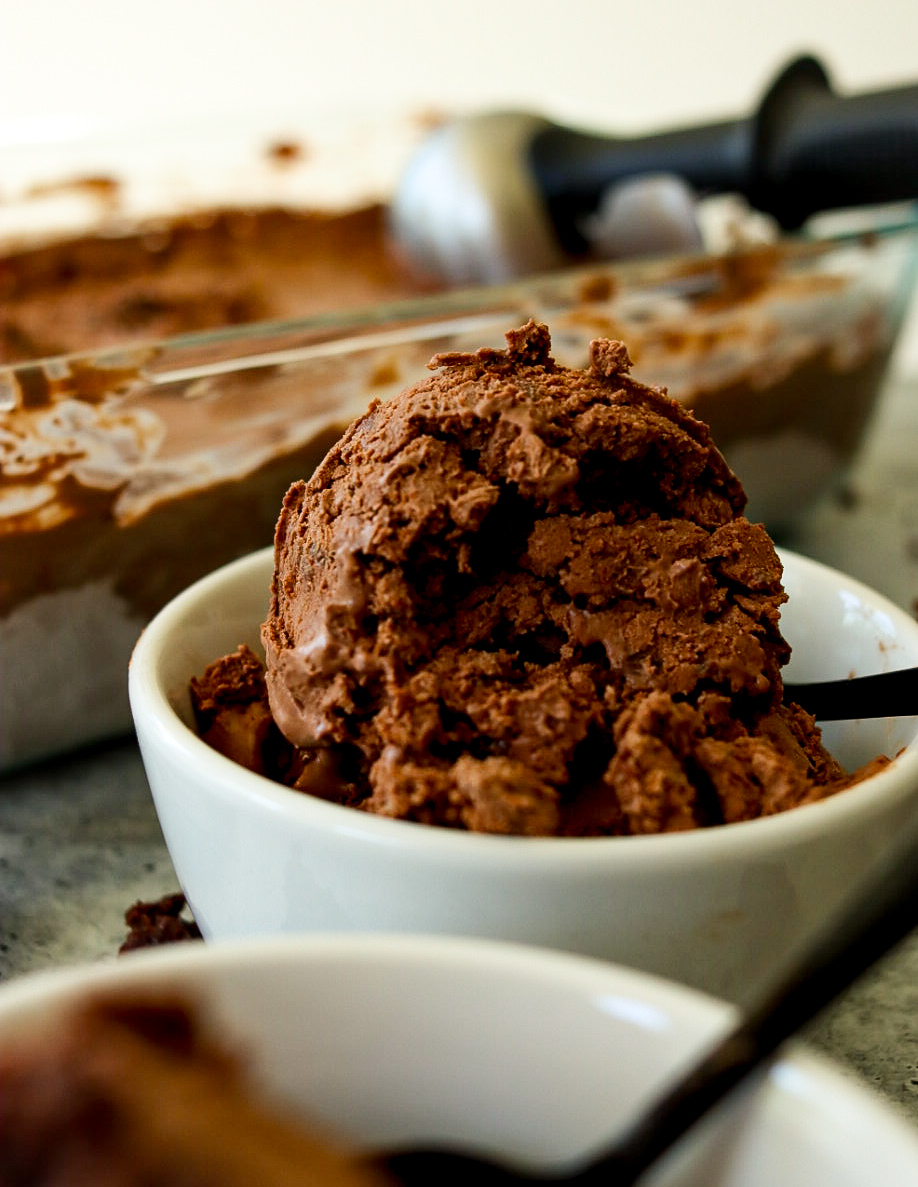
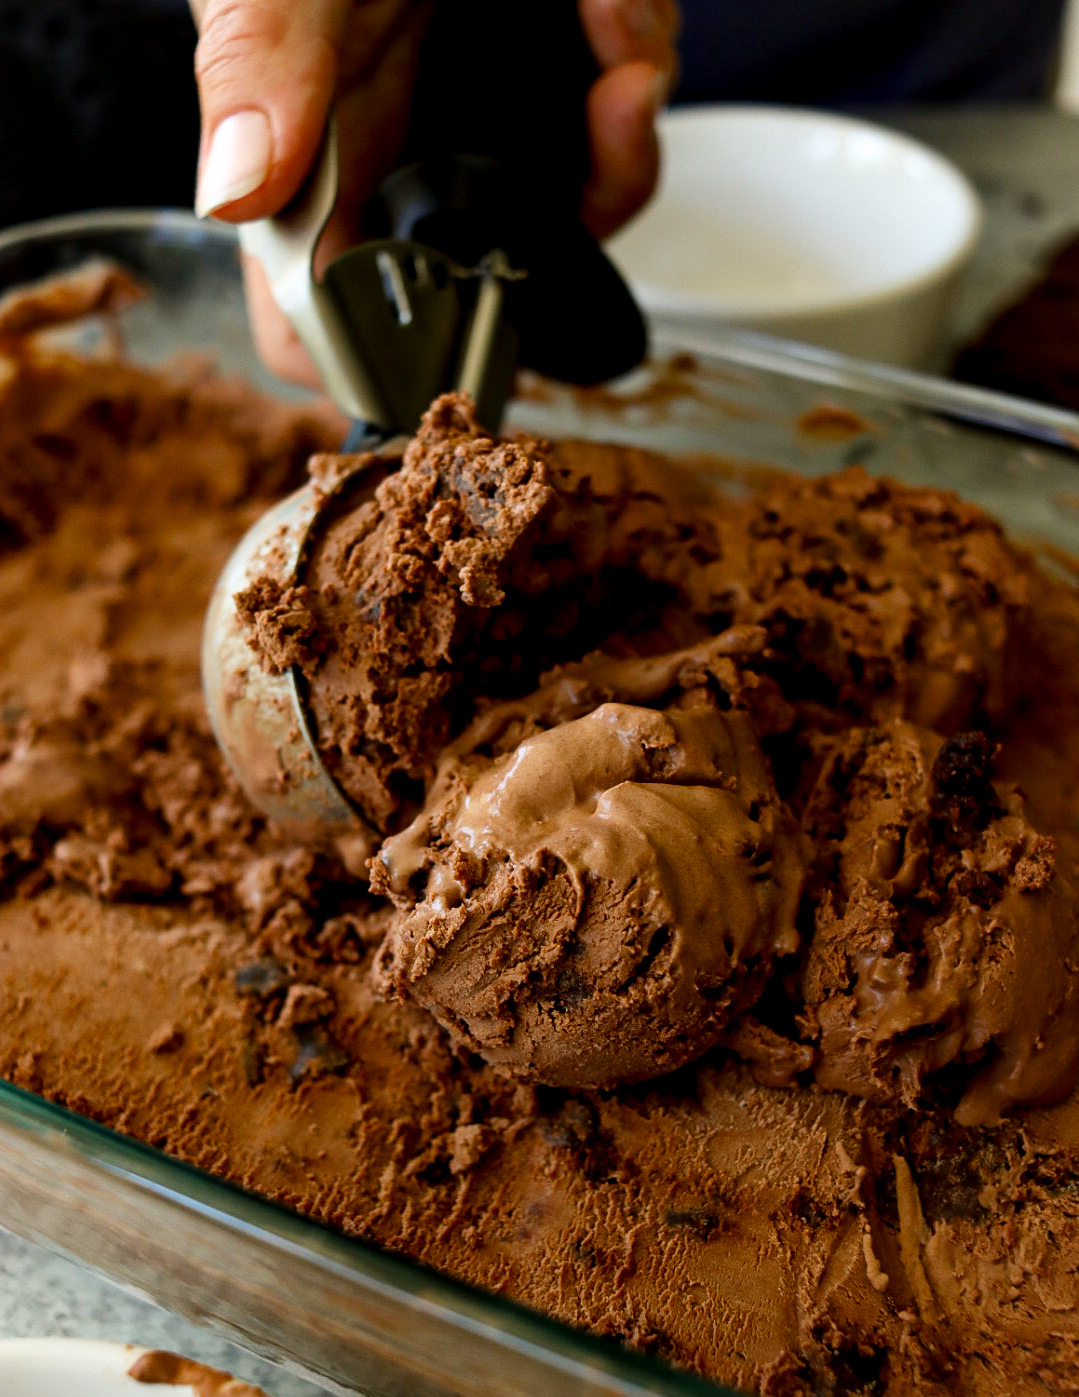
- Remove the no churn ice cream, 5-10 mins before serving to soften a bit. Scoop and add to your favorite waffle cones or bowl and top with nuts.
- Prep Time: 15 mins
- Freezing Time: 12 hours
- Category: Desserts, Icecream
- Method: No churn


Chelsey says
Wondering, can put it in Nostalgia Electric Ice Cream Maker?
tinyfarmbigfamily says
I don't believe so. It is no churn