Learn how to make homemade marshmallows with this easy recipe. Discover why beef gelatin, natural syrup swaps, and proper storage make these fluffy treats a holiday favorite. Perfect with hot chocolate!
The holiday season on the homestead is a time for cozy fires, handmade gifts, and decadent treats. One of my favorite traditions is making homemade marshmallows. They're light and fluffy and nothing like the store-bought kind. Pair them with a steaming mug of my homemade hot chocolate mix, and you've got the ultimate winter treat!
If you've never tried making marshmallows from scratch, let me tell you—it's easier than you think, and the results are entirely worth it. They make the perfect addition to gift baskets or holiday goodie bags.
Why Make Homemade Marshmallows?
Store-bought marshmallows may be convenient, but they can't compare to the taste and texture of homemade. Fresh marshmallows are incredibly soft, with a melt-in-your-mouth quality that's worlds apart from the rubbery ones in a bag.
When you make them yourself, you also have complete control over the ingredients. There are no artificial flavors or preservatives—just wholesome, delicious goodness. You can customize them with extracts, colors, or add-ins like crushed peppermint or cocoa powder for a festive twist.
And let's be honest: there's something magical about whipping up a batch of marshmallows in your kitchen. It feels like a minor holiday miracle every time!
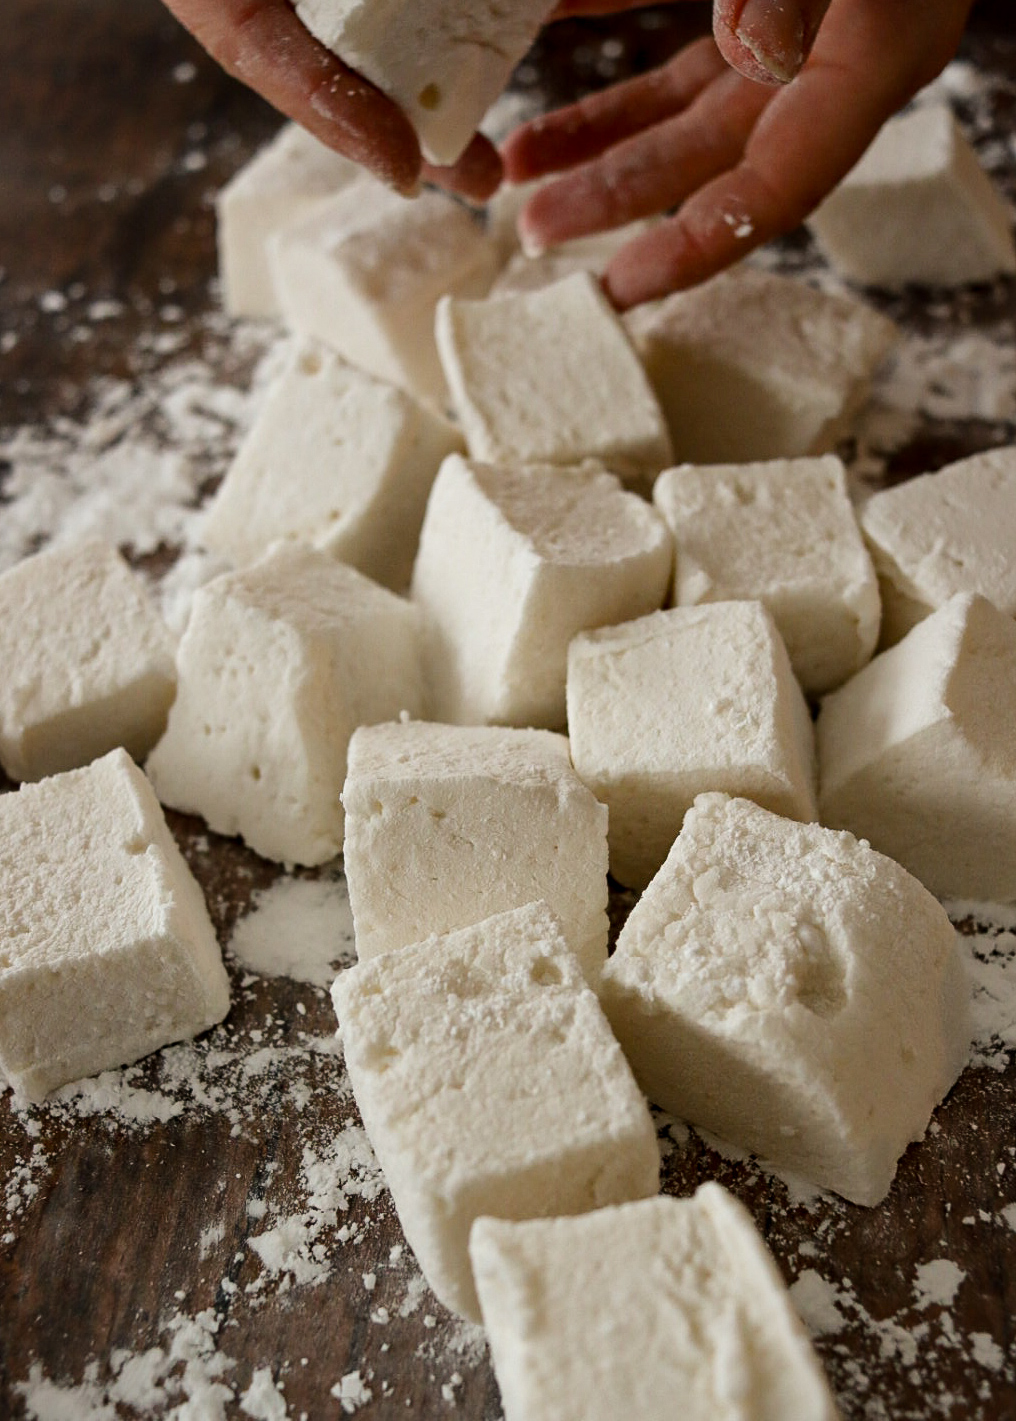
Why Beef Gelatin?
Traditional marshmallows rely on gelatin to create their signature fluffy texture. While most recipes call for pork-based gelatin, I prefer using beef gelatin. It's an excellent option for those who follow dietary restrictions, and it produces marshmallows that are just as light and bouncy.
Beef gelatin is also an excellent source of collagen, which supports healthy skin, hair, and joints. So, not only are your homemade marshmallows a delicious treat, but they might even have a few health benefits tucked inside.
Corn Syrup Swap: Simple Syrup or Honey?
Many marshmallow recipes call for corn syrup to stabilize the sugar mixture, but I prefer using more natural alternatives on the homestead. You can easily substitute simple syrup (made by dissolving equal parts sugar and water) or honey instead of corn syrup.
Honey adds a slight floral note to the marshmallows, giving them a unique flavor profile that pairs beautifully with hot chocolate. Just remember that honey can slightly alter the texture, making the marshmallows denser than those made with corn syrup.
If you're looking for the closest match to corn syrup without the additives, go with simple syrup—it's easy to make and works like a charm.
How to Store Homemade Marshmallows
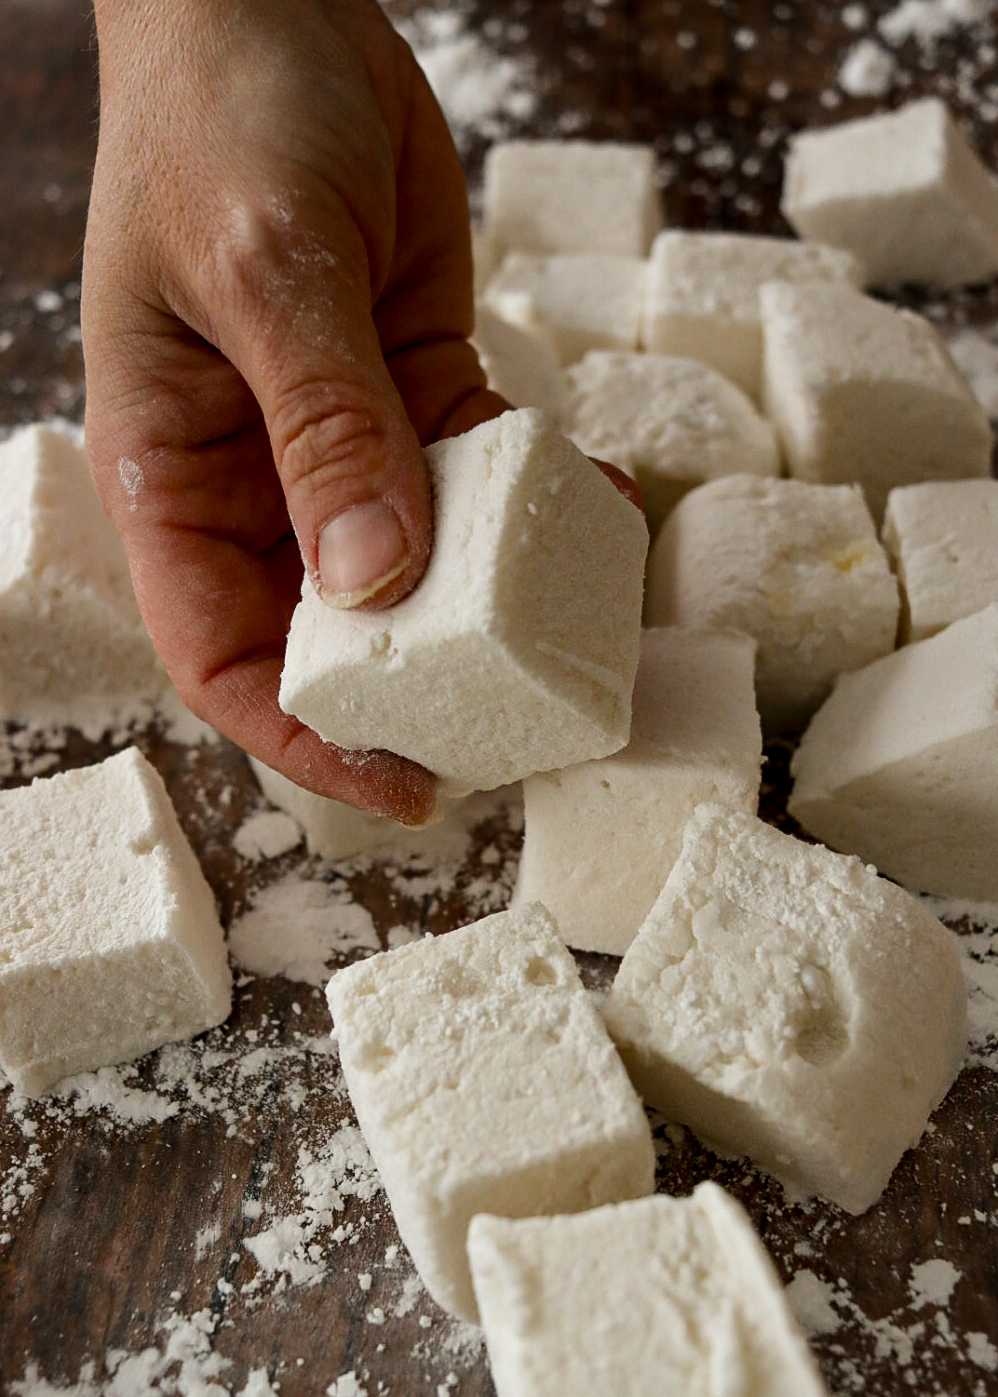
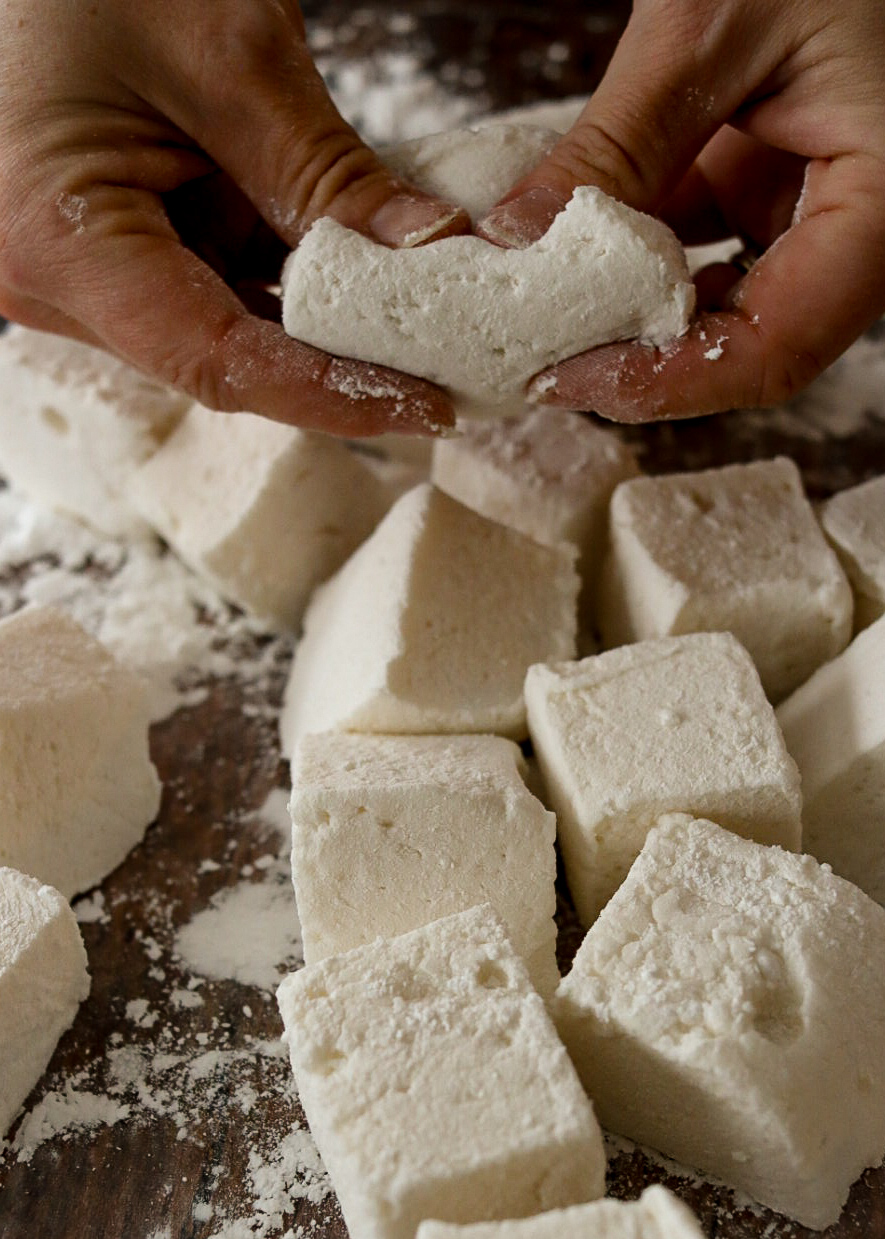
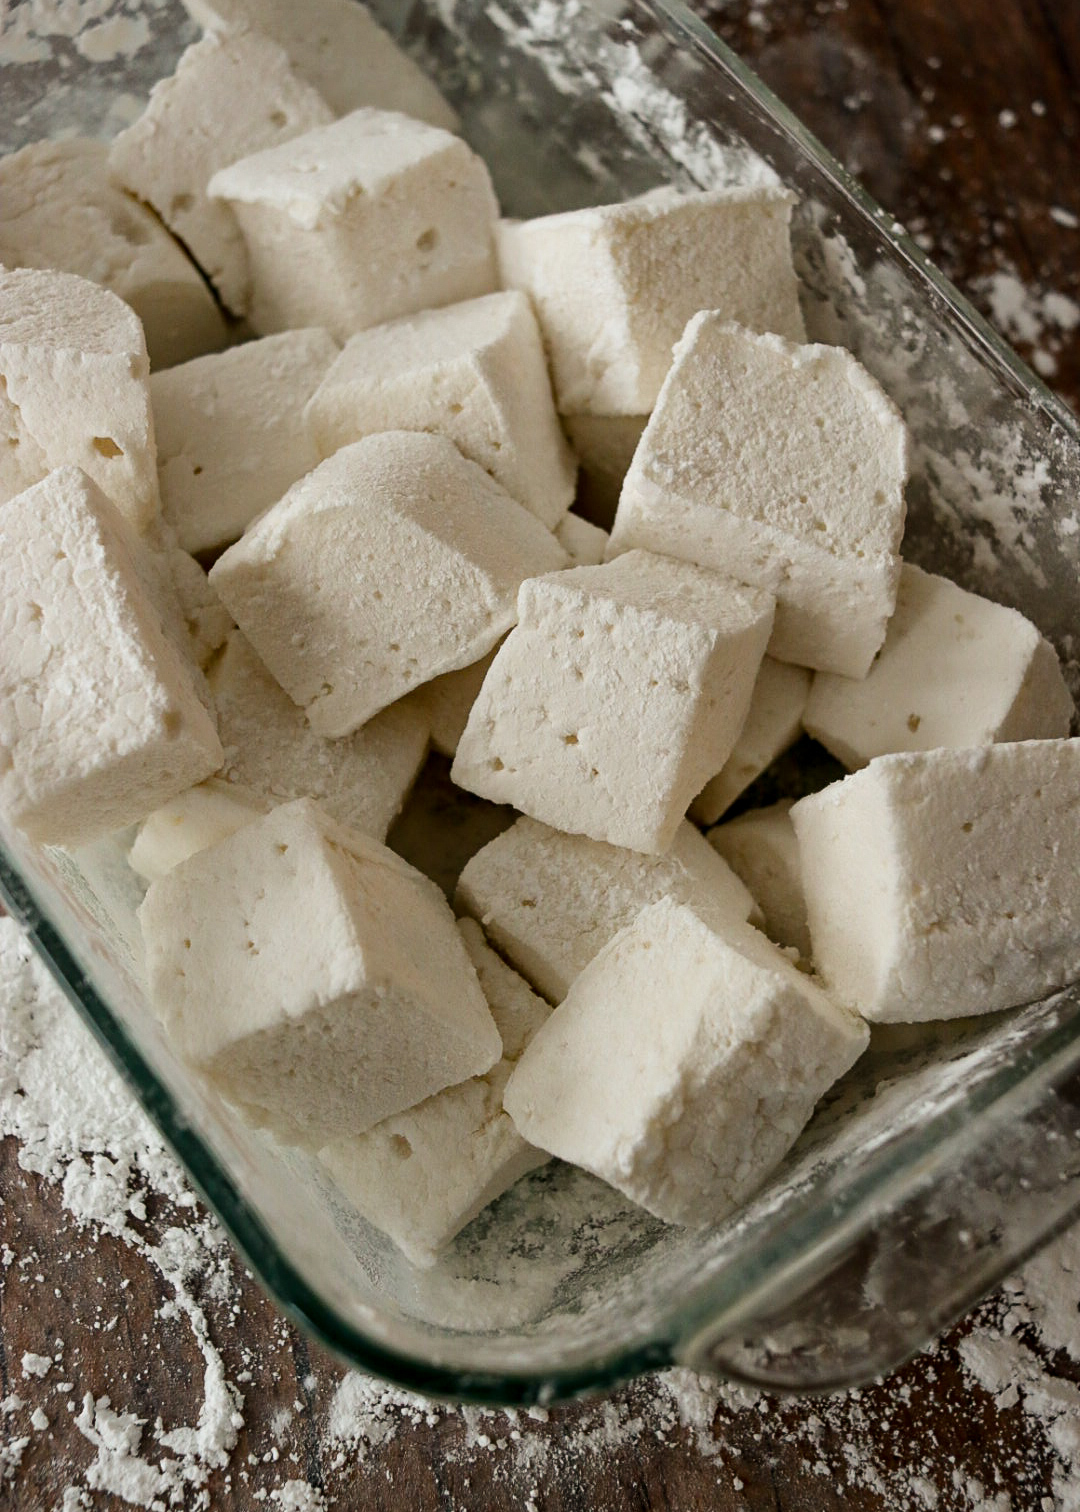
Once your marshmallows are cut and dusted, proper storage is key to keeping them fresh and fluffy. I recommend placing them in an airtight container and separating the layers with parchment paper to prevent sticking.
Store them in a cool, dry place away from direct sunlight, and they'll stay soft for up to two weeks. If you're gifting them, pack them in a decorative tin or cellophane bag for a festive touch.
Avoid refrigerating your marshmallows, as the moisture can make them sticky. While freezing is possible, it's best to enjoy them fresh—they're so delicious, they probably won't last long anyway!
Powdered Sugar or Cornstarch for Dusting?
To keep your marshmallows from sticking together, they need a light coating of powdered sugar or cornstarch. But which one should you choose?
For the best results, I like to use a mix of powdered sugar and cornstarch. The powdered sugar adds a touch of sweetness, while the cornstarch helps absorb moisture and prevent clumping. Add a bit of cocoa powder or cinnamon to the mix for a holiday twist.
If you prefer a less sweet option, you can use just cornstarch. It also does the job, though your marshmallows might have a different polished finish than those dusted with powdered sugar.
A Sweet Gift for the Holiday Season
Homemade marshmallows are more than just a treat—they're a way to spread holiday cheer. Wrap them up with a jar of hot chocolate mix and a festive mug, and you have the perfect gift for teachers, neighbors, or friends.
On the homestead, these marshmallows have become a winter staple. Whether we roast them over a fire, dip them in hot cocoa, or sneak a few straight from the container, they bring a little extra joy to our cold-weather days.
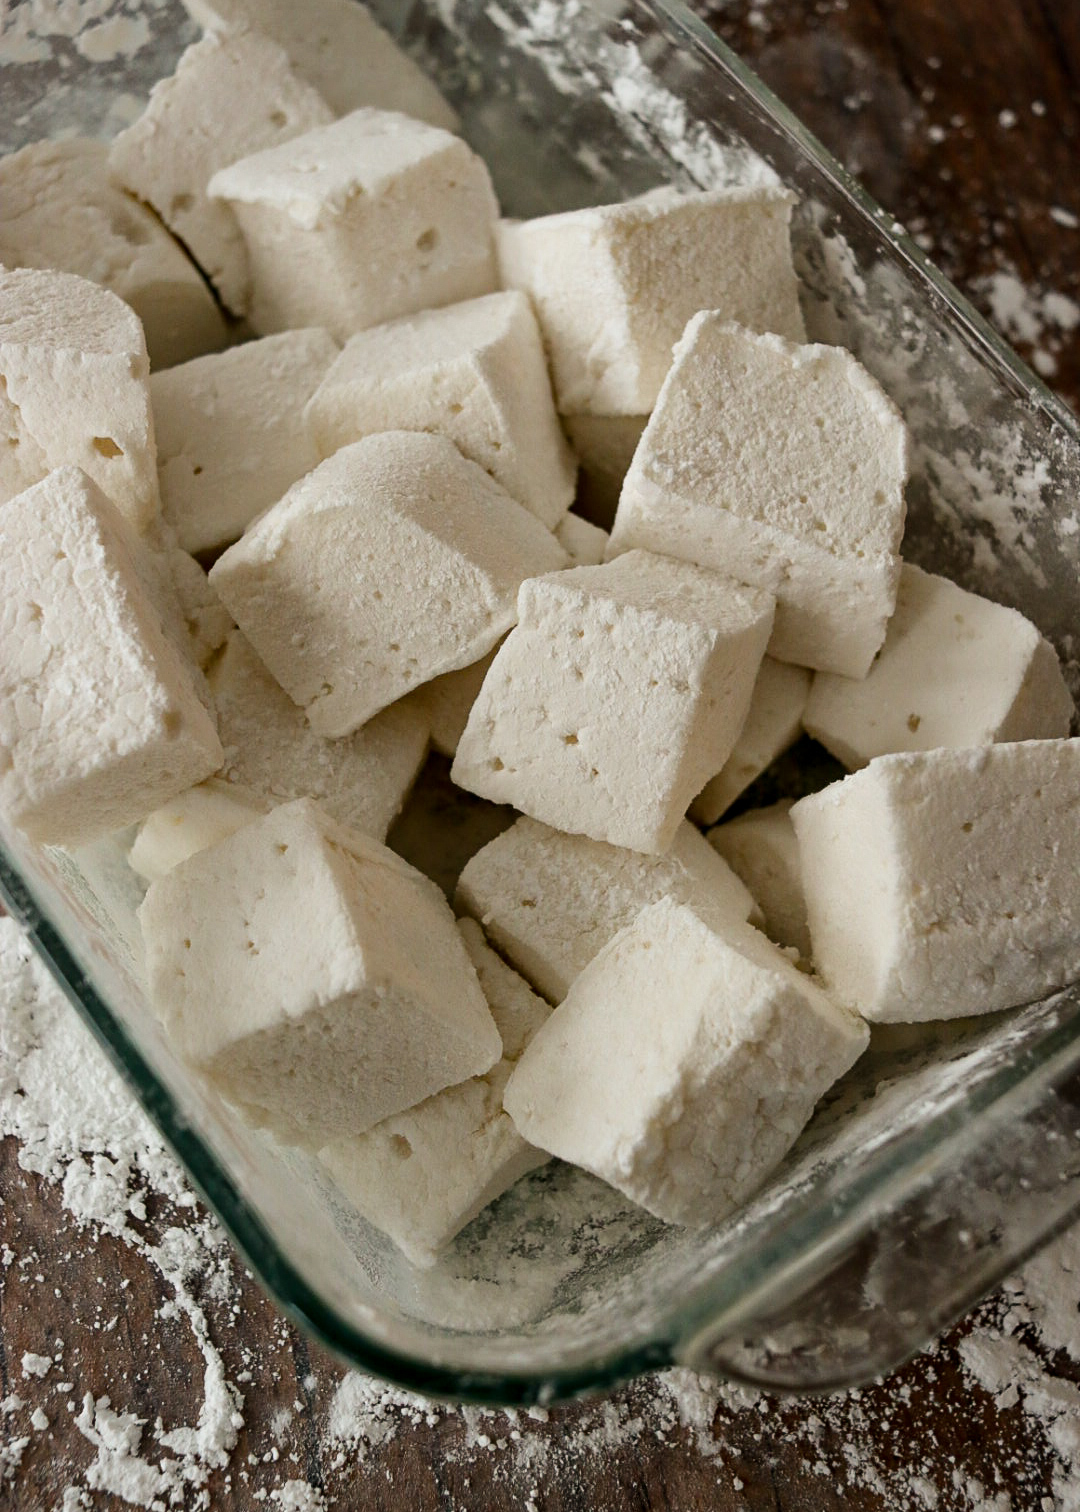
Enjoy the Fluffy Goodness
Making marshmallows at home is one of those small joys that adds a bit of magic to the holiday season. They're easy to make, endlessly customizable, and much better than anything in a store.
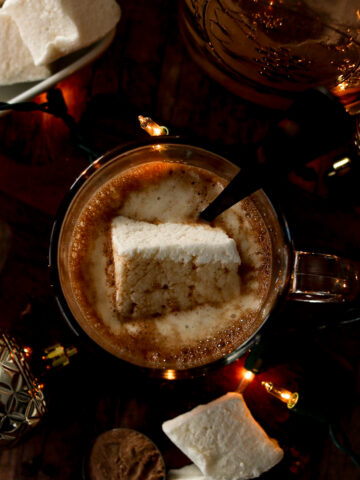
So grab your apron, whip up a batch, and enjoy this sweet, fluffy goodness with your family. And if you try my homemade hot chocolate mix, don't forget to drop a marshmallow (or three) into your cup—it's the ultimate cozy combo!
Print
Homemade Marshmallows
Description
Light, fluffy, and irresistibly sweet, these homemade marshmallows are a step above anything store-bought. Made with simple, wholesome ingredients, they melt in your mouth with every bite. Perfect for floating in hot cocoa, toasting over a fire, or gifting during the holidays, these marshmallows are a versatile treat that brings a touch of homemade magic to any occasion. With their pillowy texture and customizable flavors, they’re sure to become a family favorite.
Ingredients
- 2.5 TBSP (3 envelopes) of unflavored beef gelatin
- 1 cup cold water, divided
- 2 cups granulated sugar
- ½ cup light corn syrup or honey
- ¼ tsp salt
- 1 tbsp pure vanilla extract
- Powdered sugar or cornstarch (for dusting)
Instructions
- Grease a 9x13-inch pan and dust it with powdered sugar or a mixture of powdered sugar and cornstarch.
- In the bowl of a stand mixer, combine gelatin with ½ cup cold water. Let sit while you prepare the syrup.
- In a medium saucepan, combine sugar, corn syrup, salt, and the remaining ½ cup of water. Cook over medium heat, stirring until the sugar dissolves. Increase heat to medium-high and bring to a boil. Without stirring, let it reach 240°F (soft-ball stage) on a candy thermometer.
- Start the mixer on low speed and carefully pour the hot syrup into the gelatin mixture. Gradually increase the speed to high and whip for 8-12 minutes, until the mixture becomes thick, white, and fluffy.
- Add vanilla extract in the last minute of whipping.
- Spread the marshmallow mixture into the prepared pan using a greased spatula.
- Dust the top with powdered sugar or cornstarch. Let it set at room temperature for at least 6 hours or overnight.
- Turn the marshmallows out onto a cutting board and cut into squares with a greased knife or pizza cutter.
Toss the marshmallows in powdered sugar or cornstarch to prevent sticking.
Notes
Store in air tight container

Leave a Reply